The high school football team has played their first few games. Next Friday night my daughter will get to play in her first marching band experience at a home game. There are several trees with leaves in beautiful shades of orange and red. Today the temperature never hit 70 and the breeze made it feel even cooler. Fall is definitely in the air. Just thinking about these things fill my heart with so many wonderful memories. We’re starting to decorate our home for the season as well. We’re putting away the last bits of summer. Today I made this simple Rustic Fall Sign from an old piece of scrap barn wood and a few inexpensive wooden letters. I love how this DIY rustic decor came together. Now the hard part, to decide whether to keep it inside or put it outdoors!
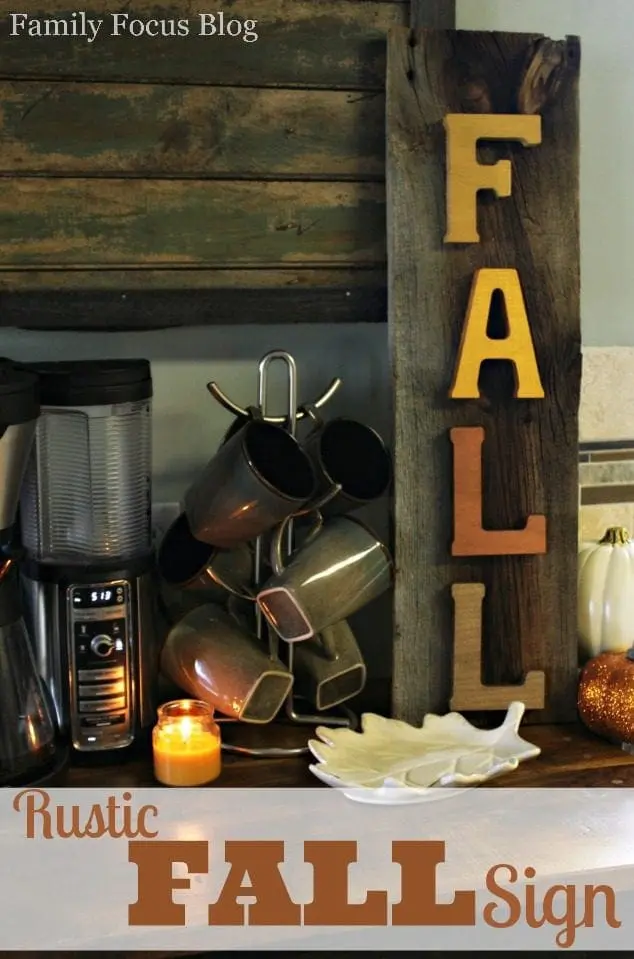
DIY Rustic Decor- Homemade Fall Sign Tutorial
Creating a homemade wooden sign with the letters F-A-L-L is a simple yet charming way to celebrate the season and add a rustic, cozy touch to your home decor. The bold, individual letters make a striking statement, whether displayed on a mantel, porch, or entryway. Making it yourself allows for customization in color, texture, and size, ensuring it complements your space perfectly. Plus, crafting your own sign is a fun, hands-on activity that brings a sense of accomplishment and creativity, making your fall decor feel even more special and personal.
Craft Supplies:
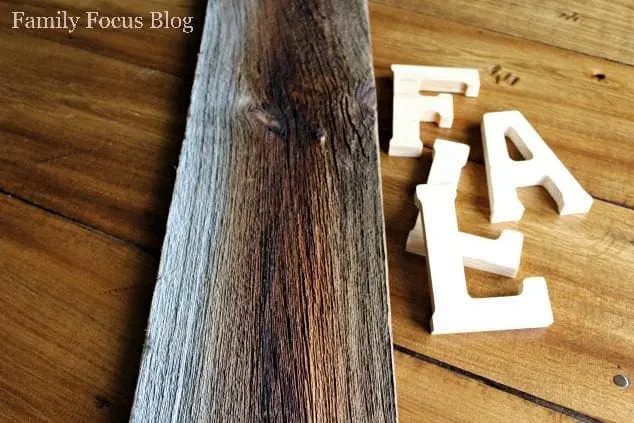
- Scrap Wood for sign – I had a piece of barn wood which was really rustic and beautiful. However, you could stain a piece of any scrap wood. Old pallet wood is also the perfect material to upcycle for this diy rustic decor.
- Wooden Letters – Found in most craft departments. Just make sure they are real wood and not particle wood so they maintain their shape when you paint them.
- Acrylic Craft Paint in Fall Colors – I chose a metallic paint for a bit of sparkle.
- Paint Brushes
- Hot Glue Sticks and Glue Gun
- Screw Gun and Screws (optional)
- Spray Clear Coat (optional)
How To Make A Wooden Fall Sign:
Begin by cleaning your scrap wood and your wooden letters. My barn wood piece is really REALLY old so I had to use a brush to get all the dust out of the heavy grain.
Next, lay the letters out on newspaper or paper towels to protect your work surface. Then begin painting. I used cupcake wrappers to pour a little of each color paint out. I also chose to paint each letter a different color but that is up to you.
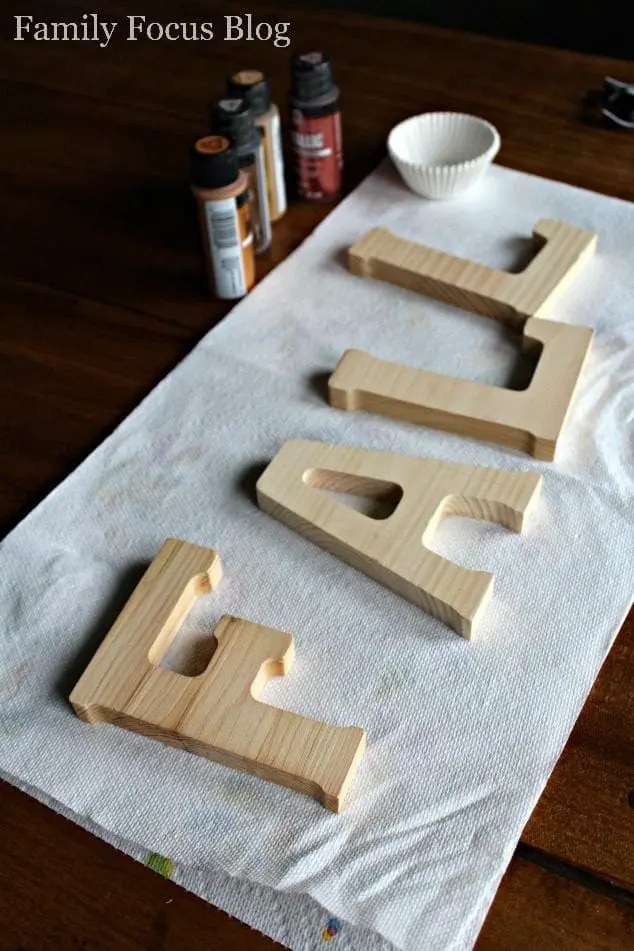
Apply an even coat of paint to each letter, including the sides. Allow the paint to dry and apply a second coat of paint. Let the paint dry before continuing.
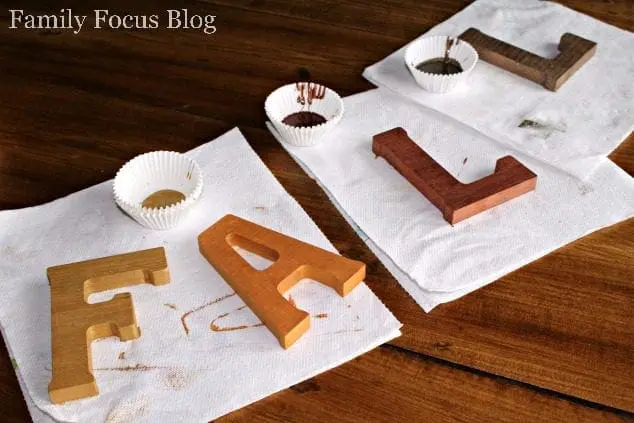
Once the paint is dry place the letters on your sign. This will help you decide where they will be attached. Make sure you do a trial run before gluing them in place.
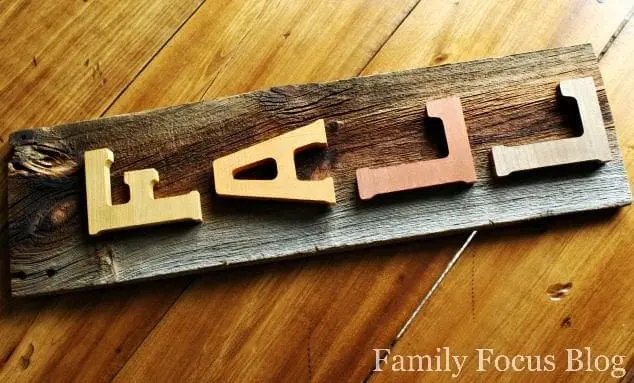
After you know where you want each letter apply hot glue to the back and secure them in place. I plan to put my sign outdoors. Therefore, I also used short screws and a screw gun. I attached each letter to the barn wood using a screw from the back side. It seemed unlikely that the hot glue would hold up to weather by itself. However, the hot glue does hold the letters in place perfectly while screwing them down. It also holds if you want to keep the sign indoors.
The last step is also optional. If you plan to place your sign outdoors you’ll want to spray it with a clear coat to protect the finish from weather. Apply 1-2 coats according to the product’s instructions.
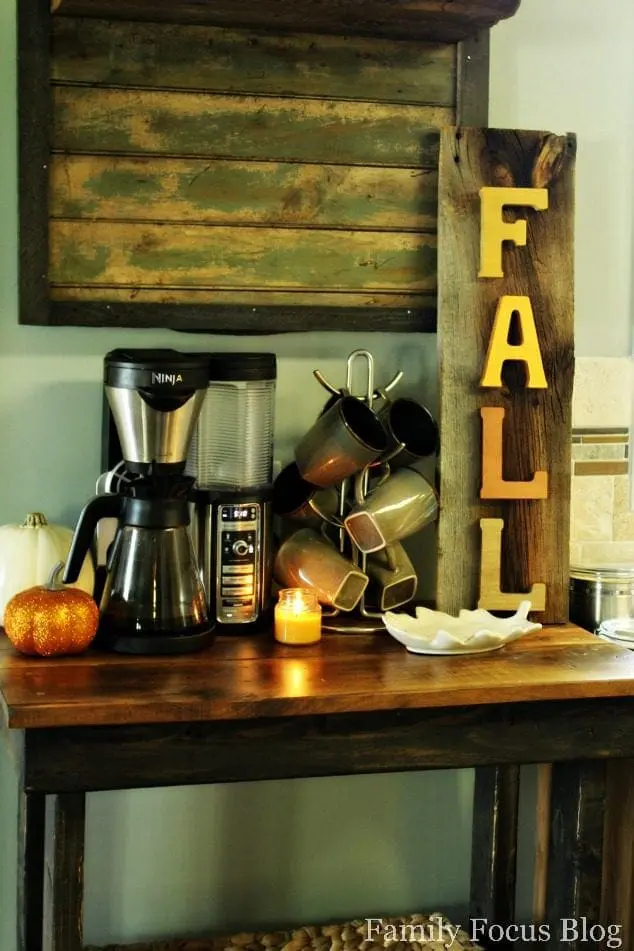
Once your clear coat is dry, hang or place your sign and other rustic fall decor! It’s raining like crazy here today so my fall sign is on my coffee bar. I like it here so much it might just stay there! You can also make a fall centerpiece to coordinate with those same colors.
Conclusion
A homemade fall sign adds a warm, personal touch to seasonal decor, making any space feel cozy and inviting. Crafting your own sign allows you to customize colors, fonts, and messages to match your style, whether it’s a rustic wood sign with hand-painted lettering or a modern design with stenciled graphics. It also brings a sense of creativity and nostalgia. Plus, DIY fall signs are budget-friendly and can be made with repurposed materials, adding charm while celebrating the beauty of autumn.
Do you think you will try this diy rustic decor project? I’d love to see how yours comes out. Tag us @familyfocusblog!
Related Posts:

montanahappy.com says
Very beautiful sign…perfect rustic touches