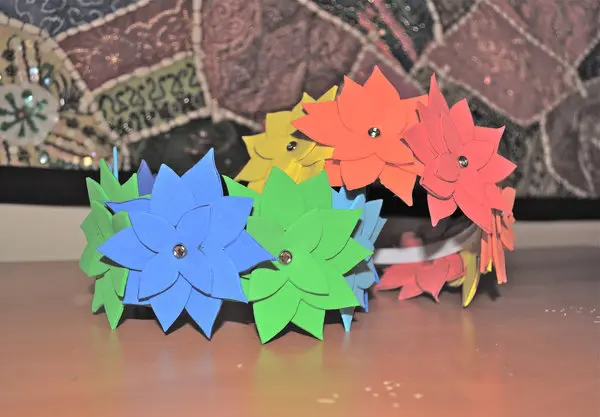
This is a step-by-step tutorial for a DIY headband. To decorate the homemade headbands, we use foam sheets to create layered flowers. This is an easy and inexpensive way to make a personalized headband and a great craft for older kids! You can create a variety of flowers by using different colors of foam sheets and patterns. The brads used to cinch the flower layers together and also serve as the decorative flower centers, also come in a variety of colors, textures, and styles. These DIY floral headbands are easy to make and easy to customize by adding more or less flowers, sticking to a color theme, or matching a specific outfit.
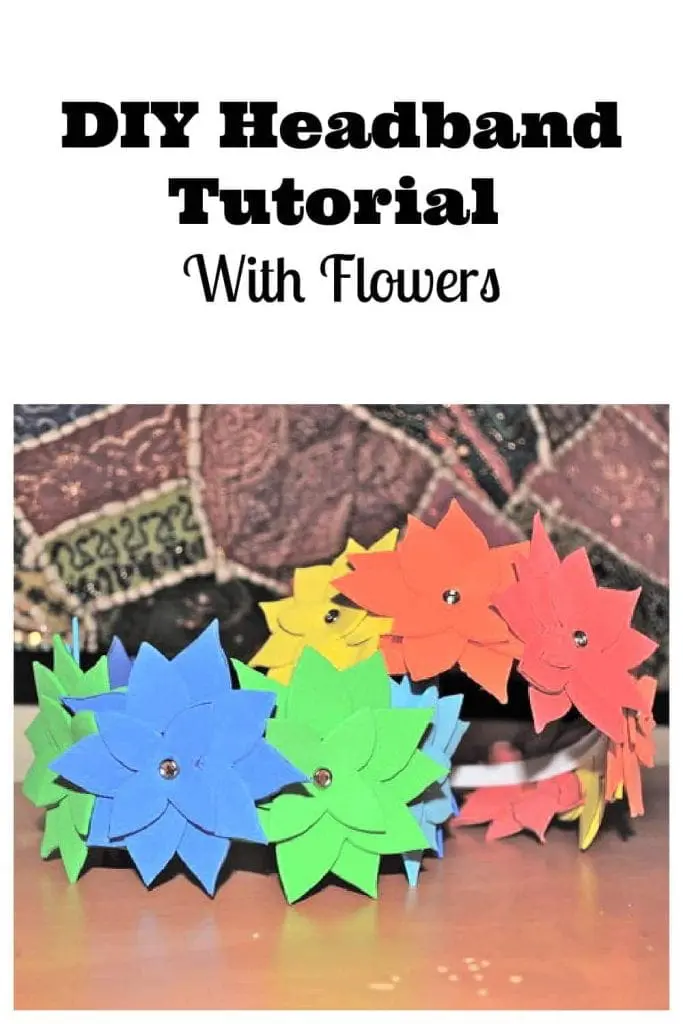
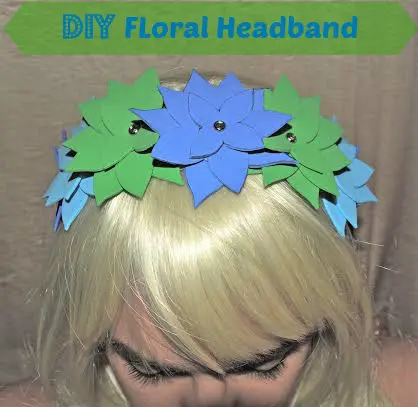
DIY Flower Headband
Making a DIY flower headband is a fun and rewarding project for several reasons:
- Personalized Style – You can customize it with your favorite flowers, colors, and materials to match your outfit or theme.
- Budget-Friendly – Store-bought floral headbands can be expensive, but making your own saves money and allows you to use materials you already have.
- Creative Expression – It’s a great way to explore your artistic side and create something truly unique.
Ready to make a new headband? First, gather your supplies.
Craft Supplies for Homemade Headbands:
- Foam sheets (in different colors for flowers)
- Simple Headband
- Hot glue gun
- Rhinestone Brads
- Pen or pencil
- Scissors
- Glitter optional
The craft foam sheets are available through my affiliate Amazon link.
The plain headbands are the base that you will add the flowers to so you won’t see much of it in the end. Any type of basic headband will do.
How To Make Homemade Headband (Simple Steps):
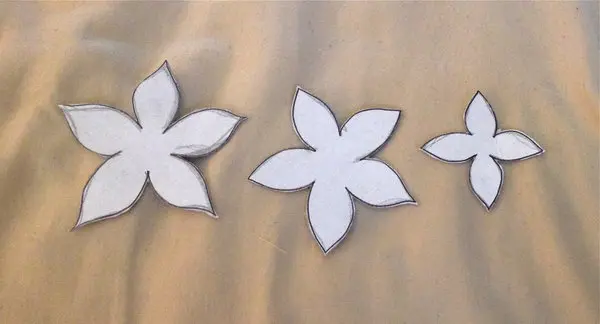
- First, you will need to create a flower stencil. You can create your own or find a pattern online. Go for two or three different sizes so you can stack them and get a 3D effect for your DIY flower headband.
2. Using the stencils you have created, trace around them onto the foam sheet.
3. Next, cut out your foam flowers.
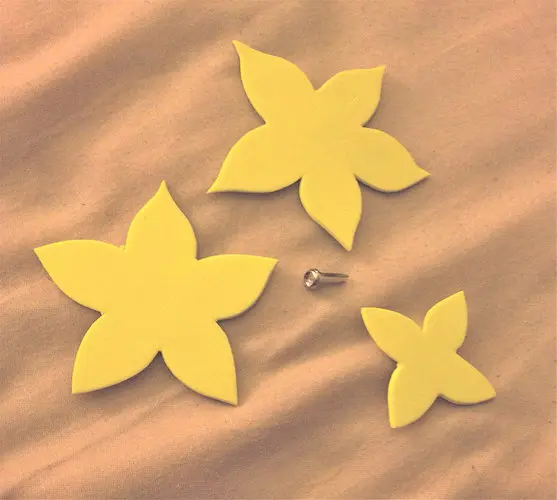
4. Stack the patterns on top of one another and stick the brad into the center. Fold the prongs over to secure the flower.
5. Create as many flowers as you would like to put onto the headband in any color you prefer. For this specific head band I used 7 flowers.
6. Add glitter for decoration. Optional.
7. Lastly, use your glue gun and glue the flowers onto the headband. (If a child is doing this craft with you, be sure to exercise care with the glue gun and make sure they understand that glue guns can get hot enough to burn.) Make sure you allow the glue to dry fully and then you are done. Place on top of your head and enjoy!
Flower headbands are great for weddings, festivals, baby showers, or just for fun dress-up with kids.
Printable DIY Floral Headband Instructions
DIY Headband Tutorial With Flowers

Ingredients
- Foam sheets
- Headbands
- Glue gun
- Rhinestone Brads
- Pen or pencil
- Scissors
- Glitter optional
- flower petal stencils
Instructions
- Use cut out flower stencils to trace around them with a pencil onto the foam sheets. Create three foam flower layers for each flower you wish to add to the headband.
- Cut out foam flowers.
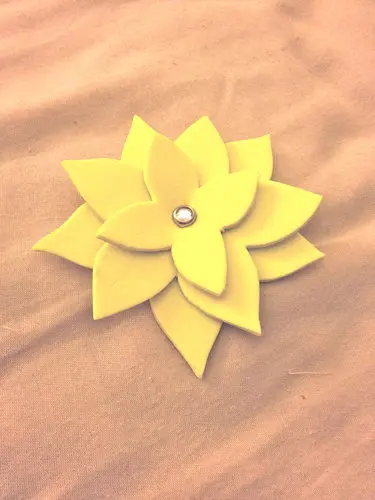
- Stack the flowers in sets of three from smallest to largest. Twist to get petals to overlap in the way you like them.
- Insert a brad into the center and fold prongs over to secure them.
- Use hot glue gun to secure flowers onto the headband where you like them.
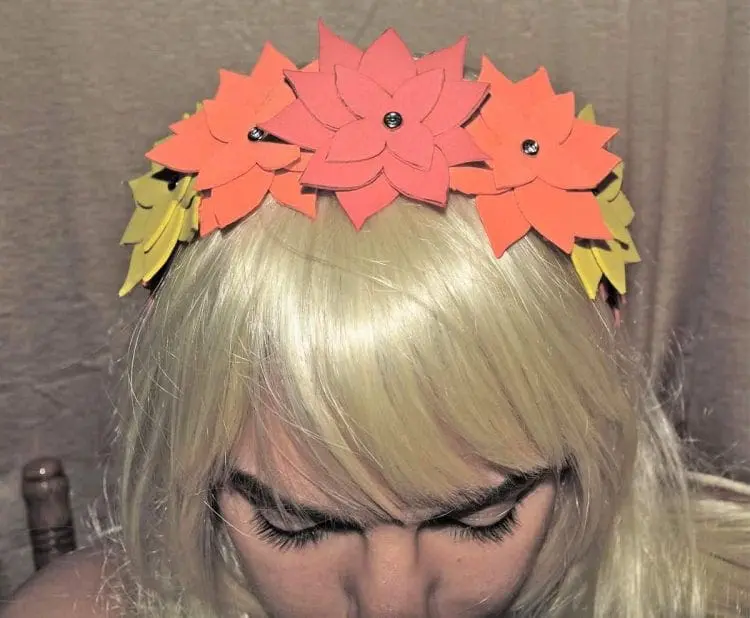
- All done and ready to wear!
How To Make A Floral Headband Conclusion
Creating your own floral headband is a fun and rewarding way to express your creativity while making a beautiful, personalized accessory. Whether you’re crafting for a special occasion or just adding a touch of nature to your everyday style, this DIY project allows you to customize colors, textures, and designs to suit your taste. Plus, it’s a budget-friendly and relaxing activity that brings a sense of accomplishment. Now that you know the steps, gather your materials and start crafting your perfect floral headband! These make great gifts too.
How often do you make DIY projects? Have you ever used foam sheets for your projects? Would you make this DIY headband? If you make a DIY floral headband, be sure to share it with us on our Facebook page, Twitter, or Instagram @familyfocusblog. We’d love to see how you creatively personalize your DIY flower headband!
Related Posts: