This is a step-by-step tutorial for DIY gold leaf ornaments! These make a great decorating statement, whether you place them in a bowl for the dinning room table or hang them on this years tree. As if your tree and home isn’t shiny and sparkly enough; these ornaments are classic yet modern. Let your creative flag fly by switching up the colors. Try blues, silvers, greens and whites! You can even bring the kids to the table and let the whole family make their own gold leaf Christmas ornaments!
About Metal Leaf Crafting
Metal leaf is a type of thin metal foil that is often used in art and decoration to create a shiny, metallic finish. Common types of metal leaf include gold leaf, silver leaf, and copper leaf. There also simple craft metal leaf sheets and flakes that are fake so that they cheap enough for everyday crafts. For example, this craft uses imitation gold leaf flakes that you can buy from stores like Michael’s, Hobby Lobby, craft stores, or though my affiliate Amazon link.
Sometimes metal leaf is applied to surfaces using a technique called gilding. However, this craft is easy as it just requires gold flakes which provide an element or sparkle and shimmer.
Gold Leaf Ornaments DIY Craft Instructions
Craft Supplies:
- Glass ornaments
- Acrylic paint
- Imitation Gold Leaf Flakes
- Clear nail polish
- Workable fixatif (available through my amazon affiliate link here)
- Paint brushes
- Foam brush
How To Make Craft Gold Leaf Ornaments:
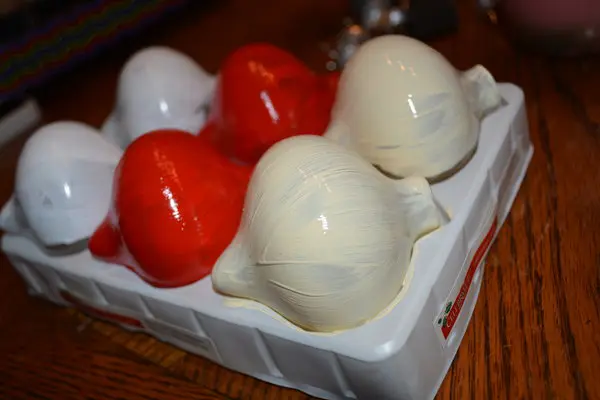
- Start off by taking the tops off of the ornaments. This will ensure that the tops stays paint free.
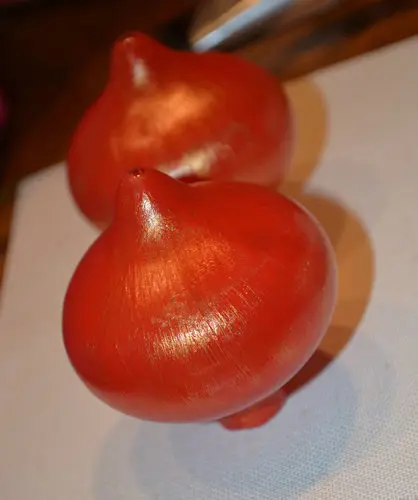
- Next, using a brush paint the outside of the ornament. I chose red acrylic paint.
- Place those upside down and allow to dry.
4. Once, it is dry grab either a gold or silver acrylic paint and a foam brush. I chose gold.
5. Brush the gold onto the ornament. You do not want this to be a thick layer so spread this paint so it looks sheer. It just gives a metallic glaze to your painted ornament.
6. Let this dry. Once it is dry you can put the top back on the ornament.
Now it is time for the gold leaf!
In order to put the gold leaf onto the ornament we need to use an adhesive. I personally use clear nail polish because glue tends to dry with a slight cloudy finish.
7. Apply the nail polish to the top part or the entire ornament and apply the gold leaf. Use your finger tips to tap the gold leaf. This can be a very messy step.
8.Finally spray the ornaments with workable fixatif. This will keep the gold leaf from flaking off. Enjoy!
Gold Leaf Crafts Conclusion
Creating gold leaf crafts can be a rewarding and fulfilling activity for several reasons:
- Luxurious Look: Gold leaf adds a touch of elegance and opulence to any project, making ordinary objects look extraordinary.
- Unique Finish: The shimmering, reflective quality of gold leaf creates a distinctive and eye-catching finish that can’t be replicated with paint or other materials.
- Artistic Challenge: Working with gold leaf requires patience and precision, offering a satisfying challenge for crafters and artists.
- Personalization: Gold leaf allows you to customize and personalize items, making them unique and meaningful.
How do you like to decorate for the holiday? Do you enjoy Christmas ornament crafts like this one? Would you try this DIY gold leaf ornament tutorial this holiday season? If you do, be sure to share your creations with us @familyfocusblog!
Related Posts:
Fingerprint Christmas Ornaments: Craft for Kids
Make Unique Christmas Ornaments With Your Child: Stuffed Ornament Craft


