Do you like festive crafts? We sure do! My kids love crafting and we love any excuse to make cute crafts for any kind of holiday. If you are looking for an easy and fun craft to make for Halloween, this is a perfect idea for you! The items needed for these Halloween milk jug luminaries are more than likely already in your house. This is the perfect craft for your child to help with. If you collect a few empty milk jugs from now until Halloween, you can make a few Halloween ghost lights. These DIY milk jug luminaries are perfect to line your driveway or sidewalk. They make great halloween decorations and help your visitors see the walkway more clearly.
Plastic Milk Jug Lights Craft
Plastic milk jug luminaries are so cute and easy to make! Your kids will love getting to draw different faces for each of the milk jug ghosts. Then you can just recycle them after the Halloween so you don’t have to store anything big and you still have super cute decorations for your walkway!
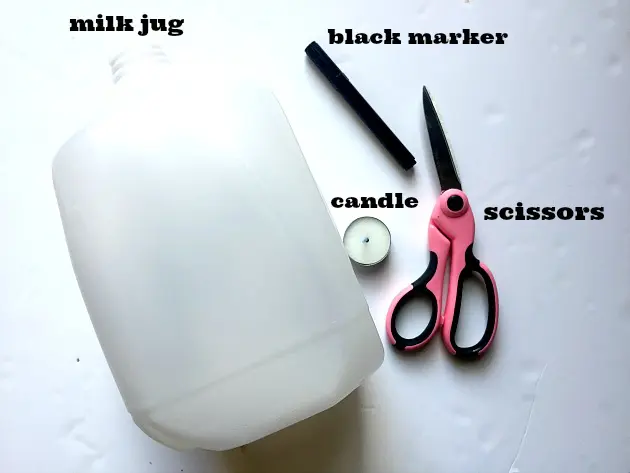
Supplies Needed For Halloween Milk Jugs Ghost Lights:
- Empty plastic milk jugs (can be a lemonade or tea jug as well)
- Black Permanent Marker
- Scissors
- LED Tea Lights, Small Candles, glow sticks, or string lights
Real candles can be a fire hazard. Therefore, only use the votive candle option if you are are setting up a trick or treat table outside where you can keep an eye on them the entire time they are lit. The glow sticks, LED tea lights, and LED light strand make the safest options.
I like clear-ish milk jugs better than milk cartons because they look cooler and allow the light to spread further. Glass milk bottles could work too but it will be harder to see the ghost faces since they are completely clear and the black won’t show that well against it at night. Plus, glass can be a hazard as well if they get kicked accidentally.
Gather your craft supplies for the Halloween milk jugs and clear a spot at the table.
How to Make Luminaries Out Of Milk Jugs:
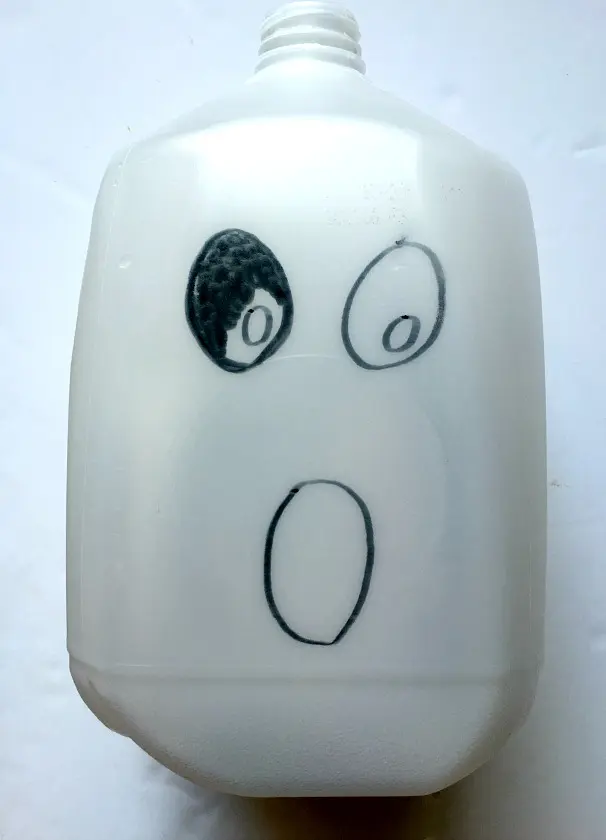
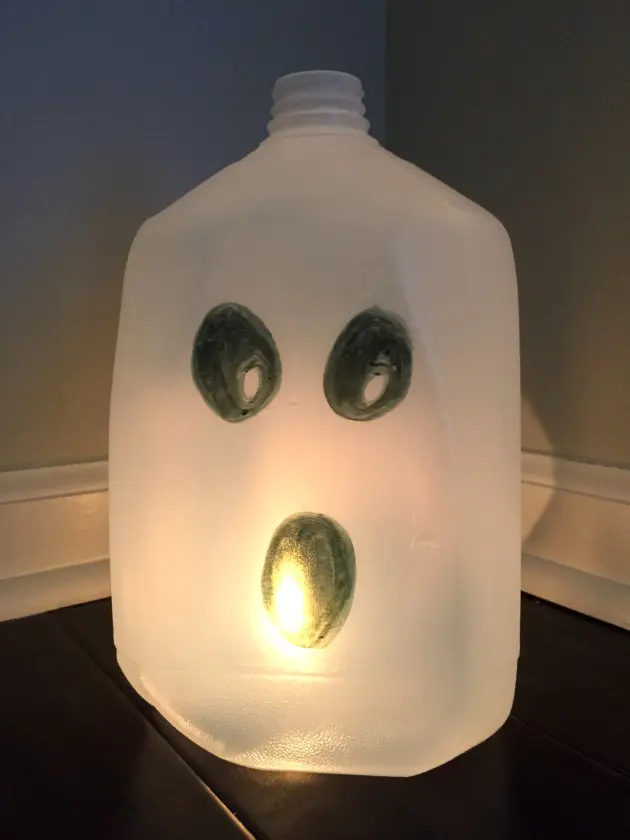
Start with your jug and black marker. Draw a ghost face on the flat side of your jug. It can be any kind of ghost face you want! A silly face, scary faces, a friendly face…anything! Once you have drawn the faces for your milk jug ghosts with your black permanent markers, go back and color them in.
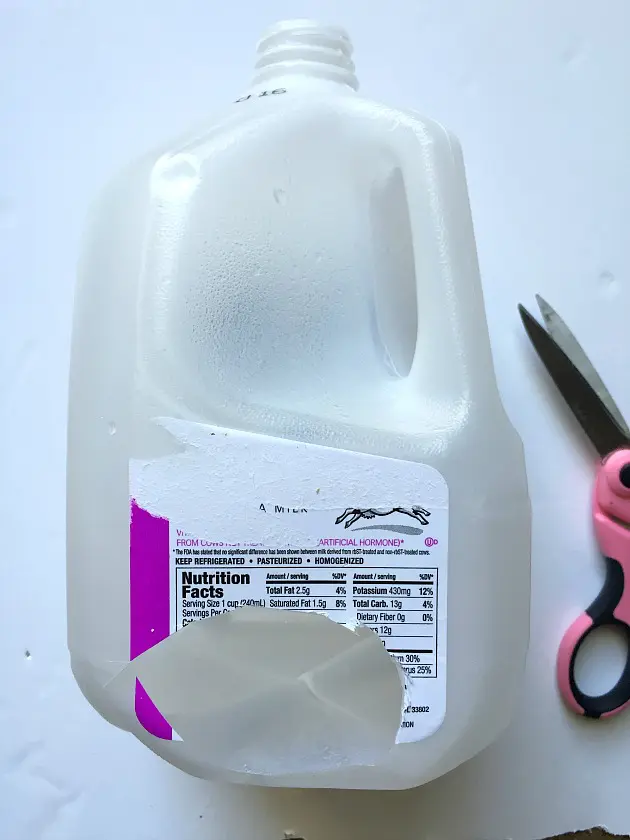
Once your milk jug halloween faces are drawn and colored in, turn the milk jug over to the back. Take your scissors and carefully cut a hole about 3-4″ long and a couple inches high. Make sure to cut it near the bottom of your jug so you can easily slip the LED light or candle in. Or if you prefer you can skip cutting the hole in the jug and make milk jug ghosts with glow sticks. Just drop those in through the top after you activate them.
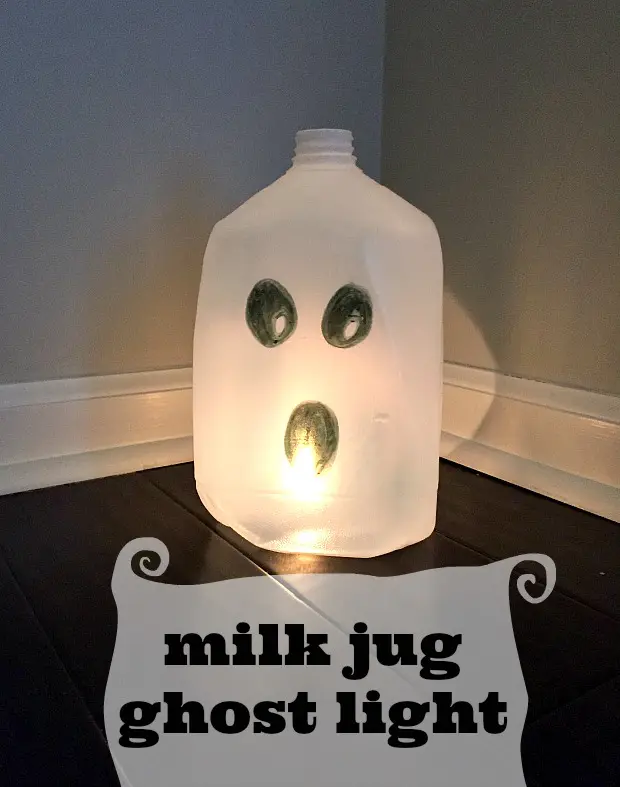
Once you have cut the hole in the back of your jug for the candle, you are ready to slide your candle or LED light in and “turn on” your milk jug ghost light! Place your halloween ghost lights anywhere from a front porch to a mantle. If you are a little leery of having an open flame near your small child, you can always use an LED tea light candle instead! If you choose to use a candle make sure to never leave the flame unattended. You can opt for a LED tea light candle if you are using your milk jug ghost light as indoor decor or you can make several Halloween Milk Jug Luminaries and use an old string of Christmas lights to light up a whole walk way.
Conclusion
These DIY Halloween milk jug luminaries are a budget-friendly and eco-friendly way to enhance the festive atmosphere during Halloween. Feel free to customize the designs and get the whole family involved in creating a unique set of luminaries for your Halloween celebrations. Enjoy the spooky glow from your homemade Halloween luminaries! Have you made any milk jug crafts before? Give this simple craft a try to add a cute homemade Halloween decoration to your driveway this Halloween night!
Related Posts:
Raws says
I love these milk jug ghosts!! This looks like a fun and useful Halloween craft. Thanks! I will ensure that the plastic milk jugs are thoroughly cleaned and dried before starting the project. Then I will use a black permanent marker to draw Halloween-themed faces for the ghosts. That part will be so much fun! These glow stick milk jug ghosts make such cute halloween lanterns.