Have the “Coffee & Canvas” type learn to paint classes hit your area yet? Those painting tutorials are really the “in” thing here these days whether it is for a girls night out or a date night (make that wine & canvas) or for your child’s birthday party. These events take a painting that looks great on the wall, that seems like it would be challenging to create, and break it down into simple to follow steps that show you how to create your own that will look equally great on your wall! You can try to follow this step-by-step tutorial as closely as possible or get a little more creative depending on your comfort level and abilities. Today I’m going to show you How To Paint a Cardinal Winter Scene in 10 Steps.
Painting this red cardinal bird will be similar to the way you would learn at one of these classes but you can follow along at home! So, grab a cup of coffee and your canvas and let’s get started!
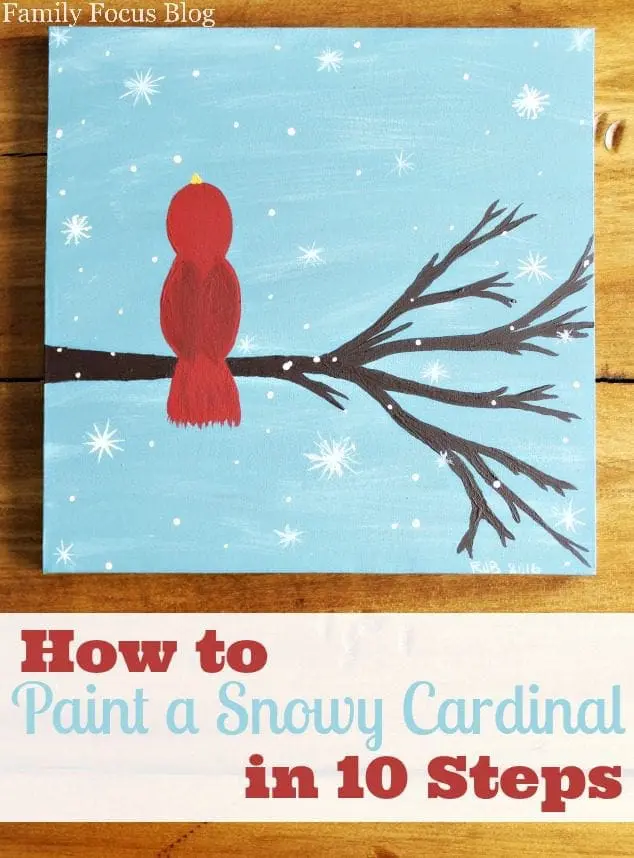
Cardinal Painting Easy Tutorial With Winter Scene
Cardinal paintings capture the vibrant beauty and symbolic essence of one of nature’s most beloved birds. Known for their striking red plumage and graceful presence, Northern cardinal birds often symbolize hope, love, and resilience, making them a popular subject in both traditional and contemporary wall art. Whether perched in snowy landscapes, nestled among blooming branches, or depicted in abstract forms, these paintings evoke a sense of tranquility and inspiration. With their vivid colors and timeless appeal, cardinal artworks are cherished additions to home décor, gifts, and personal collections alike.
Art & Craft Supplies For This Easy Bird Painting:
- Canvas – size of your choice
- Acrylic Paints – grey, white, red, brown, and orange
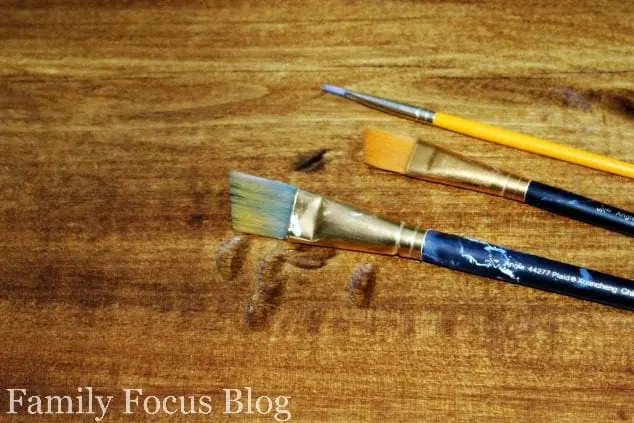
- Paint Brushes – several sizes are helpful as are a flat brush and a round brush
- Plates, Cups, and Bowls – for pouring your paint out
- Bird Template
- Pencil
- Water – for cleaning brushes
- Newspaper – to protect your surface
- Paper Towel
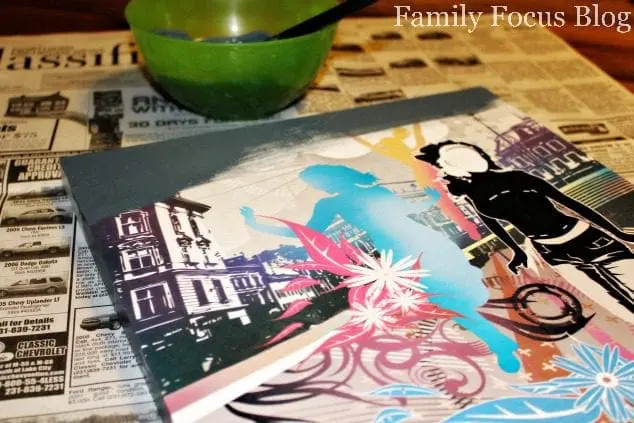
Tip: I bought several canvas prints at a dollar store a while back for just $1 each. They were not anything I ever planned on putting up as decor but I knew that I could paint over them and they were much cheaper than buying plain white canvas from the craft store or craft department.
These are the types of paint brushes I used for this project. When you wash them well after each use, your brushes can be used over and over.
How To Paint A Cardinal In The Snow [Step By Step Instructions]
Begin by covering your work surface with newspaper to protect it. Note that I did not put an easel on the supply list. You certainly can use one if you like but it is not necessary.
Fill a couple of cups with water and when brushes aren’t in use or between colors simply place brushes in the water. Dry them on paper towel before painting with them.
Step 1- Prepare Canvas
Using your largest brush, approximately a 3/4″ wide brush, cover your entire canvas with the grey paint. You should cover the sides as well as the face. This will allow you to display your finished piece without having to frame it. This first layer of paint should be smooth but does not need to be perfect or cover completely.
Here you can see that I am using one of my dollar store canvas finds.
Step 2- Second base layer
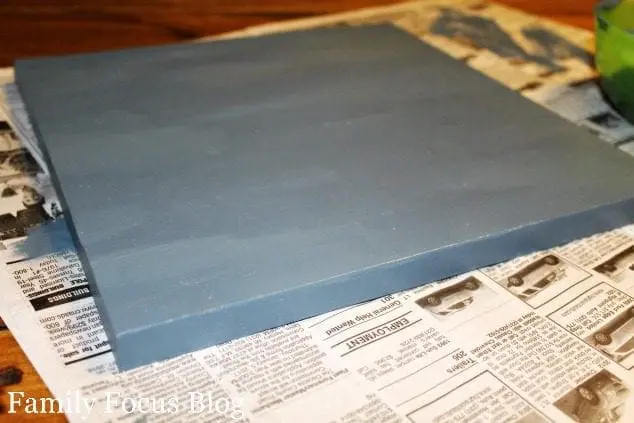
After the entire canvas has been covered and has dried for several minutes put a second layer of paint on. The first layer of paint should be dry to the touch before starting the second. This is important or it will just pull the paint off of the canvas.
The 2nd layer of paint is especially important if you’re covering a canvas like I am rather than using a new white canvas to be sure the original image is covered.
Step 3- Add white streaks
Using the same brush add a small amount of white to the tip and brush on light strokes of “snowy wind” across the grey canvas. While the white is still wet dip the same brush into the grey and blend the white a little bit. Work in small sections, from top to bottom until you’ve covered the canvas.
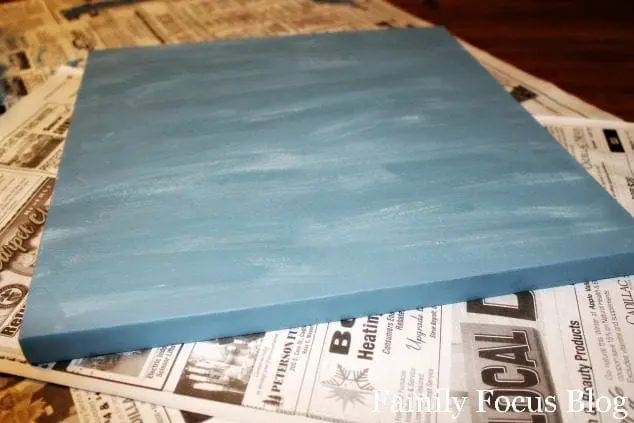
Step 4- Print included bird template
Print the free printable bird template. Then cut out the bird and trace an outline of the bird onto the canvas where you want it to “sit” with a pencil. You can click the image below and select print to print your free bird template or drag it to your desktop and then use file to select print.

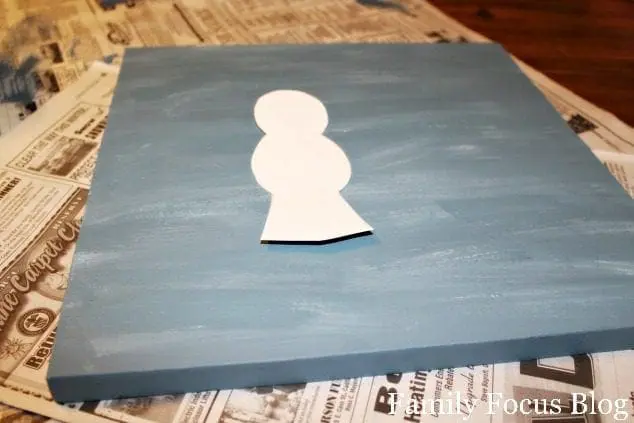
Step 5- Outline cardinal bird
For the first step in how to paint a cardinal, use a medium size brush, approximately 3/8″ brush, with red paint to outline the cardinal you traced in thin line.
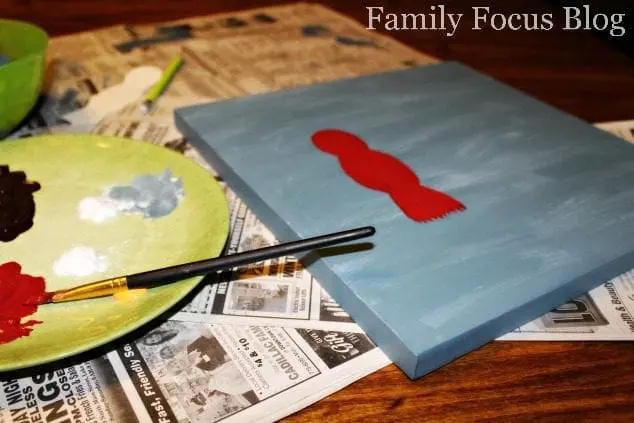
Step 6- Fill in bird
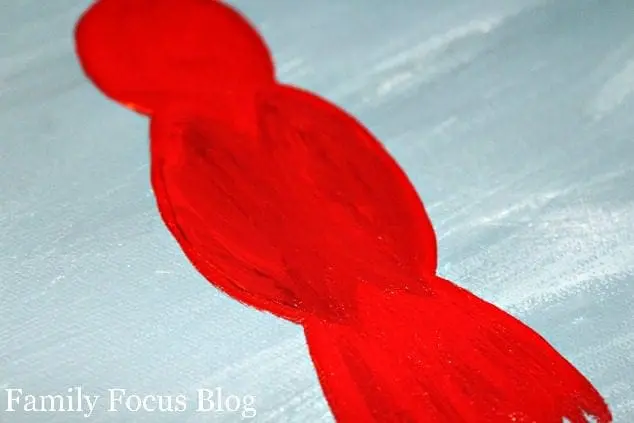
Using the same brush fill in the bird. Cardinals are beautiful red birds with color variations but dark reds are the best place to start.
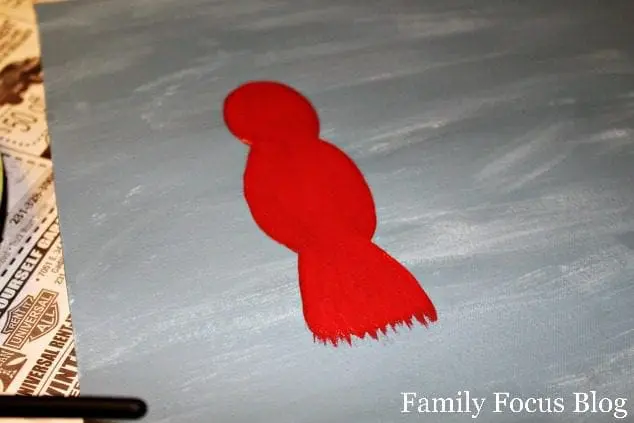
Holding the brush almost up and down and pulling it downward helps to create the tail feathers like you see above.
Step 7- Add detail
For the final step in how to paint a cardinal, you will add a detail and depth. Dip the same brush into the brown paint, adding just a small amount of brown, and then back into the red. Add a “wing” to each side of the bird’s back by brushing an oval shape on. You can repeat the downward brushing onto the tail to add a little of the brown to it’s tail as well.
Step 8- Add tree branch outline
Using the medium brush begin outlining the tree branch onto the canvas with the brown paint. The brown is very, VERY dark. You can always make your branch wider but once it is there you can’t really go smaller so start thin if in doubt. You could sketch it on with pencil as well if you feel more comfortable. Be creative with your tree branch. This can be as detailed as you like.
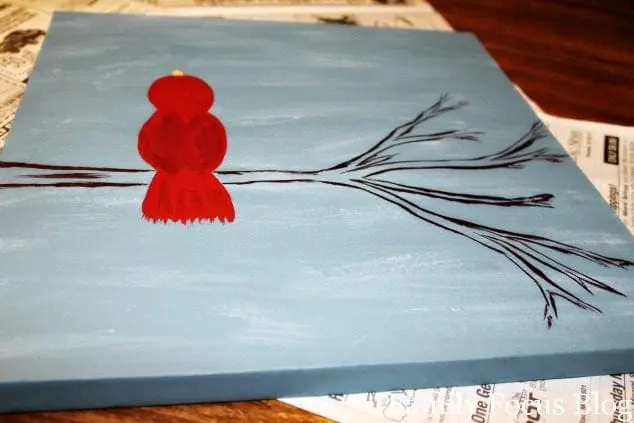
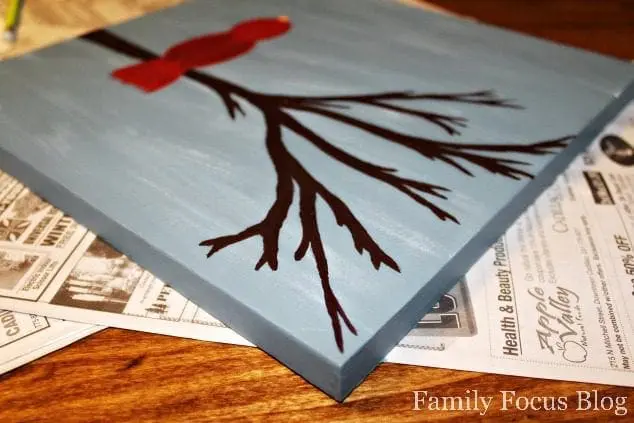
Step 9- Fill in tree branch
Use the medium and small brush to fill in the tree branch with the brown paint.
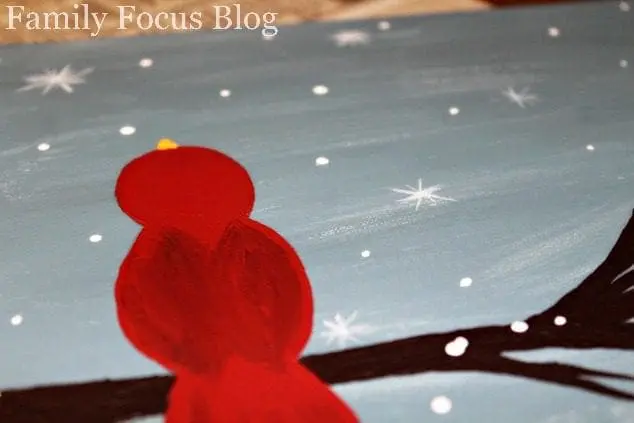
Step 10- Add snowflakes
For the last step, using the smallest brush and white paint add snow and snowflakes to your canvas. The snowflakes are brushed on and again can be as simple or as detailed as you like. The snow is added by dipping the back end of the brush into the paint and dotting it on. Add just a little snow or a lot. This is your creativity at work!
Conclusion
I hope you found this acrylic painting tutorial for how to paint a cardinal snow scene to be fun! This Snowy Cardinal Painting will look great on display all winter long! Put your cardinal bird artwork up in your own home or give this original painting as a gift.
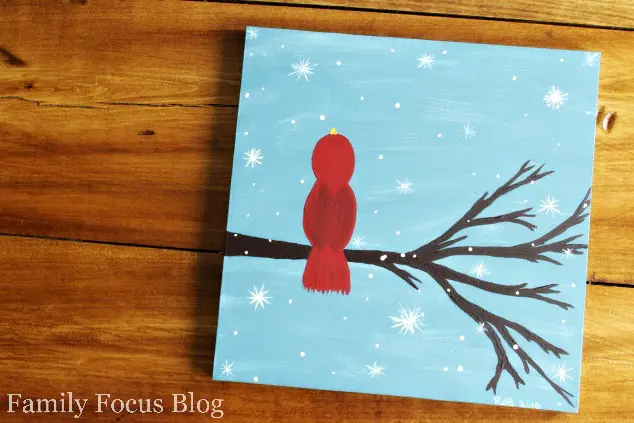
Are you interested in more How to Paint tutorials like this? I’d love to see your original artwork paintings. Share your cardinal paintings with us on social media with #familyfocusblog!
Related Posts:

Janet Foster says
Awesome tutorial! I love your paintings of cardinals birds. It really is a lot simpler than it looks and the process pictures are very helpful. Thank you!
Amy says
A smaller version of this would look great as stationery greeting cards. I love this simple cardinal painting idea. Thanks! So wintery and fun.
Aatif Farooq says
This article is a fantastic resource for beginners! Racquel Bregg’s step-by-step guide made painting a cardinal bird approachable and fun. The tips on color blending and brush techniques were so helpful, and I can’t wait to try it myself!
Kidzonia says
These instructions are great! I’m definitely going to try this. I’ve been seeing those “Coffee & Canvas” type painting classes pop up everywhere lately, and they look so fun. Maybe I’ll try one of those after I practice with this tutorial.
web audience says
This tutorial is perfect for beginners! I love how easy it is to follow along and create a beautiful cardinal painting with just a few simple steps. The use of vibrant red and the winter scene background really brings the artwork to life. Also, great tip about repurposing dollar store canvases—such a cost-effective idea!
Jenny Brown says
This is such a good tutorial for how to paint a bird in a winter setting! Thanks for sharing this.
Rupal pillai says
Such a delightful guide for beginner artists! The step-by-step approach you’ve outlined makes painting a cardinal bird seem so approachable, even for those who are just starting out.
Zuboc says
This simple cardinal painting idea would make a wonderful design for smaller stationery greeting cards! It’s so wintery and fun—thank you for the inspiration!