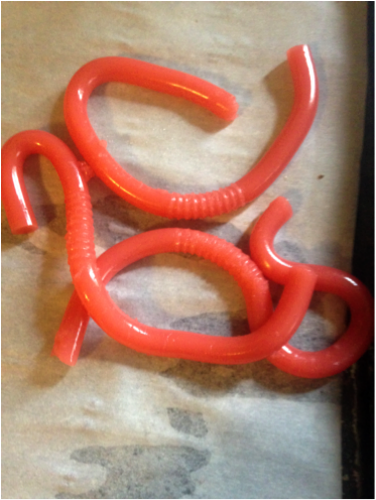
Halloween is on the way! WhoOOo-HoOOO. I am undoubtably a sucker for Halloween recipes. So in honor of the occasion I submit to you my own version of the Jello worms. And I must say these came out delicious! In addition, they’re fun to eat. And not only do they LOOK like worms, they actually FEEL like worms. My addition of pudding mix made them a bit firmer, and they REALLY hold up well.
The Best Jello Worms Recipe
These would be perfect for a Halloween Feel Box, where you have the kids stick their hand in a box and try to guess what’s inside. ECK! That sounds like so much fun.
Unfortunately for me, mine got eaten before I had a chance to try it. They’re REALLY yummy. And somehow, eating something that looks like worms seems to make it taste even better!
I read a lot of recipes online and seemed to see people having the same problems over and over. So these are the two main problems I addressed:
1) Melt too fast
2) Doesn’t fill up the straws all the way so the worms are too short
This jello worm fixes all that! Let’s get started.
Jello Worm Ingredients:
- 3 oz Jello (any flavor, depending on the color you want)
- 1 TBS pudding mix
- ¾ oz Gelatine
- ¼ cup whipping cream
- 3 cups of boiling water
- You’ll also need straws and rubber bands.
How To Make Jello Worms
Making “jello worms” is a fun and slightly creepy treat that’s perfect for Halloween or other spooky-themed events. Here’s a simple recipe to create these wiggly, edible worms:
Step One Prep straws:
Wrap the straws in three rubber bands, one in the middle, one bottom, one top. The one at the very top is extra important, because it makes pouring easier. Stick them ALL the way down in a thin cup. If they barely fit, and you’re really squishing them at the bottom, that’s perfect.
NOTE: I tried the method where I used a bag wrapped around the straws before sticking it in the cup. This did NOT work for me at all.
It was much more messy and frustrating, there were pockets of air everywhere and it made for MUCH more waste. I highly just suggest packing them tightly into a thin cup.
So pack in cup and squish down.
Step Two Make the Worm Juice:
Here is where I fixed the consistency problem some people had. Other recipes had reviews that they would become runny after sitting out for 20 min or so, and that the milk sank to the bottom, and make them look funny. To avoid this, I did two things: (1) Add a TBS of pudding mix. (2) Let the water REALLY boil for about a full minute. It makes everything dissolve quicker, and the water will really be about two and a half cups when it’s done boiling.
So very simply:
Put 3 cups of water in pan and put on high. Let boil a full min or two.
Meanwhile – mix the Jello, Gelatin and Pudding mix in a bowl.
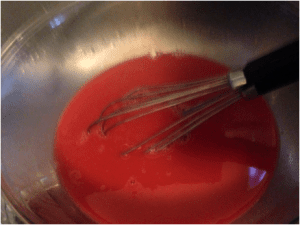
Pour boiling water into the bowl. WISK away!!!
Add milk and wisk some more!
Step Three Pour Into Straws:
The biggest problem I saw people having was that the worms aren’t long enough, because they don’t fill up all the way. Here is where I solve that problem!
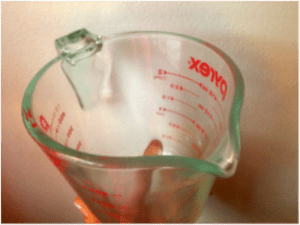
Pour your worm juice into a measuring cup, or anything with a good pouring lip.
Pour about ¼ of the juice into the tops of the straws, try to get at least a little in each straw. A little bit is GOING to come out the bottom into the cup. It’s just unavoidable. Don’t worry about it! This is why we used such a tight fit.
When you’ve poured about ¼ or so of the worm juice in and you think you’ve got each straw, PUT IT IN THE FRIDGE FOR 10-15 minutes.
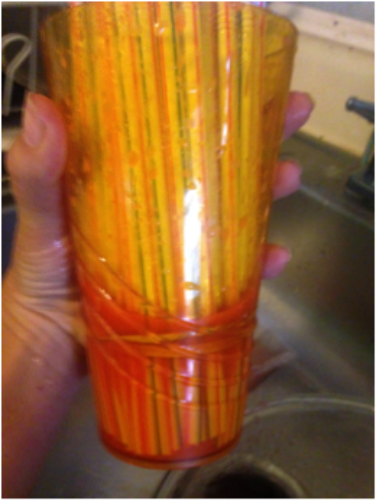
If you skip this step, it just keeps coming out the bottom and you end up filling the CUP, instead of the straws. It really makes all the difference.
After the 10-15 minutes, check your worm juice. It will probably have thickened a bit. No problem! Toss it in the microwave for 10 seconds at a time until it’s thin again. (mine only took 10 seconds, but it might take 20 or 30, just stir in-between) . Do NOT use the worm juice unless if it seems at ALL thickened, it will stop up your straws.
Now go back and fill up your straws. They’ll fill up all the way to the top, easy and quick.
Refrigerate
Stick your pre-worms in the fridge for 3 hours or so. Now your jello worms are ready!
Remove From Straw Molds
Squeegee them out of the straws by gripping one side tightly and pulling your nail along the straw to squeeze them out. I tried to find a way to address this being be bit time consuming. It just… is.
Some people suggested running them under warm water for 2 seconds or so first. You can do this. They won’t melt or get ruined at all. But it didn’t make any difference for me. They weren’t difficult to get out at all, just time consuming to do all 100!
Pop your jello worms in a bowl and serve!
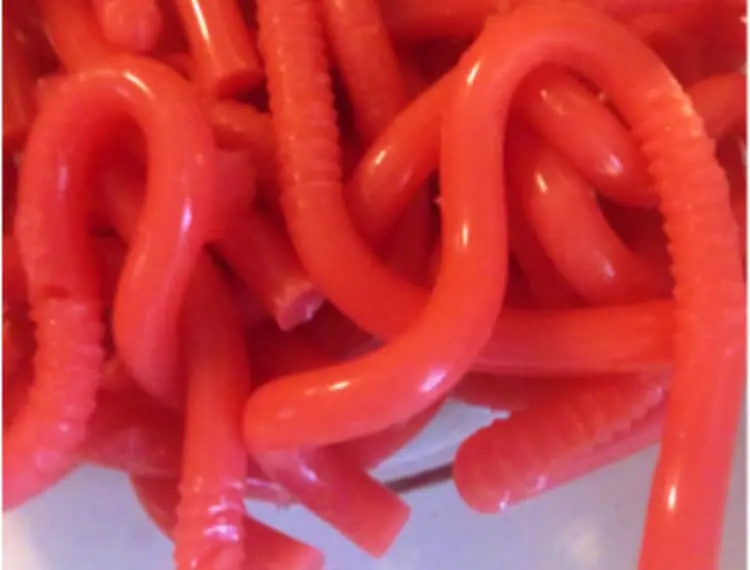
Seriously, these jello worms did not last long before getting gobbled up! They wiggle like worms, they look like worms, and they even FEEL like worms. And there’s definitely something really fun about popping these bite-sized treats in your mouth.
And there are so many colors you can make! Adding green food coloring definitely gives a creepy look. Or make orange and half green for a great mixed look!
Conclusion
Making Jello worms is a fun and creative treat that’s perfect for kids’ parties, Halloween, or just a playful afternoon in the kitchen. With just a few simple ingredients and a little bit of patience, you can turn an ordinary dessert into something exciting and memorable. Whether you serve them in a bowl of “dirt” or enjoy them on their own, these wiggly, colorful worms are sure to bring smiles and spark imaginations. It’s a hands-on project that combines food, fun, and a touch of spooky charm—making it a sweet success every time!
Making jello worms with straws is so fun! Arrange the jello worms on a plate or in a bowl. They can be served as is, or you can get creative by placing them in a bowl of “dirt” made from crushed chocolate cookies. Enjoy your wiggly and spooky jello worms! Kids and adults alike will love this playful and delicious Halloween treat. Come check me out on twitter at @NJFarmScribe and let me know what colors you used for your jello worms, or tell me your favorite Halloween treat. I love hearing from you all!
Related Posts:


Anita says
This is such a fun idea! I love how making Jello worms turns a simple treat into something so creative and playful. Kids would have a blast helping out and then enjoying the wiggly worms afterward. Perfect for Halloween or just a silly weekend project!
Bonnie says
The step-by-step directions make it look so easy, and the end result is such a cool, realistic effect. I can see these Jello worms being a big hit at birthday parties, school events, or even as a surprise snack for family movie night. Such a unique and festive treat!
Deltarune says
OMG, this Jello worm tutorial is amazing! The dedication to making these wiggly, edible worms is impressive, even if getting them out of the straws sounds time-consuming. Definitely trying the green food coloring for maximum creep factor. Who knew dissolving things for a full minute was so critical? Thanks for the extremely helpful, slightly obsessive, step-by-step guide!
James Green says
What a fun Halloween treat to make! These Jello worms are perfect for spooky parties and kids will love them.