Calling all nature lovers! My kids love to be outdoors. Therefore, I am always trying to come up with fun activities that we can do in the backyard. If you have a nature loving kiddo or a child that loves to collect and use their imagination, I think this activity will be right up their alley! This Nature in a Jar Activity was really fun to collect and create a pretty presentation. Since lots of plants are blooming and everything is fresh and colorful right now, your child’s nature jar will be bright and beautiful! This is a simple but fun nature activity for younger kids so get outside and dive into nature! Older children may enjoy upgrading their nature jars in Mason Jar Terrariums. I will provide simple instructions for both activity jars.

Nature In Jar Activity For Kids
Let your child run outside and enjoy the outdoors for this exciting nature collection activity. It is a great chance for kids to learn about things as they collect them. Younger children can focus on learning the names of the items they find while older kids may enjoy learning about the function of the items they find. Good news- the supplies need for making a Nature In A Jar display are quite simple.
Craft Supplies For Nature Jars:
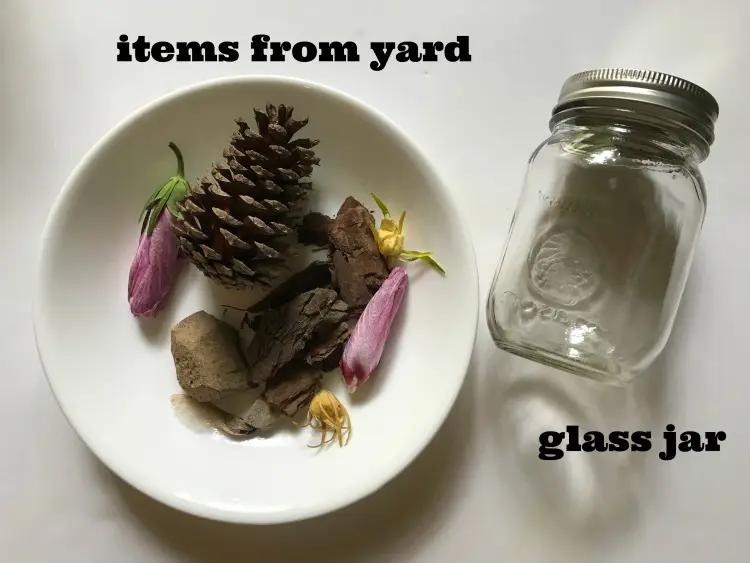
- Glass Jar With Lid
- A bowl or bucket
- Items From Nature In Your Backyard (flowers, mulch, rocks, pinecones, leaves etc…)

Instructions For Fun Kids Activity In Mason Jar
I made this into a nature scavenger hunt to make it more of a game. We went outside to collect items from nature. I held a bowl and my daughter went around our backyard and collected items to place in her jar. I suggested looking for certain things that I knew were in our yard and she searched and found them! She thought that part of the activity was really fun!
Nature prompts can be as simple as-
How many types of flowers can you find?
Or as educational as-
Can you find a tree seed pod that flutters to the ground gently, like it is on wings? Do you think that is helpful to the tree and if so how?
If you need ideas, you could use this Nature Bingo Card for nature prompts.

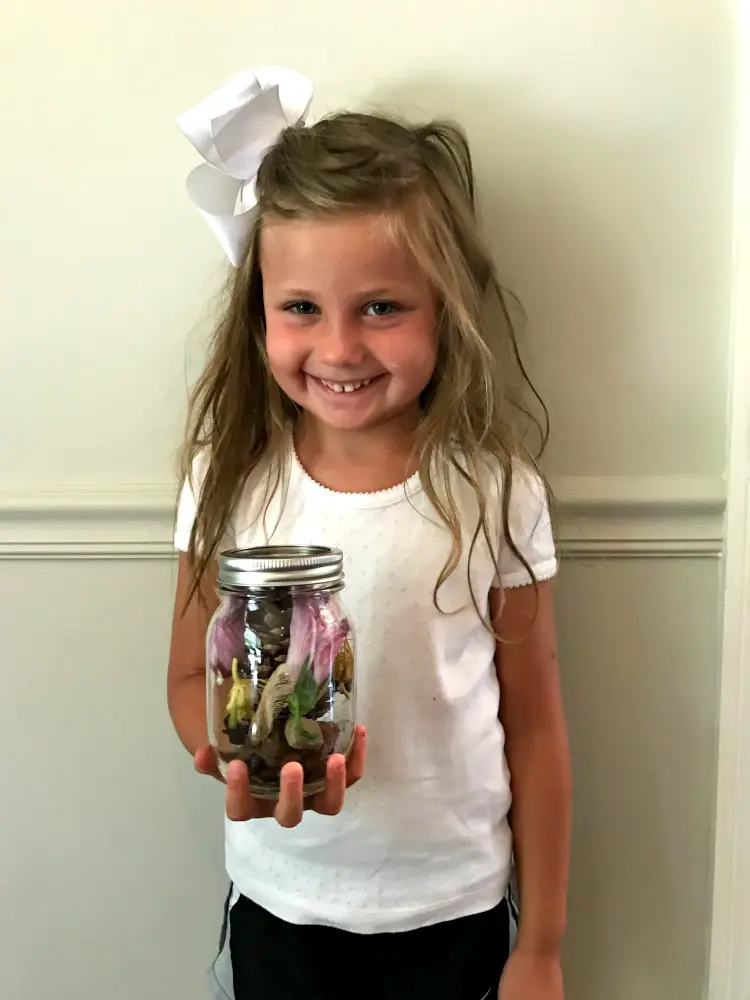
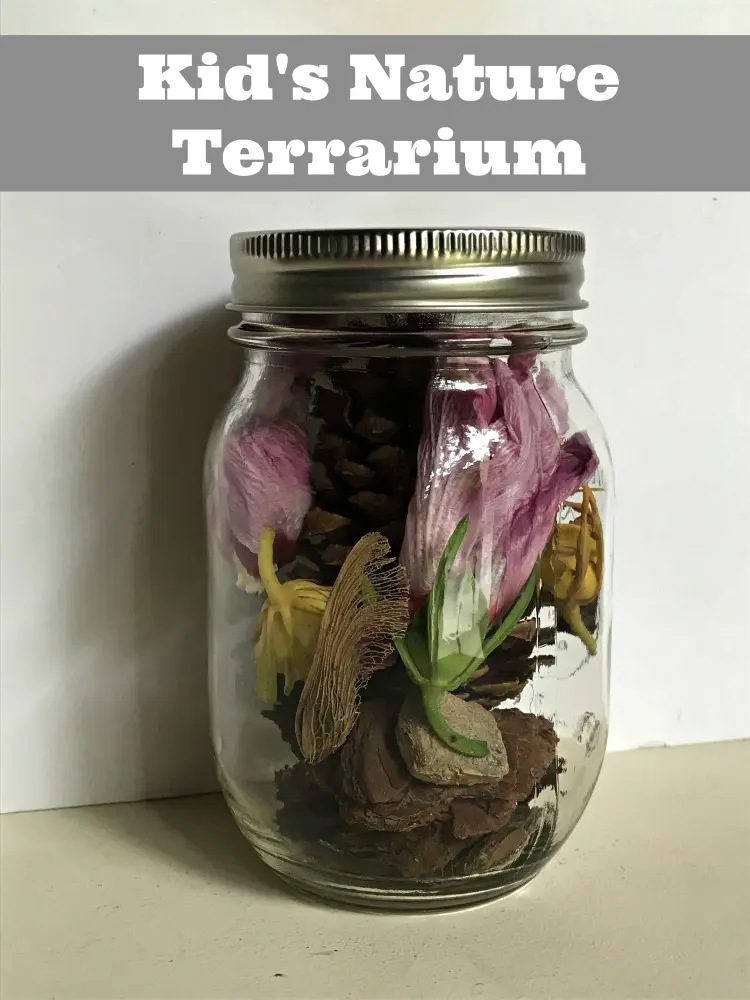
Once she had collected the items she wanted and put them in her bowl, we went back inside and filled the glass jar up with the nature items she had collected. I helped her arrange them so that each item could be seen. The flowers she found are her favorite part of her nature jar! We placed her Nature In A Jar display in her room so she can look at the items and remember the searching for them and learning about them.
If you want your child to develop a green thumb, proceed to the closed terrarium tutorial below!

Mason Jar Terrarium Tutorial
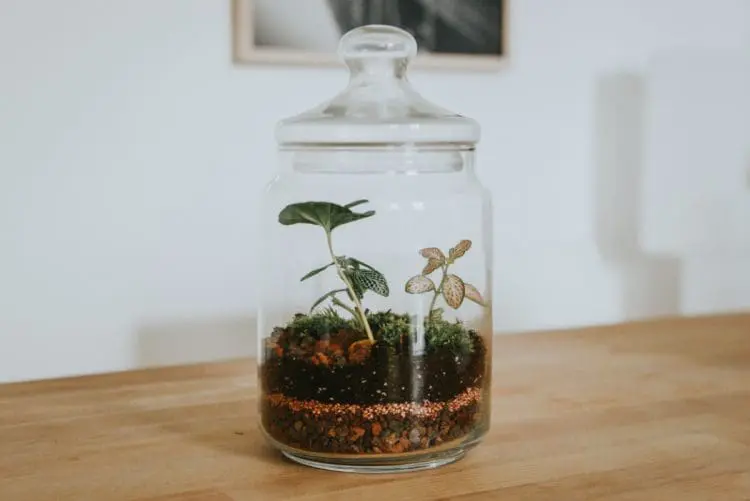
As an upgrade to the nature in a jar activity, an older child can take it a step further and create a mason jar terrarium. You and your child can experience the joy of having a lush and thriving indoor mini garden with minimal effort. These self-sustaining ecosystems can provide you with the beauty of nature and the convenience of low-maintenance gardening. A mason jar makes a very easy sealable glass container for building a tiny green oasis.
Jar Terrarium Ideas:
Ready to learn the art of constructing enchanting miniature worlds within mason jars? Here is the step-by-step process of designing and assembling your captivating mason jar terrarium masterpiece.
Choosing the Perfect Mason Jar
The size of your jar will determine the amount of space available for your plants to grow and flourish. A larger jar will provide more room for creativity, allowing you to experiment with different plant combinations and design elements. On the other hand, a smaller jar can create a more intimate display, perfect for showcasing a single plant or a few carefully selected specimens. A wide-mouthed jar will make it easier for you to design and assemble your terrarium, as well as provide better access for maintenance and care.
Selecting the Right Plants
From feathery ferns to vibrant succulents, the plants you choose will determine the overall aesthetic and how well they thrive within your self-contained ecosystem. Another important factor to consider is the lighting conditions within your chosen display spot for the terrarium. Some plants, such as succulents, prefer direct sunlight, while others, like ferns, thrive in more shaded areas. Use a few babies you have on hand or from your yard or take a trip to the plant nursery.
Creating the Ideal Environment
Most plants in terrariums thrive in humid environments, as it mimics their natural habitat. To create the ideal humidity, you can mist the plants regularly or place a small dish of water in the terrarium to increase moisture levels. However, it’s important not to overwater, as excessive moisture can lead to root rot and other issues. Finding the right balance is key to maintaining a healthy and thriving terrarium.
Designing Your Miniature World
This is where you can really let your creativity shine and infuse your terrarium with your unique personal style.
Assembling Your Mason Jar Terrarium
Start by adding a layer of small rocks or pebbles to the bottom of your jar. This 1 inch layer will act as a drainage system, allowing excess water to escape and preventing your plants from becoming waterlogged. Next, carefully add a thin layer of activated charcoal, which will help to keep your terrarium fresh and prevent any unpleasant odors. Then, add a layer of well-draining potting soil and small plants.
Maintaining and Caring for Your Terrarium
While terrariums are designed to be self-contained ecosystems, they still require occasional watering and pruning.

As you and your child embark on this creative endeavor, remember that your mason jar terrarium is more than just a decoration. It is a testament to your ability to craft beauty on a small scale, to bring nature indoors, and to create a tranquil oasis in a busy world!
Conclusion
Creating a kids’ nature terrarium is a fun and educational activity that brings the beauty of the outdoors inside. Not only does it spark creativity and curiosity about the natural world, but it also teaches children responsibility as they care for their mini ecosystem. Whether you’re using moss, rocks, or tiny figurines, this hands-on project encourages imaginative play and a deeper connection to nature. Best of all, it’s an easy and affordable way to spend quality time together while learning and growing—literally!
Do you have a nature lover at home? Do you think he or she would love this nature activity for kids? This would also make a great Earth Day activity for kids. Feel free to come back and share with us what went into your child’s DIY mason jar terrarium! Show us your nature jars on social media @familyfocusblog!
Related Posts:
