Erika Wassall, the Jersey Farm Scribe, here with the easiest DIY nursing cover tutorial ever. When not breastfeeding, it can be a stylish scarf. If necessary, it becomes a discreet breastfeeding cover. And just how easy is this nursing cover scarf to make, you ask? So easy I made it with my two-week old newborn in a sling around my neck, in all of about 15 minutes. If you don’t know how to sew or don’t have a sewing machine, there is an easy no sew option for you to make your own nursing cover.
I am a brand new mom. We welcomed new baby Oliver to the world two weeks ago. He is our first child, and the world is just a brighter more wonderful place ever since. I may be a bit punchy from lack of sleep, but I’m thrilled to be stocking up on all the cuddles and newborn kisses I can.
And yup, I quite literally made this DIY nursing cover scarf while baby-wearing Oliver (Best. Accessory. Ever.). It’s THAT easy. Plus, if you don’t want to, you don’t have to sew anything!
The Easiest DIY Nursing Scarf No-Sew Tutorial
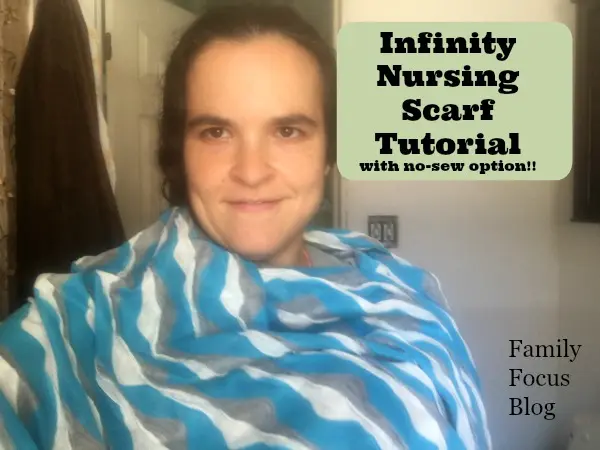
Anyone ever looked for a nursing cover that does NOT look like… well, a nursing cover? I wanted something I can wear proudly like a normal human, and then use for breastfeeding too. Well, they’re out there. And these infinity nursing scarves are about $45 each.
For that price, I made 5!
Breastfeeding Cover DIY Craft Supplies Needed:
- 1 yard of fabric (knit fabric or woven fabric)
- scissors
- measuring tape
- pins
- needle and thread or iron on adhesive (affiliate Amazon link)
How To Make A Nursing Cover Scarf
Step one:
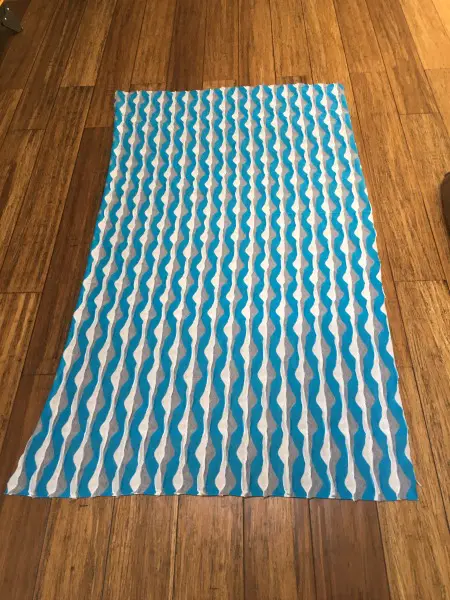
Select the fabric for your DIY nursing cover. You will want a lightweight to mid-weight linen or cotton material, woven or knit. Most fabric you buy is 60 inches wide by 36 inches long so you only need a yard. You will want to cut your fabric down to 60 by 30.
Step two:
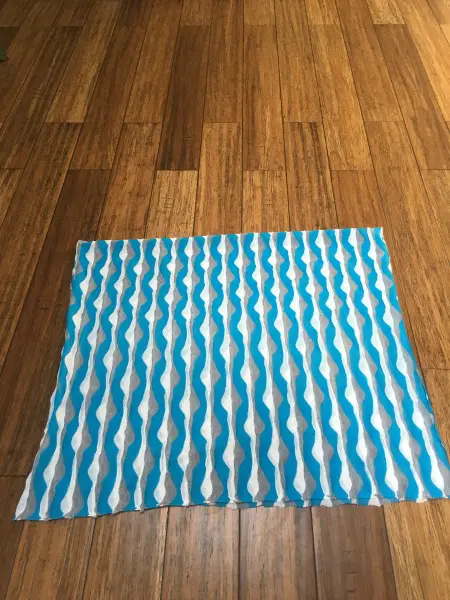
Lay out fabric and fold in half, with GOOD SIDES FACING EACH OTHER. In other words, if your fabric has a printed side, fold in half so that the printed side touches each other. The right sides should face away from you as you fold the long side in half.
Step three:
You are making an infinity nursing scarf so you will want to pin along the raw edges where the two ends meet. So in the photo above, it is the edge at the bottom of the photo. (The doubled over fabric is at the top of the photo.) This creates a fabric loop which you can wear as a bunched up infinity scarf and then spread out and rearrange to function as a DIY nursing cover when needed.
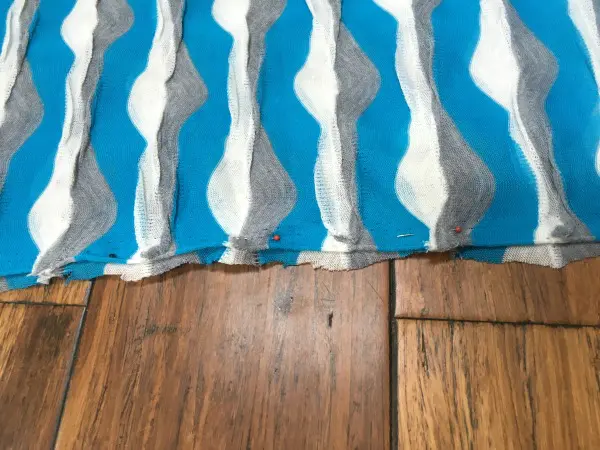
Measure 3/4 inch space from the edge and pin fabric edges together.
Step four:
If you are looking for the no sew option, just insert the heat activated iron-on adhesive into the 3/4 inch you left and iron on according to the manufacturer’s directions.
Or you could sew the 30 inch seam using one of 3 methods- hand stitch, hand held Sew Quick, or sewing machine. You just need basic sewing skills.
I used a hand held Sew Quick. My top stitch was ALLLL over the place. (Like I said, newborn in the sling the whole time.) But I didn’t worry about getting a straight line and it came out great. This is a no-stress project and you really won’t see the hem very much anyway.
Step five:
Trim away the excess fabric after you have finished your seam. If you used the iron-on adhesive, you probably won’t have any excess to trim away. Flip fabric right-side out and ta-daaaaaa! That is how you make a nursing scarf- easy peasy!
Now, you have a stylish infinity nursing scarf in a design you actually LIKE…
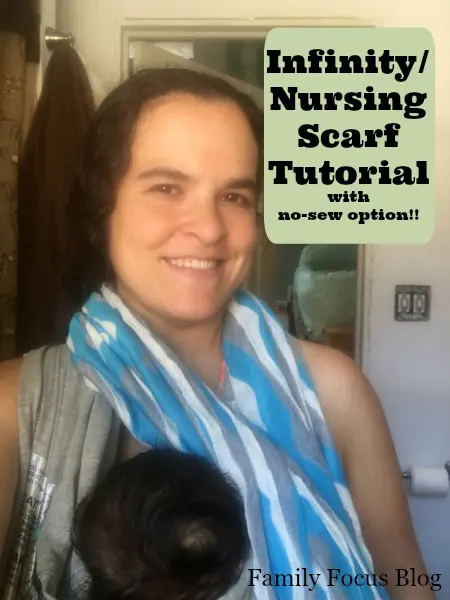
… that also opens up into an easy and simple DIY nursing cover.
Magical money saver. I always keep it in my diaper bag. It is the best nursing cover and it can double as a burp cloth! This also makes a great gift for any mom looking for the perfect solution to maintain modesty and comfort while breastfeeding.
Nursing Cover Tutorial Conclusion
After following the steps to create a stylish and functional infinity scarf nursing cover, you now have a versatile scarf that easily transforms into a discreet nursing cover. This dual-purpose item allows for comfort, privacy, and a sense of style while nursing in public. It’s also a great DIY project that can be customized to suit your personal taste in fabrics and patterns.
Remember, the beauty of this scarf is its convenience—you can use it as a regular scarf when not nursing, and it offers a sense of ease and confidence when you do need to breastfeed. Funny thing is, I would use this easy nursing cover tutorial even if I WASN’T breastfeeding. It’s really just a stylish infinity design scarf that happens to open up into a nursing cover and it provides full coverage. Do you think you will make this homemade nursing cover yourself? Will you chose the no sew option?
Related Posts:
