My kids love making paper chain countdowns when special events are coming up! We have always made one for Christmas and for birthdays. Making a countdown chain is a fun way to keep track of days before going on vacation. It is also great for celebrating someone special coming to visit. They’re more fun than just going each day and looking at a calendar, at least for kids! These are so easy to make and take no time at all. The best thing about making these chains is that you more than likely have everything you need at home already. You can make a simple paper chain countdown and customize it for any occasion.
Countdown Chain Tutorial
This tutorial for how to make paper chains was first shared on August 23, 2016. I made a few updates and I am publishing it here for my new readers to enjoy. If school has already started in your area, make one to count down to Labor Day. I mean, you know you are doing it in your head anyway!
Countdown Paper Chain Craft Supplies Needed:
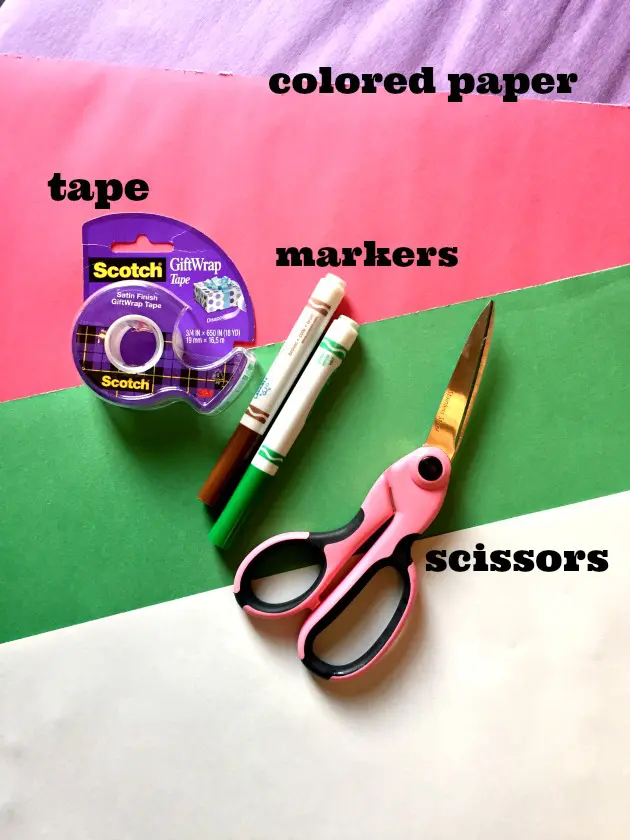
- different colors of paper (construction paper works best because it is a little thicker than regular printer paper)
- scissors
- tape
- markers
You only need a few basic craft supplies for this easy craft countdown paper chain. Your kids are going to love this fun activity! Here is how to make a paper chain in a few simple steps.
How To Make A Paper Ring Countdown Step-By-Step:
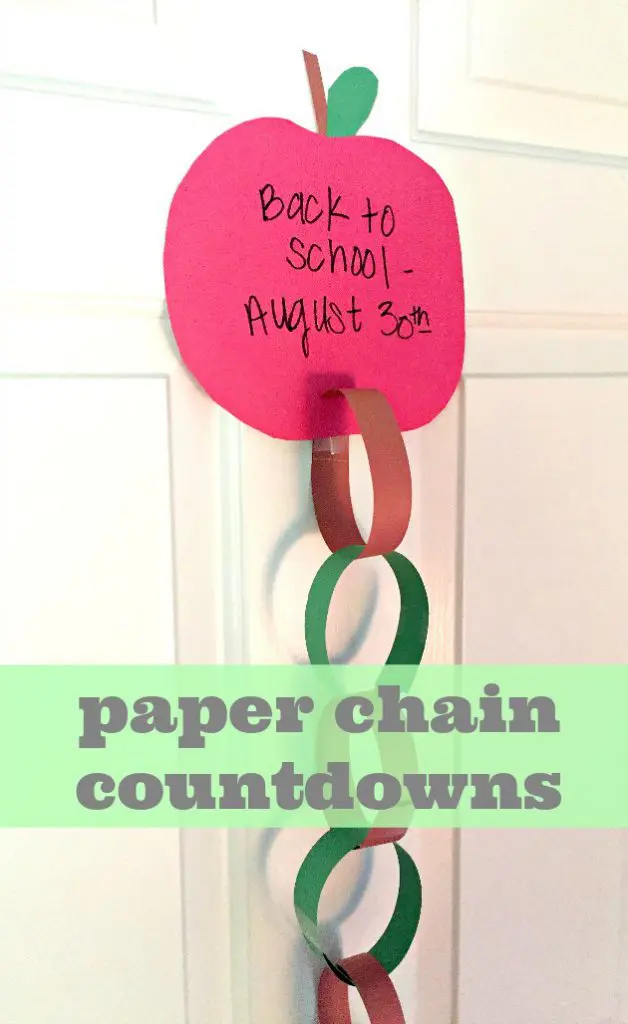
First, you need to choose what occasion you will be making your paper chain countdown for! School has not started for my kiddos yet so we chose to make a Back To School paper chain countdown to help get prepared for the first day of school. This also works well for the end of school and counting down the days of school left.
If you don’t have any special occasions coming up, you could make one for a holiday like Halloween, or even Easter! As a fun variation, you make a paper countdown chain to celebrate Christmas day. Just start with December 1st and it will be sort of like a cool paper advent calendar. It can also double as cute Christmas decorations.
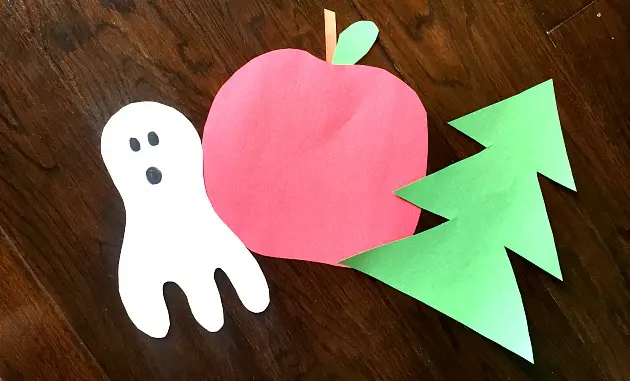
Take your marker and sketch out what your chain will be hanging from. For us, we drew an apple for our back to school chain. If you have a birthday coming up, draw a cake or a present. For a Halloween countdown chain, you could draw a ghost or pumpkin and so on. Cut out your chain topper and set aside.
Next, count how many days till your special occasion. Grab your scissors and several more sheets of construction paper. Cut out paper strips that correlate to the number of days till the big day.
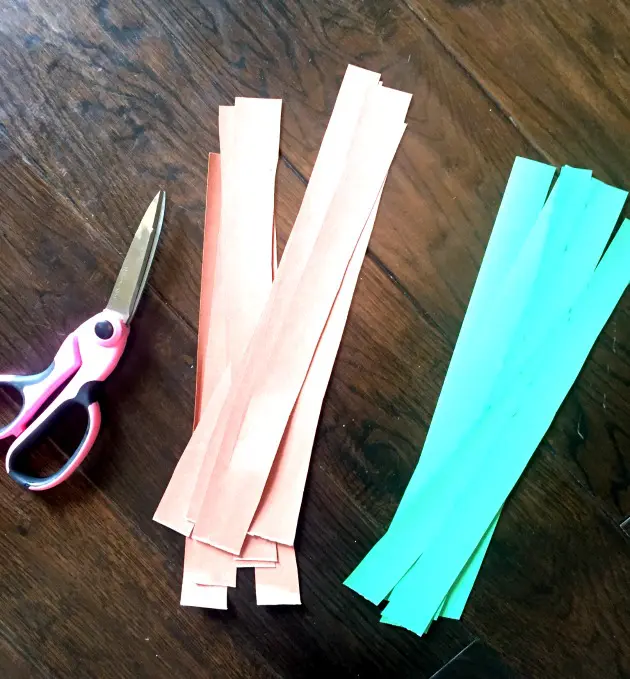
After all your strips of paper are cut out, start taping the ends of each strip of paper together to make loops or rings. Interlock each paper ring to the previous one to create a chain link. For your last link, which will actually be your first loop at the top, cut a slit close to the bottom of your paper chain topper (for us, it’s our apple). Slide the last piece of paper you have into the slit and tape the 2 ends together! Now you have your paper chain countdown!
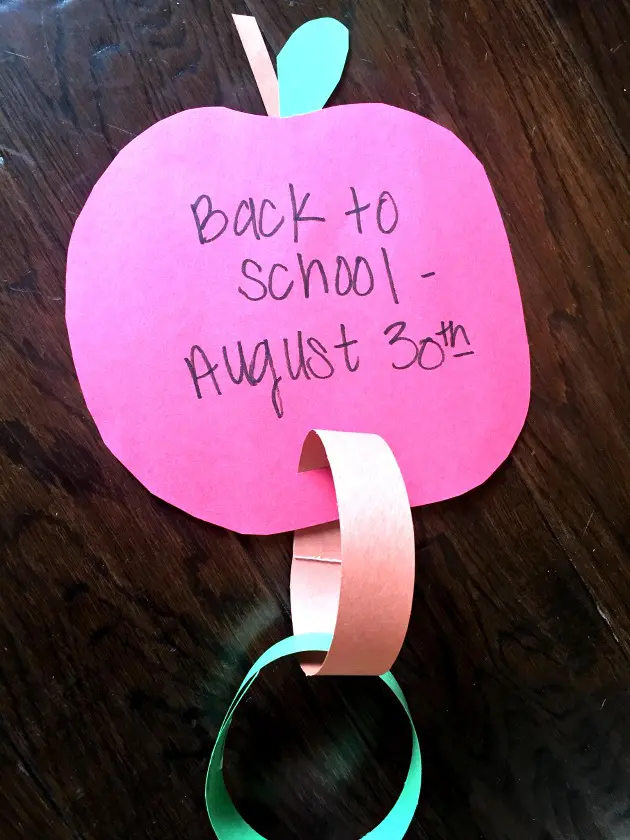
If you want, write your occasion on your paper ring countdown topper and include the date. That is how you make paper countdown chains. Pretty easy right?
Paper Countdown Chain Conclusion
First, make the paper chain countdown as instructed above. Then each day that goes by, young children will have so much fun getting to remove one paper link from the chain. They can see the days literally growing shorter until the big event. It is a simple way to make time fly! This easy craft is such a fun way to celebrate your favorite holidays.
A paper chain countdown is such a simple yet meaningful way to mark the days leading up to a special occasion. Each link removed builds excitement and gives a tangible sense of time passing, making the wait feel more manageable and fun. Whether it’s for a holiday, birthday, vacation, or big family event, this DIY countdown adds a touch of creativity and anticipation. Kids and adults alike can enjoy this. In the end, it’s not just about counting days—it’s about making memories along the way. Have you ever made a paper countdown chain before? Try this fun twist the next time a special occasion is coming up! Kids of all ages love these. Crafts are great for children’s development. Do your kids enjoy crafts?
Related Posts:
Easy Toilet Paper Roll Crafts Kids Will Love To Make

Nina says
What an easy, fun craft. I already knew how to make a paper chain but I never thought of using the paper chain as a countdown chain. My kids will love this!
Gina says
I love the idea that each day kids can remove one link to mark the countdown, making it a great visual way to anticipate special events or holidays.
Kidzonia says
Creating a paper chain countdown is a wonderful activity to engage children, enhancing their fine motor skills and fostering creativity. At Kidzonia, we love incorporating such hands-on activities into our curriculum to make learning fun and interactive. Thank you for sharing this delightful idea!
Chong Pro says
This article is such a fantastic and creative idea for counting down to special occasions! The step-by-step guide makes it super easy for anyone to make a personalized paper chain, whether for back-to-school, holidays, or birthdays. I love how it turns the countdown into a fun, interactive activity for kids, helping them visualize the passing days. The suggestions for customizing the topper are brilliant, and it’s a great way to build excitement. Simple, engaging, and perfect for making memories—this craft is a definite keeper!
Sylvie Zelda says
What a delightful and nostalgic craft! This is such a wonderful way to build anticipation for a special event, especially with kids. The simplicity is brilliant—it’s affordable, customizable, and so much fun to make together. I love the idea of writing little activities or memories on each link. This just became our new favorite family tradition for counting down to the holidays!
Christopher Mitchell says
This article is fantastic! The step-by-step guide to making a paper chain countdown is incredibly easy to follow, and the ideas for customizing the topper are brilliant. My kids will love removing a link each day to see the countdown. It’s a fun, creative way to build excitement for special occasions like back-to-school or holidays. The suggestions for different themes make it versatile too. Simple, engaging, and perfect for making memories—it’s a definite keeper!
Info Tech says
Such a fun and creative idea! A paper chain countdown is a simple yet exciting way to build anticipation for any special event. ✂️✨