A personalized clipboard can be a practical and stylish accessory for organizing work or personal tasks. If you want a to make a custom clipboard, then you are sure to enjoy these DIY clipboard decorating ideas. I am helping my children make DIY Personalized Clipboards for their wonderful teachers. These cute clipboards will be perfect Teacher Appreciation Gifts for the back to school season or for Teacher Appreciation Day.
Teachers play such an important role in the lives of our children. Have you ever heard the quote, “It takes a big heart to help shape little minds”? I know that so many teachers from my childhood, teen years, and even early adulthood shaped me so much. I could never adequately show them how much I appreciate all they shared with me, taught me, and how they shaped me. Now my own children are in school and learning so much from some really incredible teachers. These teachers who are already making a great impact on the people my little people are becoming. I decided to make Personalized Clipboards for teachers so it would be a useful gift that shows them they are special.
DIY Clipboard Decorating Tutorial
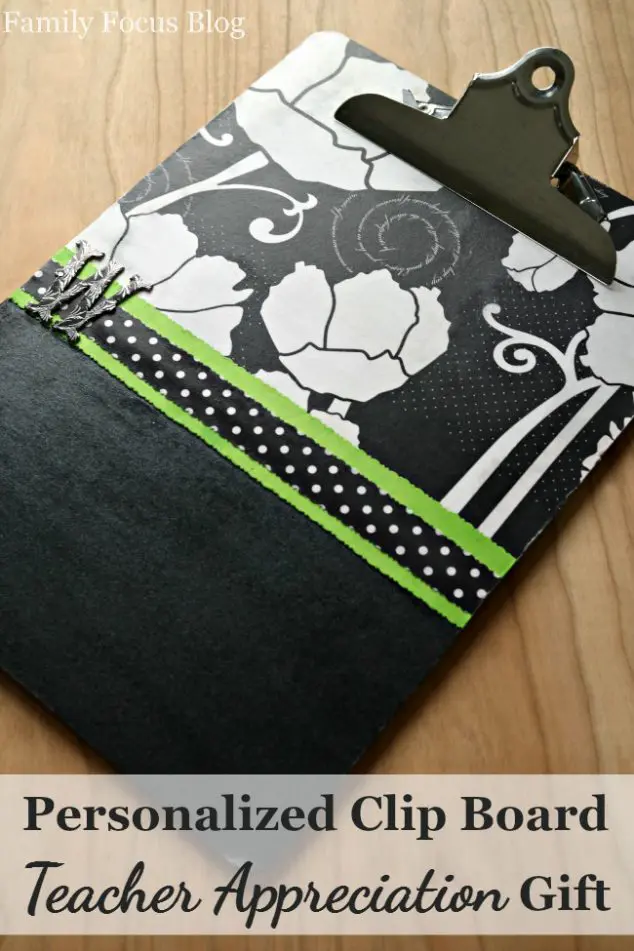
How do you make a teacher’s clipboard?
First, you gather your craft supplies. You should begin with a plain clipboard (wooden, plastic, or metal) and the simple supplies listed below. Then just follow these step by step instructions for how to make a personalized clipboard.
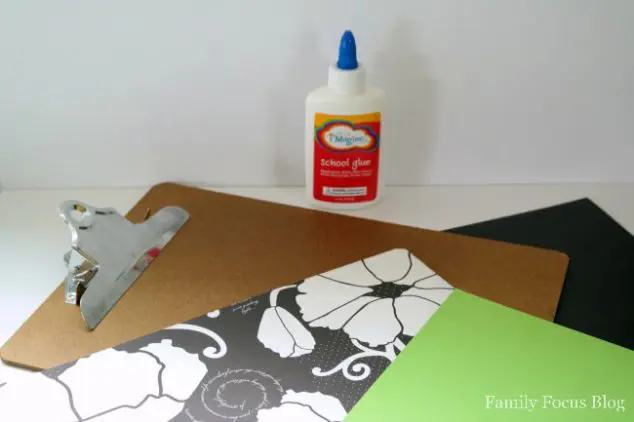
Craft Supplies For Each Personalized Clipboard:
- 1 plain clipboard
- scrapbooking paper, other decorative paper, or fabric (2-3 different patterns or colors)
- 3 oz white glue mixed with 1 oz water (or Mod Podge)
- paint brush
- scissors
- letter sticker
How To Decorate Your Clipboard:
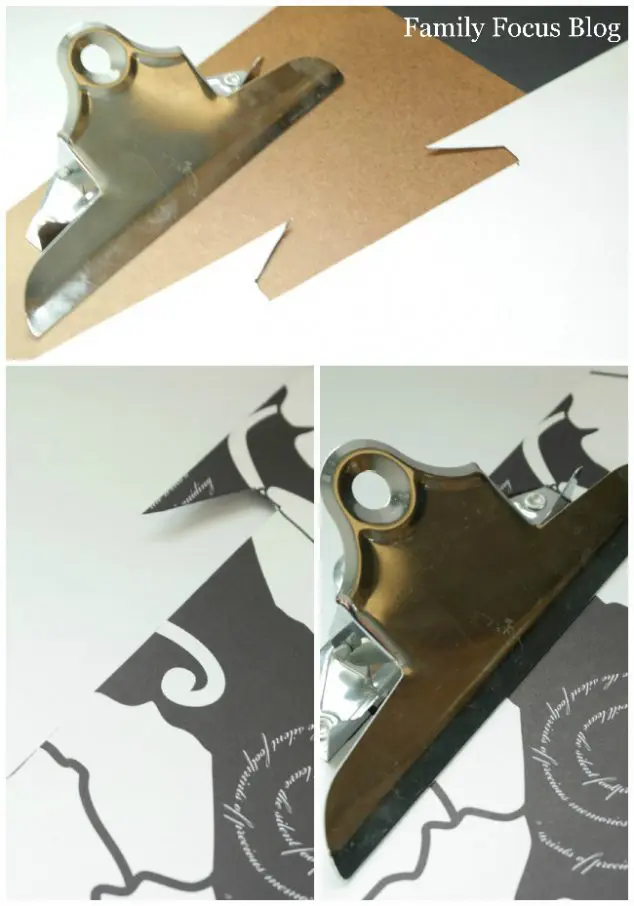
Begin by making a template of the top side of clip the clipboard (the side with the clip itself). Trace the shape and size onto a piece of scrap paper so that you don’t waste any of your pretty paper. Once you have a template, cut out the paper and make sure it fits. Once you have ensured the template is correct and fits properly, trace it onto the scrapbooking paper that will be actually be under the clip part of the board and cut it out.
Next cut the other papers to fit. I decided to use a few different patterns to create a colorful and fun layered look. Dry fit the papers to make sure everything fits well.
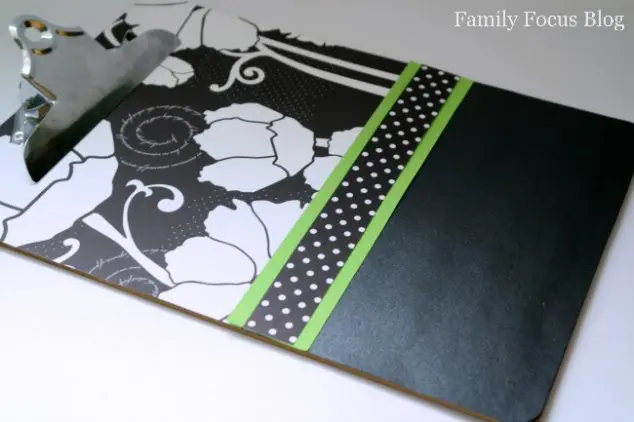
Then mix 3 oz of white glue with 1 oz of water to make a homemade mod podge. Use a foam paint brush to apply a thin layer of the mixture to the clip board and carefully add the paper. Smooth all wrinkles out as you press the paper into the mixture.
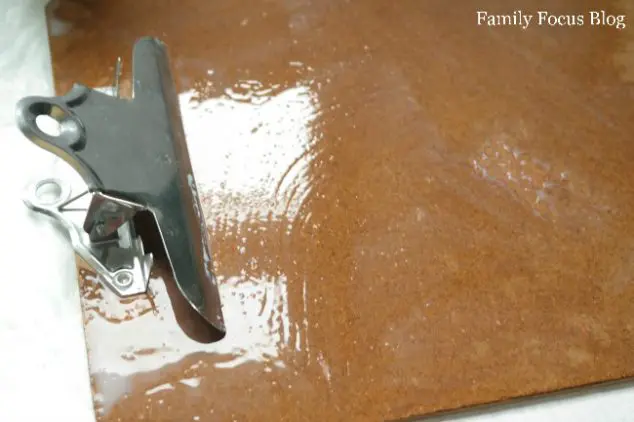
Continue adding the papers until your clip board is covered. Allow the glue mixture to dry. Once the base layer of glue is dry brush another layer over the top of the papers.
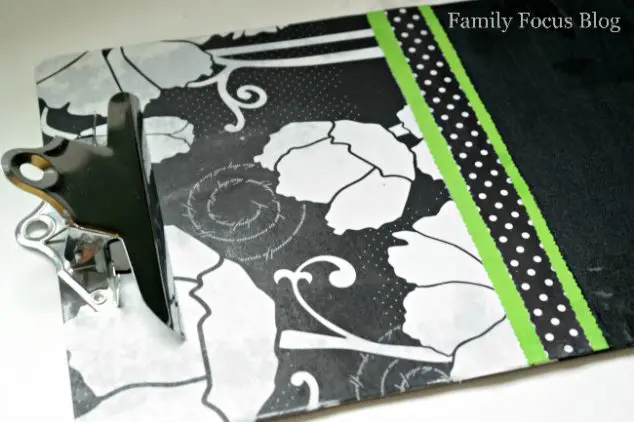
Again allow this top layer of glue mixture to dry. If you’d like to make the clip board even more durable add another layer of homemade mod podge and allow to dry again. Mod Podge glue works as a sealant to protect the papers and prevent peeling and scuffing.
Add a personalized letter sticker to your clip board to represent the teachers name.
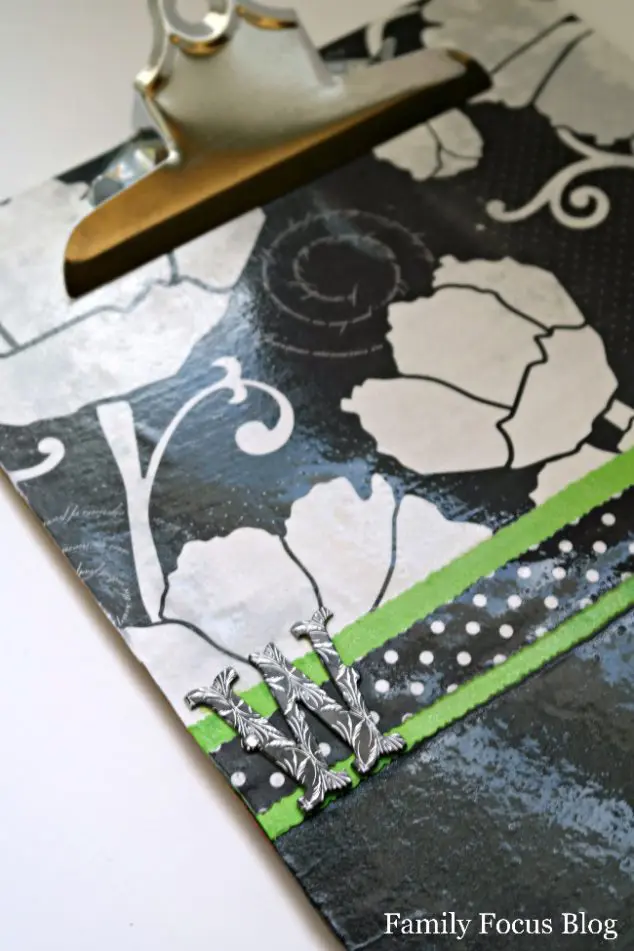
Make sure the glue is completely dry before gift wrapping for a thoughtful Teacher Appreciation Gift.
Conclusion
Teachers will love your gift because they can use a clipboard to keep track of tasks and priorities. They can easily carry it around and check off items as they are completed. Clipboards are also great to keep loose papers, receipts, or important documents together by clipping them onto a clipboard. This can help prevent them from getting lost or scattered.
Remember, the average American child spends nearly 950 hours at school each year. Show your child’s teacher how much you appreciate all they do! Have you made DIY teacher appreciation gifts before? Does your child enjoy getting to be a part of the process of creating the teacher gift?
Related Posts:

Cammie says
Such a fun post! I love the idea of custom clipboards—they add so much personality to something so practical. Whether you’re decorating for your own desk or making one as the perfect gift, it’s such an easy way to get creative. I can’t wait to transform plain plastic clipboards with patterned paper.
Pooja says
Great idea here! Decorating a clipboard is such a simple project that can really brighten up your workspace. Personalized designs make them stand out, and they’re such a thoughtful handmade gift for teachers, coworkers, or friends. Even basic plastic clipboards can look amazing with a little DIY magic and some colorful touches. What a fun way to make a lasting impression.
Rsoft says
Your clipboard tutorial instructions are clear and beginner-friendly, making the project approachable for anyone. The materials list is concise yet complete, ensuring readers can gather everything they need with ease. I had so much fun picking the paper combination making my own clipboard. Thanks for the inspiration!