The 4th of July is probably my family’s favorite holiday. Everyone comes together at my parent’s house on the lake for a big celebration filled with friends, family, food, swimming, camp fires, and fireworks. The kids so look forward to it every year and I do too. This year we’re making some extra fun 4th of July decorations for our party and this 4th of July Paint Chip Pennant is super easy and festive. This DIY 4th of July banner can be hung anywhere!
But first, a few words about this homemade July 4th banner. You may be wondering about some of the terminology I have used for the patriotic decorations. First, a paint chip is another name for a paint color swatch or paint color samples. Those terms can be used pretty interchangeably. These cards usually show a few color choices in the same range. Sometimes the paint colors are discontinued and the remaining paint sample cards make excellent craft supplies. A pennant is a tapering flag and that is how we make use of the paint chip samples in this craft. The terms “pennant” and “banner” are often used interchangeably and we use them for decorative purposes.
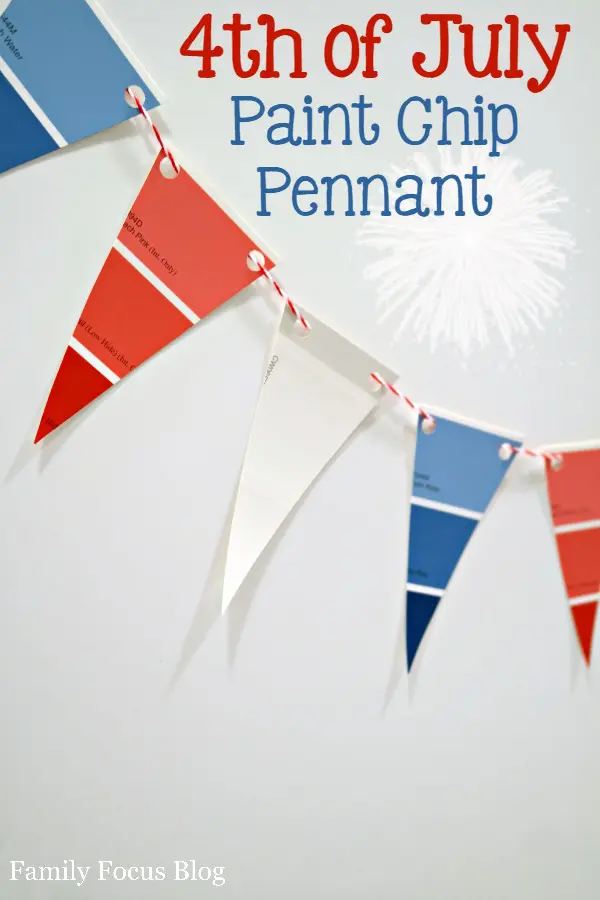
DIY July 4th Banner
Creating a decorative July 4th banner is a wonderful way to celebrate Independence Day by adding a festive and patriotic touch to your space. It sets the mood for gatherings, showcasing symbols like stripes, and the iconic red, white, and blue colors that honor the nation’s history and freedom. Whether you’re hosting a barbecue, attending a parade, or simply decorating your home, a banner can serve as a vibrant centerpiece, bringing people together and spreading holiday cheer. It’s a simple yet impactful way to express pride and unity on this special day. So, let’s get started making your Independence Day Banner for your July celebrations.
Craft Supplies:
- paint chip samples in reds, whites, and blues
- red and white baker’s twine
- scissors
- hole punch
- ruler
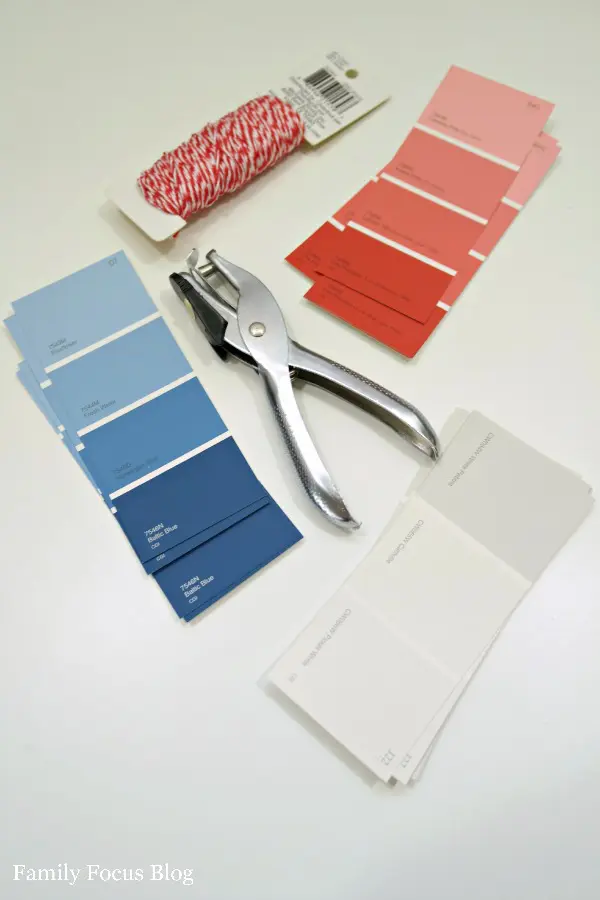
How to Make A Fourth Of July Banner:
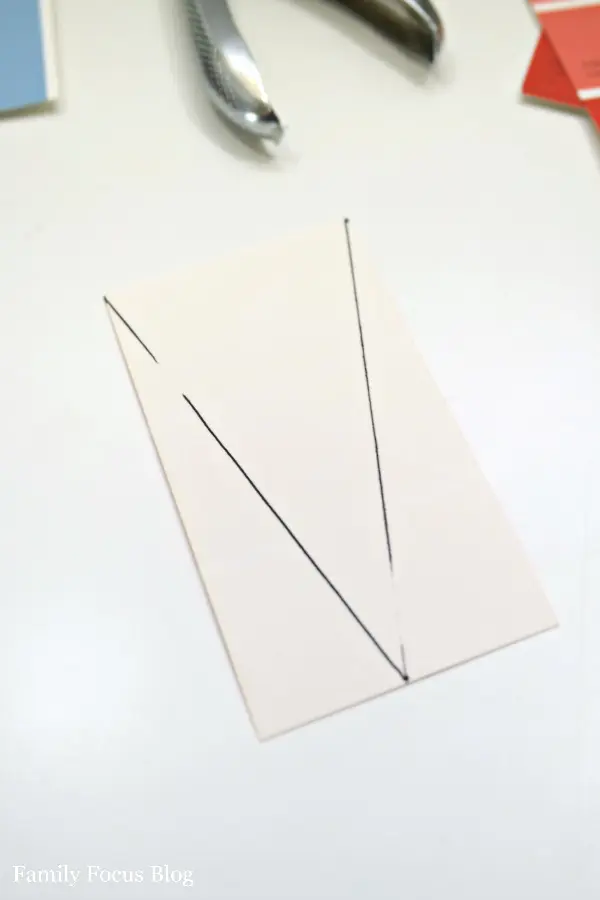
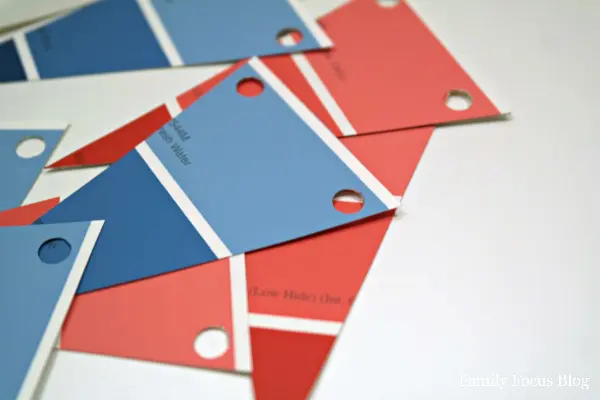
I turned each paint sample over and used a ruler to trace a triangle guide for cutting. I measured where the center of the bottom edge was and placed a dot there. Then I placed the ruler in each top corner creating two straight lines down to the dot and I traced each of these lines.
I trimmed each paint chip to make triangles. You don’t have to make the pennant using triangle shapes. You could do rectangles with zigzag bottoms or any shape you like.
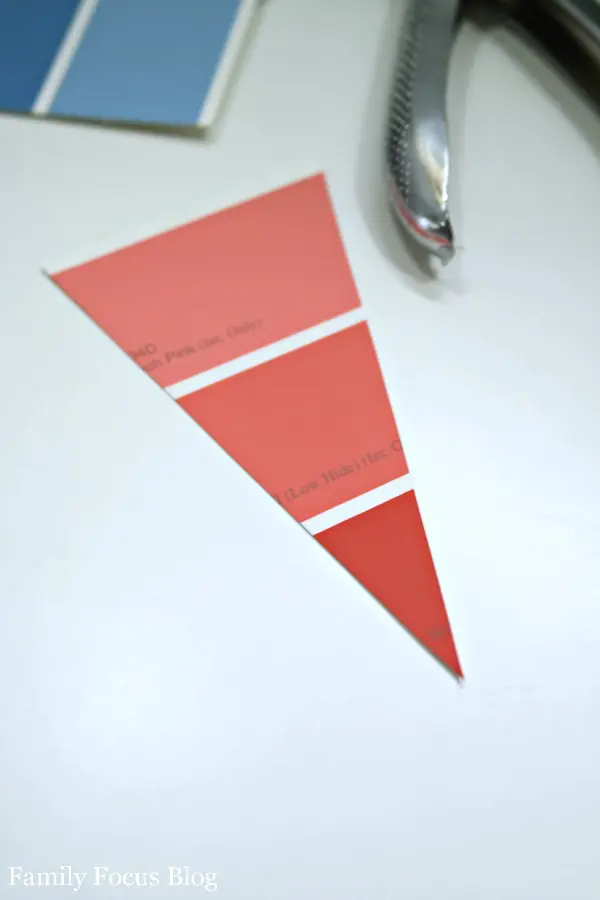
After all the triangles were cut, I used a hole punch to add holes in each triangle. I added one hole in each of the upper corners for feeding the baker’s twine through. A hole in each corner keeps the triangle hanging more evenly than one in the center.
Feed the baker’s twine through the holes adding the triangles in order – red, white, then blue. Repeat until your paint chip pennant is long enough for where you plan to use it. For example, your typical doorway is about 36″ so you may wish to make your banner about 40″ if you want to decorate an entrance.
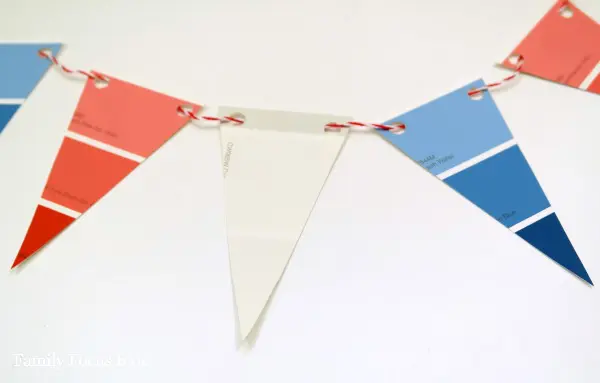
Your DIY July 4th Banner Paint Chip Pennant is finished! It looks cute hanging on the front door. Alternatively, a smaller version would be cute attached to a wreath. Just use a bit of clear tape to hang it for the party. There are so many places it would be great to decorate for patriotic parties.
Conclusion
Patriotic banners are a simple yet impactful way to showcase national pride and celebrate meaningful occasions like Independence Day, Veterans Day, or Memorial Day. These banners not only add a festive flair to any space but also serve as a visual reminder of shared values and historical milestones. Whether hung at home, in public spaces, or at events, they create a welcoming atmosphere that unites people in celebration. By thoughtfully choosing or crafting banners with meaningful designs, you can effectively honor the occasion and inspire a sense of United States community and patriotism. They make great decorations for front porches.
How does your family celebrate the 4th of July? Do you think you will make this DIY 4th of July banner?
Related Posts:
