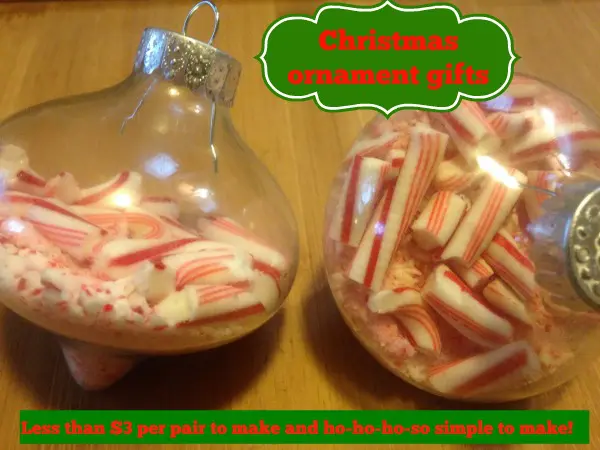
Erika Wassall, the Jersey Farm Scribe here, with quick, cheap and easy candy cane Christmas ornaments. These would make fantastic gifts for teachers. I always like to keep a few extra Christmas ornament gifts on hand in case I realize I forgot someone! Candy cane Christmas ornaments are a popular choice for holiday decor because they combine tradition, symbolism, and visual appeal. Candy canes date back to the 17th century and are said to have originated as sugar sticks given to children during church services. The red and white colors are often interpreted as representing Christ’s purity (white) and the blood he shed (red). There is no question that their vibrant red-and-white stripes make them a cheerful and classic decoration during the holiday season. This tutorial will show you lovely Christmas ornament gifts you can make for LESS THAN $2 per person!
To me, Christmas is about children. So I’m not often a big spender for adults during the Christmas season. I like to make homemade gifts that show I care without laying out the big bucks. No debt for Christmas is my motto. So, I love these Christmas ornament gifts that you can make for LESS THAN $3 per person. Plus, these Candy Cane Christmas ornaments are beautiful, and unbelievably easy to make. This would be a great DIY project to do with little ones, and could easily be done by a young teen on their own. The quick time it takes for it to come together makes for fast gratification even for those with little patience. And breaking anything into little pieces is ALWAYS fun! I hope you enjoy this DIY Candy Cane Ornaments tutorial.
Homemade Candy Cane Ornament Craft Tutorial
First… the craft supplies:
A box of plastic Christmas balls. I got six medium ones at Joann Fabrics for $4.99. I found cute ones that were thin at the bottom and then round. But any kind would work nicely. I do suggest looking for a slightly smaller than regular Christmas balls, but that’s just my preference.
Two boxes of small candy canes. I got them from Walmart, boxes of 32 for $99 cents each.
That’s IT. That’s all you need.
So total investment… $7.
How To Make Candy Cane Christmas Ornaments
Creating candy cane ornaments can be a delightful and festive craft activity, especially during the holiday season. Here’s a simple guide on how to make candy cane ornaments.
Step one:
Put about 4 or 6 of the small candy canes aside for EACH ornament (this depends on what look you’re going for, more powder versus more chunks). Mine have about 5 each of chunks.
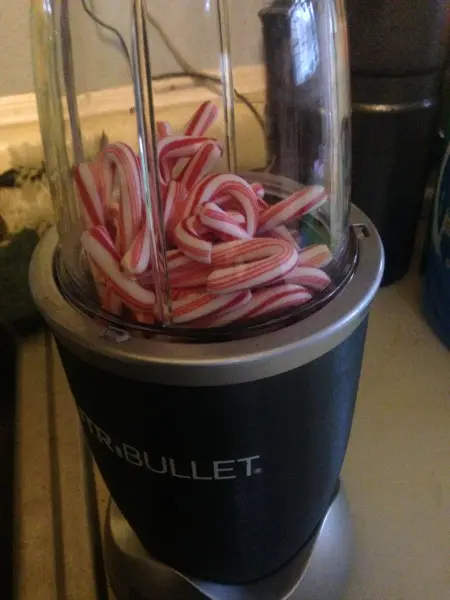
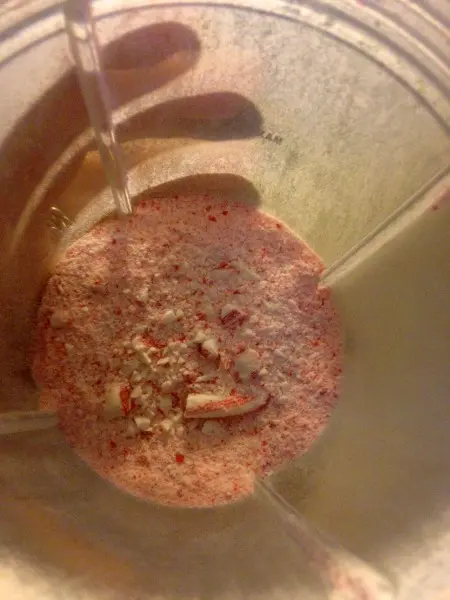
Take the REST of the candy canes and toss them in a food processor… blender… whatever. If you have neither, put them in a freezer bag, stomp on them, beat on them and roll them out with a roller. This won’t give you as fine a powder obviously, but it’ll accomplish the same thing.
Step two:
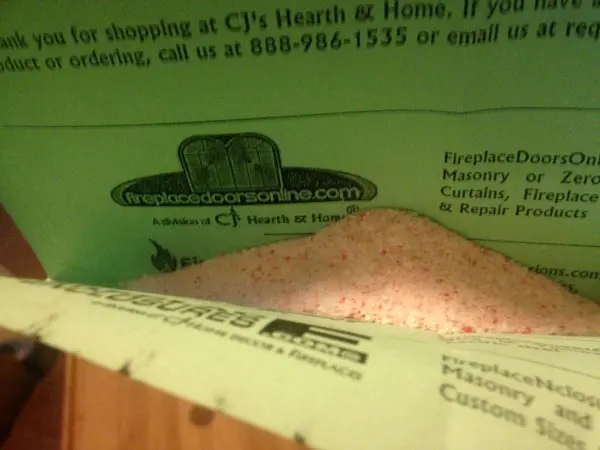
Take the tops off the ornaments and pour the powder into each one. How much? Up to you. I filled about a third of the way.
TIP: If you don’t have a funnel (I don’t!) pour the powder onto a piece of paper and fold it up to make it easier to pour in the ornament.
Step three:
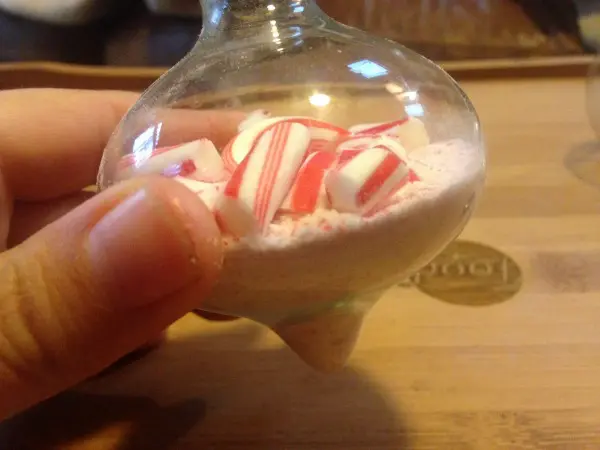
Crush up the remaining candy canes that you set aside into chunks. Kids LOVE this part. Stomp on them (in a bag of course), break them, cut them up. Go at it!!! I suggest varying the sizes quite a bit, I think it gives a good look.
Then distribute them among your six ornaments.
Step four:
Preheat the oven to 170 degrees F. It’s okay that they’re just a thin cheap plastic. At that low temperature, they won’t melt. HOWEVER, as a extra precaution, I did put a cookie sheet covered in aluminum foil under them just in case!
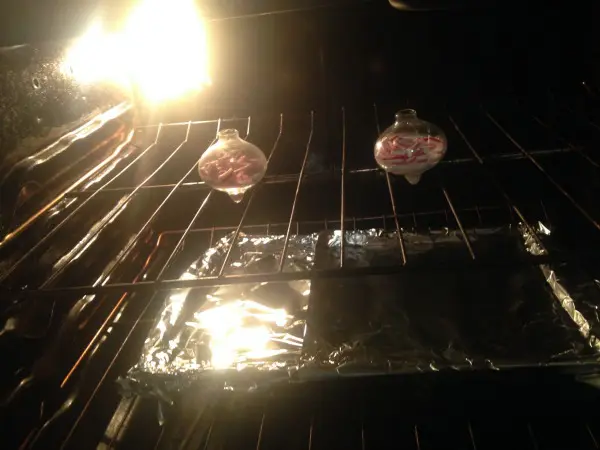
In about ten minutes the candy canes will melt just enough that they won’t jostle around anymore. For safety, SET A TIMER so you don’t forget. I wasn’t sure this would work, but it actually ended up absolutely PERFECT. Of course, if you like the idea of the candy cane bits jostling around, you can skip this step.
Step five:
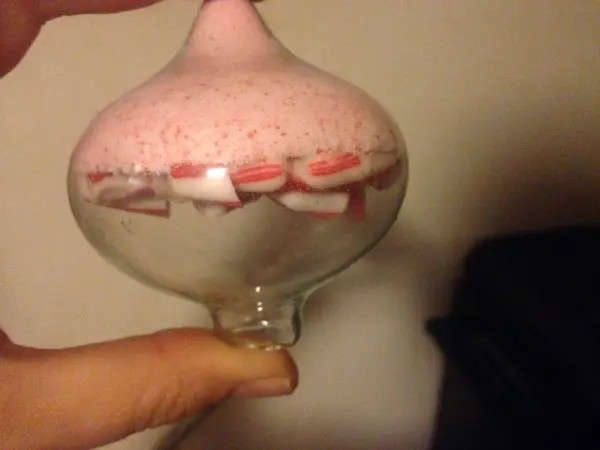
Let the candy cane ornaments cool. This is important. If you put the tops back on before they’re cooled off, the plastic will get cloudy and the internal moisture is hard to get rid of. Once they’re cool, they’ll be melted together enough that you don’t have to worry about them getting messed up, even if someone flips the gift upside down!
Step six:
Pop the tops on your Christmas ornament gifts and you’re done!!!
Conclusion On Christmas Ornaments With Candy Canes
I was SO happy with how these came out. I’ll be making a few batches of these candy cane Christmas tree ornaments and giving them as gifts. Candy cane ornaments come in many forms—edible, glass, plastic, or handmade—and fit into various decorating themes, from rustic to modern.They are easy to hang, lightweight, and affordable. Candy cane ornaments add a playful, nostalgic touch to holiday décor.
What do you think of these Christmas ornament gifts? I’d love to hear if you are going to give these handmade ornaments a try!
I’m considering tying on some green ribbon or maybe even painting a snowflake on the outside. I’d love to hear your ideas of how to make these Christmas ornament gifts even more special. Look me up on Twitter at @NJFarmScribe or leave a comment below.
Related Posts:
DIY Gold Leaf Ornaments Tutorial
How To Make A Melted Snowman Ornament
Make Unique Christmas Ornaments With Your Child: Stuffed Ornament Craft