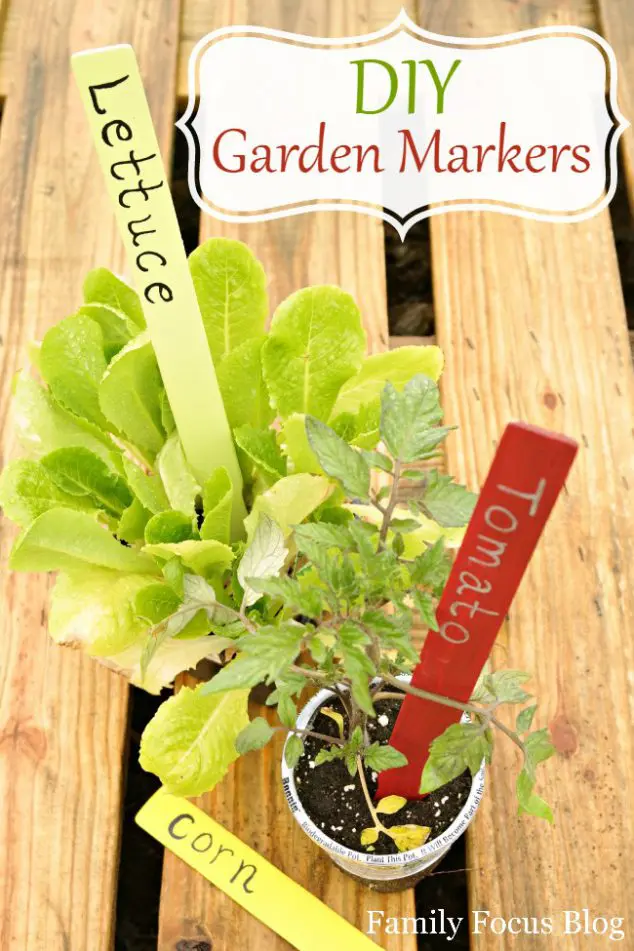
Last week, I showed you how to make a Mason Jar Herb Planter. We’re really working hard to get everything ready for our garden so we’ll be ready for planting as soon as the weather is. This week I made DIY Garden Markers to help us keep track of all of the young plants we are preparing to plant. Sometimes plants can look similar in the young stages. The garden plant identification markers are a fun addition to the garden even after the plants are mature!
Garden markers are useful for several reasons:
- Identification: Vegetable garden markers help you remember what you planted where, especially useful for plants that look similar when young.
- Organization: Plant markers help you keep track of different varieties or species of plants in your garden.
- Aesthetics: Decorative markers can add a personal touch to your garden.
- Knowledge Sharing: If you have visitors or want to share your garden online, markers can help others learn about your plants.
- Maintenance: DIY plant markers can remind you of specific care instructions for each plant.
Overall, garden markers can enhance the beauty and functionality of your garden while also serving as a practical tool for garden management.
Garden Plant Markers Craft Tutorial
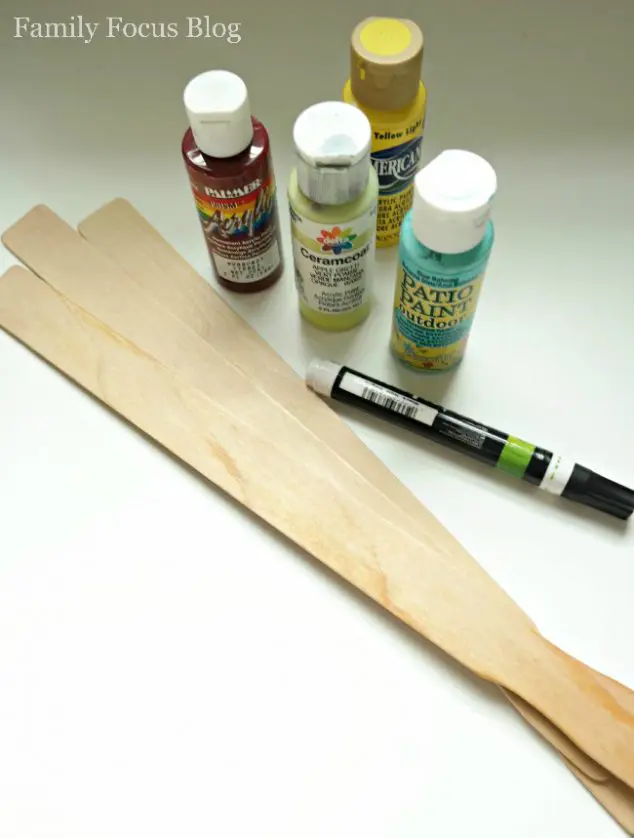
Craft Supplies:
- paint stir sticks or popsicle sticks (depending on the size you like)
- outdoor acrylic paint in various colors – make sure to use something that will hold up to being outdoors
- paint pen – a fine tip will work best
- newspaper to protect your work surface
- paint brush or brushes
How To Make Your Own Plant Markers:
Making your own garden labels is super easy. To begin, cover your work surface with newspaper to protect it.
Carefully paint each stir stick. You’ll want to paint one side of the stick to a time, applying two coats of paint to each side of the stick. Allow plenty of time for drying before flipping the stick over and painting the second side.
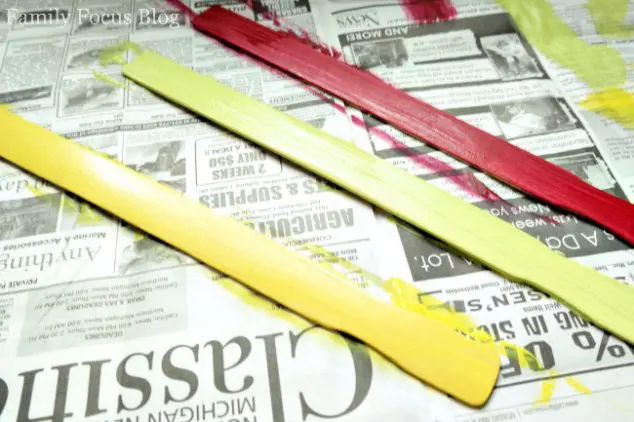
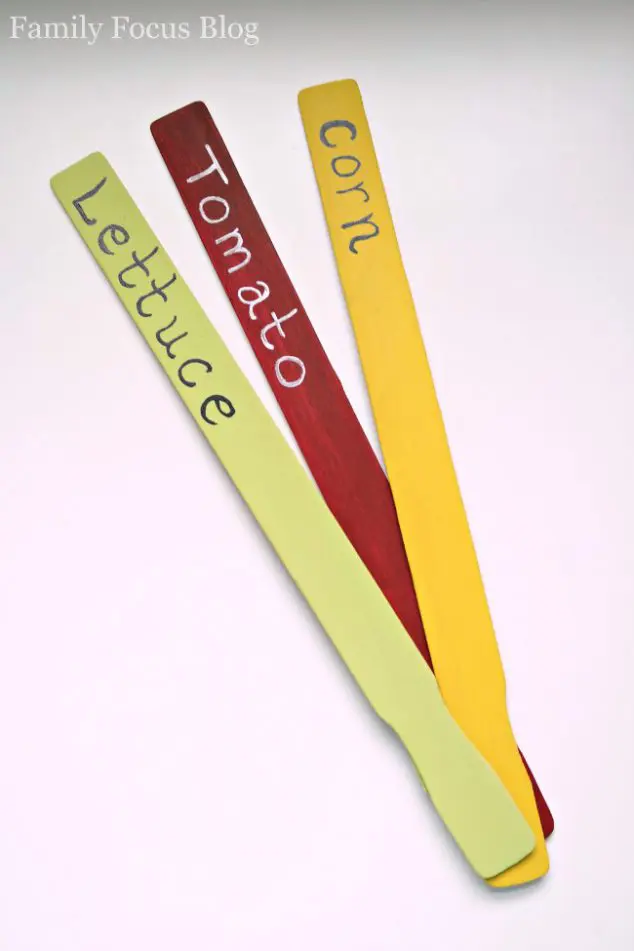
I painted my sticks in colors to coordinate with the plant – red for tomato, green for lettuce, yellow for corn, purple for egg plant. You get the idea! You could paint them any color you like.
When the paint has dried completely on both sides of the stick use the paint pen to write the names of your vegetables and plants on the sticks.
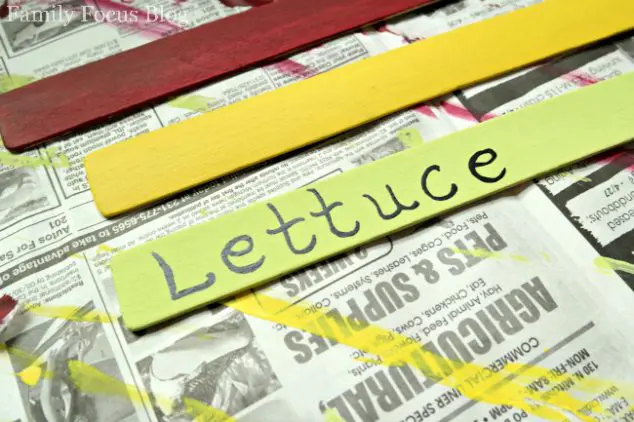
Let the lettering dry on the sticks completely before placing them in the garden or in your planters.
These DIY garden markers can be made for herbs, vegetables, fruits, or flowers. Whether you’re planting a big garden or just a few veggies in planters the plant identification markers will help you identify and keep track of everything.
Do you grow a vegetable garden or a flower garden? Do you think you will try these creative garden markers?
Related Posts:
Teaching Kids Gardening: Tips And Tricks
Ashley says
Such a fun and creative idea! I love how this DIY garden marker craft adds personality while also being practical—perfect for keeping everything organized in a beautiful way. It’s also a great project to do with kids or as a relaxing afternoon activity. Definitely inspired to try this in my own garden!
Jpg Two Png says
A simple and creative DIY idea that helps keep your garden organized while adding a colorful, personal touch to your plants.
S. Solutions says
Loved this idea! DIY garden markers are such a simple yet creative way to keep your plants organized while adding a personal touch to the garden. I really like how you’ve used easily available materials—this makes it budget-friendly and fun for anyone, even beginners.
Labeling plants properly not only helps in tracking growth but also makes the garden look more neat and aesthetic. Definitely trying a few of these ideas in my own garden! Thanks for sharing such a practical and creative guide.