My talented friend Meredith Weis was one of the first people to introduce me to a blog. She is super creative and always making something super cool for her kids or with kids. Check out her blog, The Crafty Canine, to see some of her amazing crafty work. Anyway, I am so happy to have her share with you a DIY Halloween window decor project. Her Halloween window silhouettes DIY photos and instructions are sure to inspire you. A silhouette halloween window may be just what you need to step up your decorations this year!
There are plenty of different ways to turn plain old windows into a creative window display. From bloody handprints to witchy silhouettes, it is a most efficient manner to upgrade your halloween décor. Are you ready to make your own spooky silhouette?
Halloween Window Decor Silhouettes Tutorial
By Meredith Weis, first published October 3, 2015.
I am so excited now that the days are getting shorter and we are finally receiving a break from the summer heat. My thoughts immediately turn to my very favorite holiday, Halloween! As avid Halloween enthusiasts, our family loves to bust out the decorations early and let the spooky fun begin! The easiest way to decorate for this holiday season may just to be to make your own window clings to put you in the Halloween spirit.
Every year, we have some sort of haunted porch or garage which becomes the right balance of spooky but fun. I think the reason my daughters enjoy Halloween so much is because after years of making decor for the trick or treaters, they are never afraid of all the creepy store displays or other “haunted houses” on Halloween. They know that this stuff is created and is not real. During the last three years, we have purchased window silhouettes from Halloween shops and taped them up on our windows. While these have been lots of fun, I have been yearning for something more unique and creative.
Craft Supplies Needed For Silhouette Halloween Window:
1. Black construction paper or darker colored poster board or foam board
2. Scissors and Exacto-Knife
3. A variety of colored tissue paper
4. Tape: Packing tape is clear on glass but may require some “Goo Be Gone” after the spooky season. You could also use contact paper for ease of removing. Double-sided tape works well inside of your windows and comes off pretty easily as well.
5. Printed templates or ideas from the Internet (optional)
How To Make Halloween Window Silhouettes
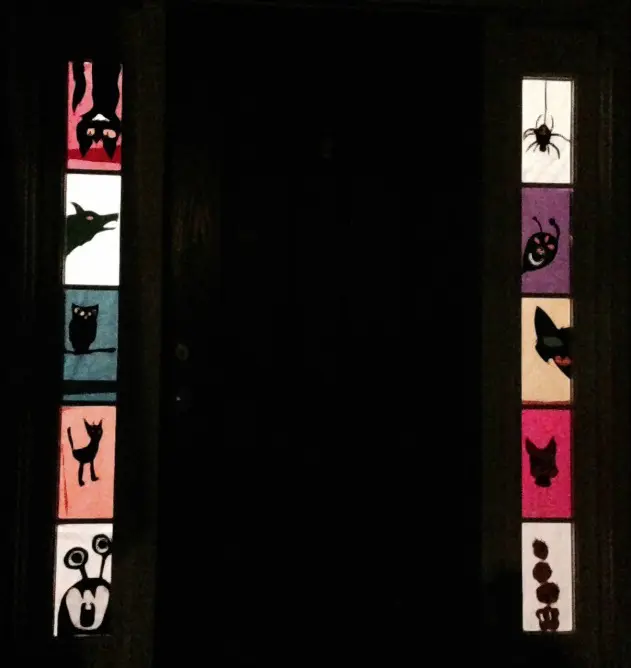
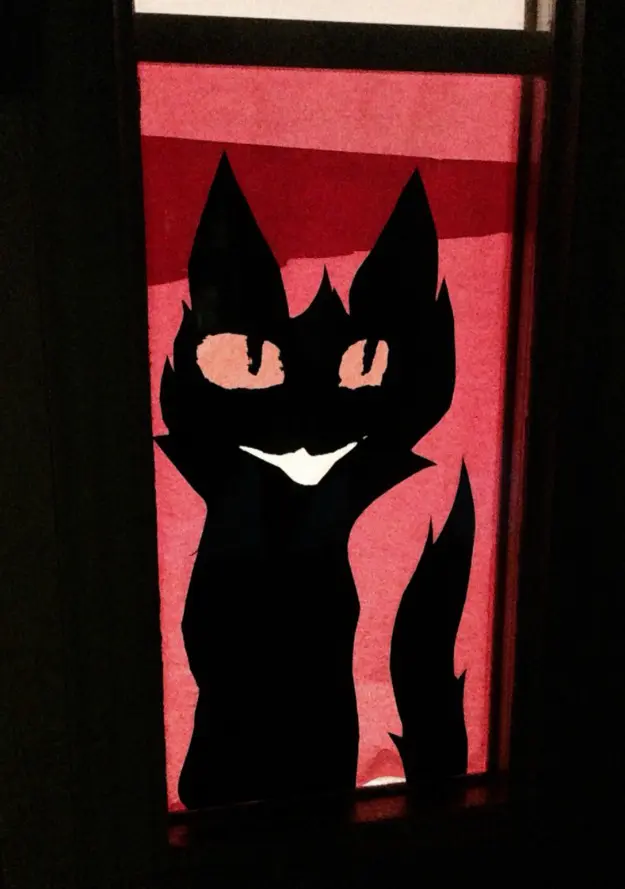
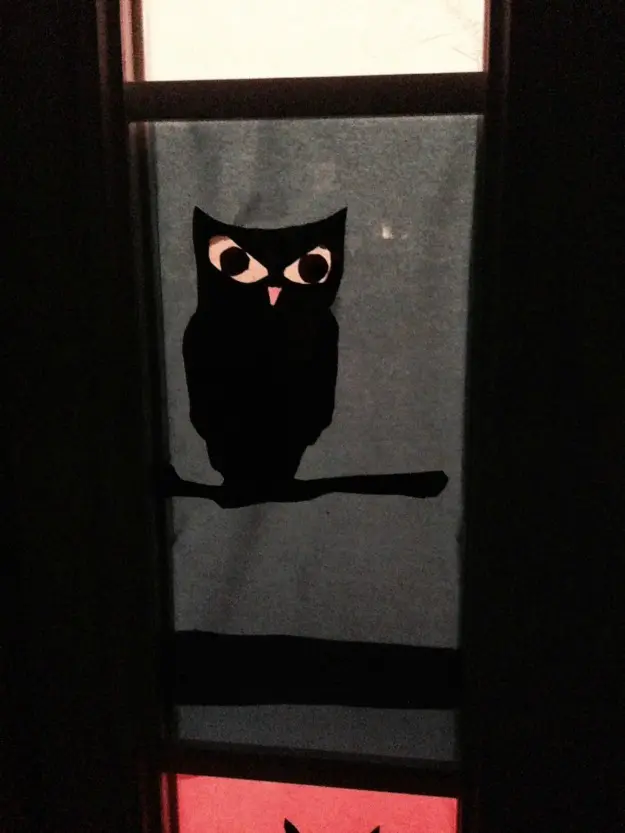
This year, I was inspired by photos on Pinterest of DIY Halloween silhouettes. For the first step, I went out and got black poster board, black foam board, and a variety pack of colored tissue paper. My older two girls, ages 9 and 8 were excited to decide on a design of a silhouette. The 9 year old decided to make her own silhouettes. She would draw the outline of a creature on the poster board, cut it out, and have me cut out the eyes with an Exacto-Knife. Then she would give it to me to lightly tape to the window before taping the eye pupils made out of poster board, the area around the pupil with various colored tissue paper so the light could come through, and a background color of tissue paper to cover the rest of the window panel.
My eight year old preferred to use an already made template that she found on the computer after googling “Halloween silhouette templates.” We printed it out, cut it out, and traced it onto the poster board.
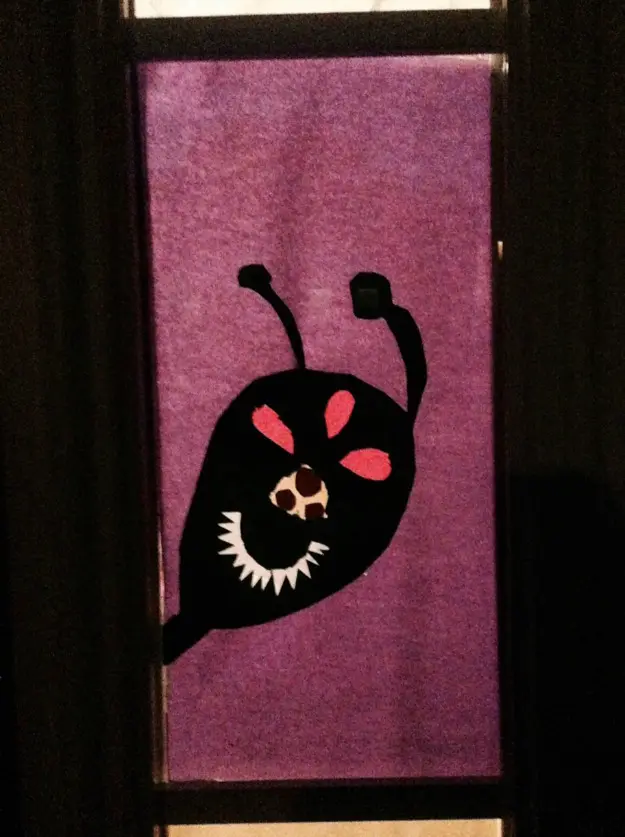
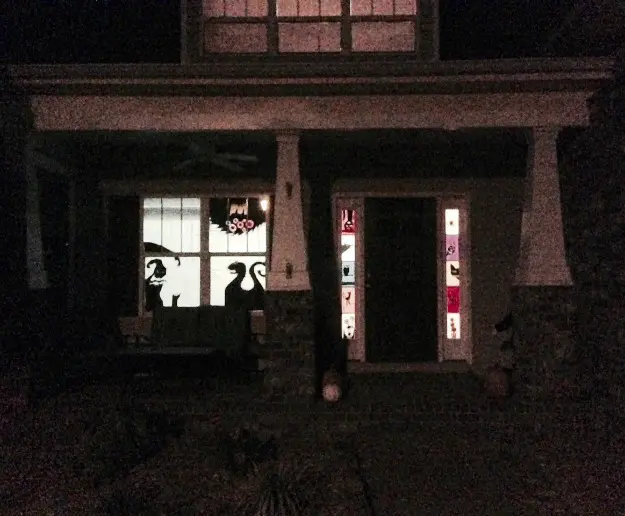
Since we have many small window panels on the sides of our front door, the girls got to make several small black paper silhouettes each. With the addition of the tissue paper, they ended up very colorful. We have several cats, an owl, aliens, and a spider.
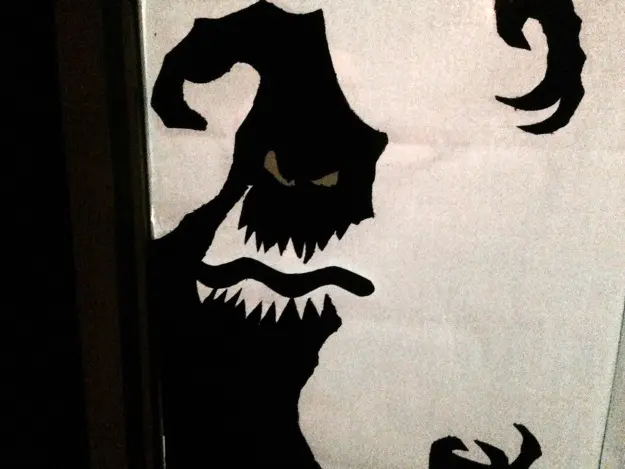
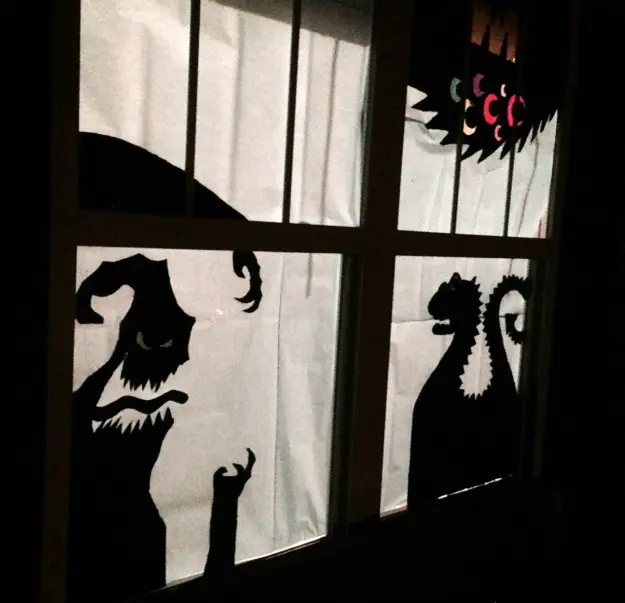
I decided to tackle the large windows in the front of the house. After looking at lots of monster silhouettes online, I free-handed a monster that looks like the creepy bad guy from “The Nightmare Before Christmas.” Then I made a dragon-type creature and an alien with lots of eyes. For these creatures, I tried to use the foam board which has its’ pros and cons. The pros are that it is much more sturdy than poster board and should hold up for years to come if that is desired. The con is that I found it very tricky to cut evenly with an Exacto-Knife, and it simply cannot be cut well with scissors. I chose DIY halloween window silhouettes creatures where it would not seem too obvious that lines were not perfectly straight.
Halloween Decor Window Ideas
Our family is now enjoying the final look of the windows and I am happy that it ended up being a family creative project. The spooky silhouettes on the windows still let in enough light. They actually let in more light than the store bought silhouettes due to the light colored tissue paper that I chose for background colors. I am happy that these large paper silhouettes are such high impact decorations for the front of your house.
My mind is now racing with possibilities for future Halloween fun. Your house could have a theme like ghosts, zombies, giant rats or birds. For teenagers who love the scary movies, you could create silhouettes of classic nightmare characters. For example, Michael Myers, Freddy Krueger, or the villain from “Scream”. Just print a photo or silhouette from the Internet and trace it into the poster board or foam board. Then you just figure out what areas you want to light up. Cut those areas out and replace them with tissue paper. Lastly, you could take photos of your own children posing as zombies and the use their silhouette to make your masterpiece. The possibilities are endless! Actually, now that I am thinking about it, I may need to rally the girls together for “DIY Silhouette Making Part Two” .. AKA, Christmas!
Conclusion
Halloween window silhouettes are a creative and cost-effective way to bring a spooky, festive vibe to your home. They allow you to showcase classic Halloween imagery—from witches and ghosts to black cats and bats—in a way that’s both eye-catching and fun for neighbors and trick-or-treaters alike. These silhouettes can be easily customized to suit any decorating style, from Haunted House to family-friendly choices. They add a unique, eerie glow to your windows that perfectly captures the Halloween spirit.
I would love to hear your ideas or comments if you make your own halloween window decorations. Share your creative Halloween window silhouettes DIY ideas @familyfocusblog! Are you going to decorate the windows of your home? What Halloween theme will you choose for your diy halloween decorations?
Related Posts:
Halloween Safety Tips For Kids

Vera Sweeney says
These Silhouettes turned out super cute! I never thought to do Halloween decorations like this for our windows.
Mistee Dawn says
Aww, these are so cute and fun! I definitely need to make these with my daughter! She will love these window silhouettes!
Chelley @ A is For Adelaide says
This is so cute! I think it’s going to be a great project to do with the kids- I can’t wait to decorate our bay windows with cool shapes for the holiday in our new home.
Liz Mays says
As many times as I’ve thought to make silhouettes, I’ve never thought of doing it in the window frame itself! This is so smart and spooky!
Nolie says
How unique. Have never seen this idea before. Thanks for sharing.
Shaheer Ali Khan says
This DIY project is fantastic! I love how it brings the whole family together to get creative with Halloween decor. The silhouettes are such a unique way to add a spooky vibe without needing tons of expensive decorations. I especially enjoyed the idea of using colored tissue paper to let the light come through—it really adds a magical, eerie glow!
Our family is always looking for hands-on projects, and this one is definitely on our list for next Halloween. We might even try a monster theme and have each family member design their own silhouette. Thank you for sharing Meredith’s tutorial—it’s inspiring us to get more crafty this season!