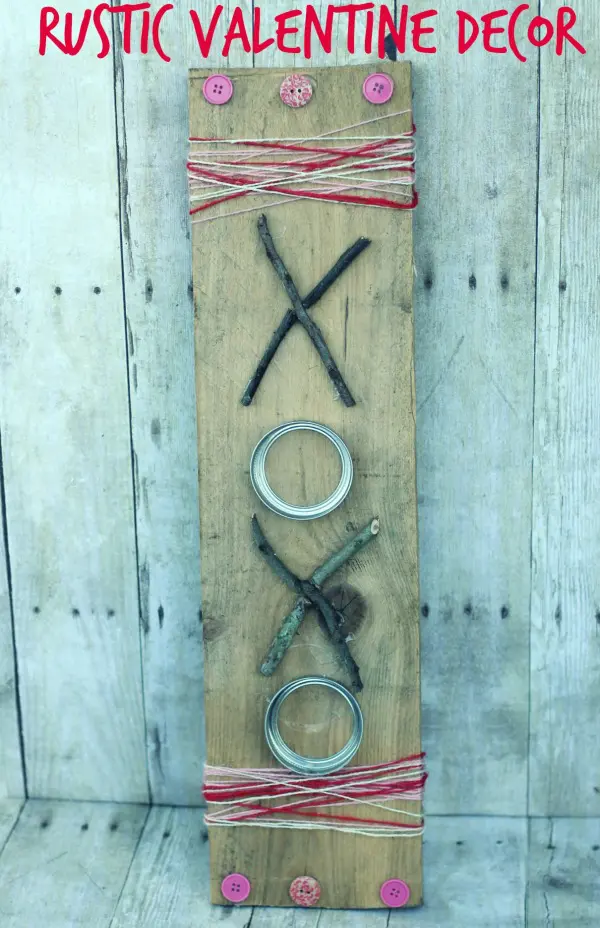
I love using found items around the house to create art pieces for decor especially for the holidays since those items only have a shelf life of a month or less. I also enjoy combining rustic, natural pieces with bits of softer, more colorful items. After playing around a bit to create this XOXO sign for this Valentines Day decor DIY, I was pretty happy with the final result- rough as well as sweet and sentimental, just like my hubby. I hope you enjoy this rustic Valentine’s decor. This Hug and kisses sign makes cute home decor or it could be the perfect gift! It would be great mounted on the exterior or your front door or for indoor use.
Valentine’s Decor DIY Tutorial For XOXO Wall Art
The “XOXO” sign typically refers to a symbol of affection or friendship. The letters “X” and “O” stand for kisses and hugs, respectively, in the English-speaking world. When someone writes “XOXO” at the end of a message or letter, it’s often meant to convey love, warmth, or closeness. It’s a common sign-off in informal communication, such as emails, text messages, or notes between friends and loved ones. It is the perfect way to celebrate a special day. An “XOXO” sign makes cute home decor because it symbolizes love, warmth, and affection, making any space feel more inviting.
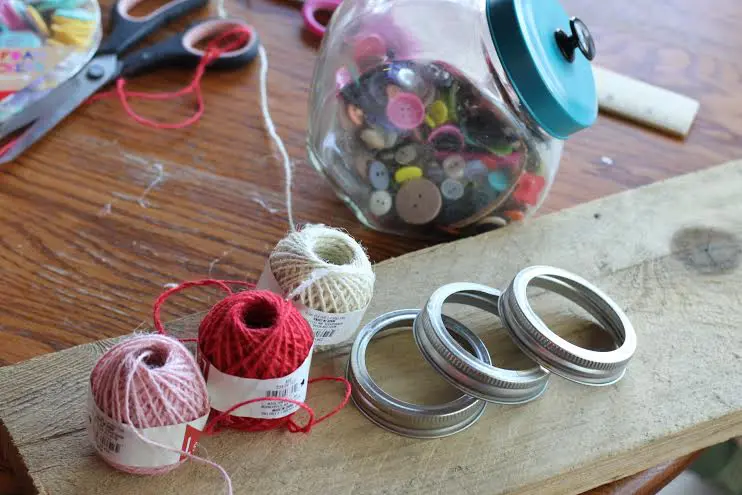
Craft Supplies Needed:
- rough cut board approximately 6”-8” x 20”- 24”
- 2 colors of twine
- 2 mason jar rings
- 6 buttons
- 4 thin twigs approximately 5”-6” long
- hot glue gun/sticks
How To Make A XOXO Sign:
Lay out your design to be sure your board is long enough to accommodate 2 mason jar rings and the twigs you selected for x’s.
If desired sand board slightly to reduce your chances of splinters. Once I was done making my XOXO sign, it went on my mantle out of the way of little fingers, so I left it as is.
Hot glue the end of your twine to the back of the board about an inch from the edge. Press twine into glue using a craft stick or something similar and allow to harden for 1 minute so it is secure.
Wrap twine around board 6-8 times 2” from the bottom, tucking end under or glueing it on, repeat on the top of the board.
Repeat entire process with a contrasting color of twine.
Break 2 of your sticks in half use 1 full stick and 2 half sticks to form your X, run hot glue all along stick, press into board just below twine.
Apply a generous amount of hot glue all the way around the top side of mason jar ring on the flat part of it and press your O onto board just below the X.
Repeat with your other X and O.
Attach 3 large buttons with hot glue across top and bottom of board.
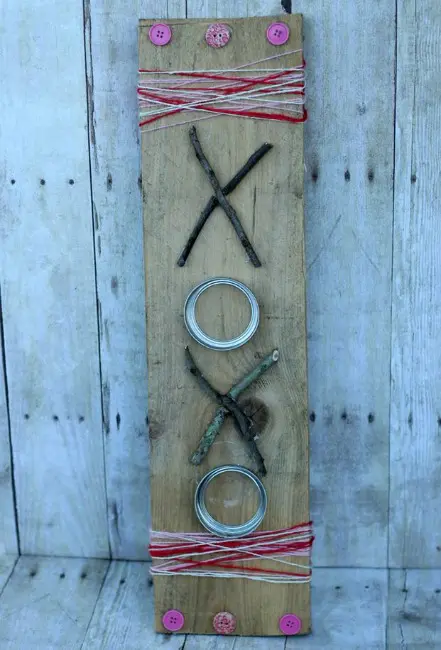
Your Rustic Valentine’s Day Decor is ready to go!
Conclusion
You can nail a wire or circle hanger to the back of your board for hanging on the wall. However, I just leaned my Valentine’s Day Decor DIY sign against the wall it is a temporary decoration. Alternatively, you can place it on your mantle. Then add a few candles to either side of your Valentines decor craft for easy, rustic decor appeal. It adds a touch of love and charm, perfect for living rooms, bedrooms, or even entryways. This XOXO sign works for Valentine’s Day, anniversaries, or as a year-round reminder of love.
Using signs as decorations for Valentine’s Day can add a festive and romantic touch to your surroundings. Decorative signs can be visually appealing, adding charm and personality to a space. The minimalist design and universal meaning make it an easy addition to any decor style. I hope you enjoy making your Valentine sign. I’d love to see how your finished piece looks so tag @familyfocusblog when you share it socially!
Happy Valentine’s Day!
Related Posts:


Tammy S says
This Valentines decor DIY project so cute! What a great way to re-purpose things you have around the house.
Uplifting Families says
Love this DIY Valentine’s décor. Handmade decorations always add such a personal and cozy touch. This XOXO sign is too cute. I love it. I will make it for my front door.
Mel says
Geez, that’s unbelievable. I love how simple you made it look to make such pretty DIY decor for Valentine’s day. Kudos and such.
Betty says
Scarlet’s blog post on creating a Rustic Valentine’s Decor DIY XOXO Sign is an absolute gem! The step-by-step instructions are clear and easy to follow, making the project feel achievable even for DIY beginners. I love how Scarlet blends rustic charm with a modern twist, offering a unique take on Valentine’s decor. The photos are beautifully styled, and her tips and tricks ensure a polished finish. It’s evident that Scarlet has a true passion for crafting, and her creativity shines through every detail. This project is perfect for anyone looking to add a personal, handmade touch to their Valentine’s Day celebration. Highly recommend giving it a try.
Diane says
Thanks for the directions to create a charming rustic Valentine’s decor with a DIY XOXO sign! It worked great. I used reclaimed wood, paint, and twine for a cozy, farmhouse-style touch. It is such a unique way to celebrate.
Nicholas Alexandar says
This DIY XOXO wall art is a perfect Valentine’s touch—simple, budget-friendly, and full of heart. I love how it adds personality without feeling overdone. Handmade décor always carries more warmth, and this tutorial makes it easy for anyone to create something meaningful and stylish at home.
Vikash Kumar says
This rustic XOXO Valentine’s DIY is absolutely charming! ❤️ The mix of cozy farmhouse vibes with a simple handmade touch makes it perfect for adding warmth and personality to Valentine’s décor. Proof that you don’t need store-bought decorations to create something heartfelt and beautiful. Love this idea!