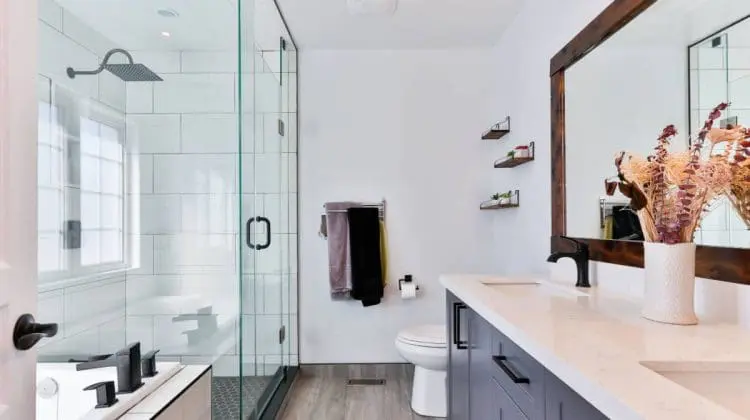
The best way to save your sanity is to teach your kids the art of being organized from very beginning. In this regard, one of the rooms in any home that can get out of control is the bathroom. Things like lotions, toothpastes, brushes, and towels can easily scatter over the expensive countertops and create […]
Family Home Decor
Home interior decorating, interior design tips and tricks, and family room decorating ideas. Make your house a home with the best home decorating tips. Simple, family-friendly home decor. Ideas for families.
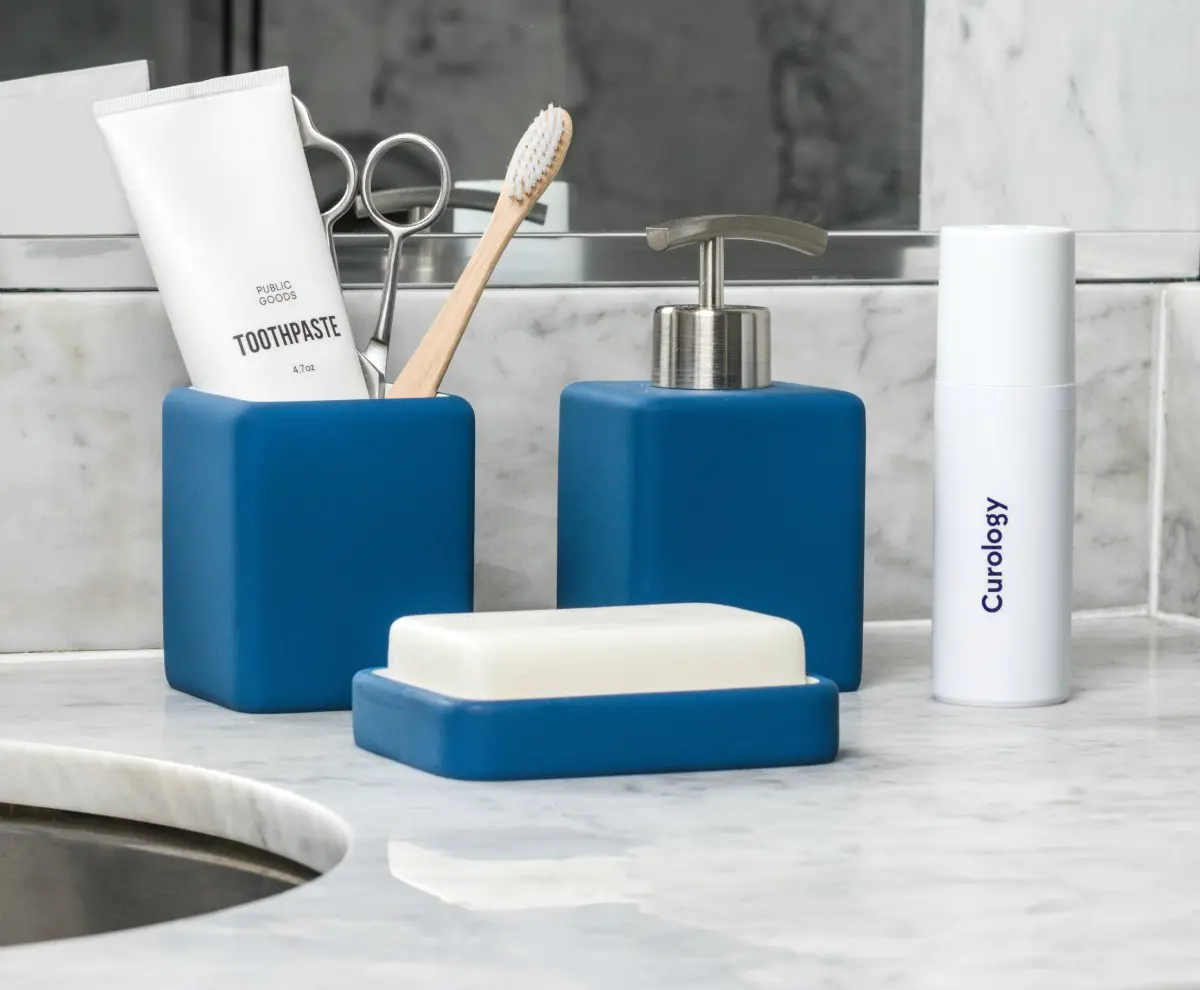
Bathroom Accessories Elevate Your Space: Small Details, Big Impact
As you dig deeper into the world of interior design and home décor, you’ll be amazed by the magnificence of architectural aesthetics, well-picked furniture, and the effect of strategically planned color schemes. In the middle of this grand show, you can miss the more subtle details that give the space personality—the accessories. Especially in such […]
Tips For A Relaxing Bedroom Hideaway: Best Colors And More
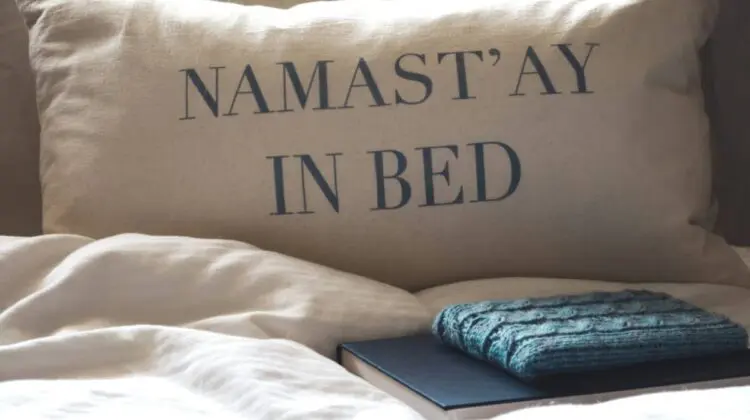
You can master the art of relaxation at home by using these tips for creating a relaxing bedroom hideaway. Winding down after a long week of work can be harder than it seems. Our daily mundane tasks in the workplace can take over our lives and spill into our home lives, as well. That tension can make […]
10 Home Office Setup Must-Haves
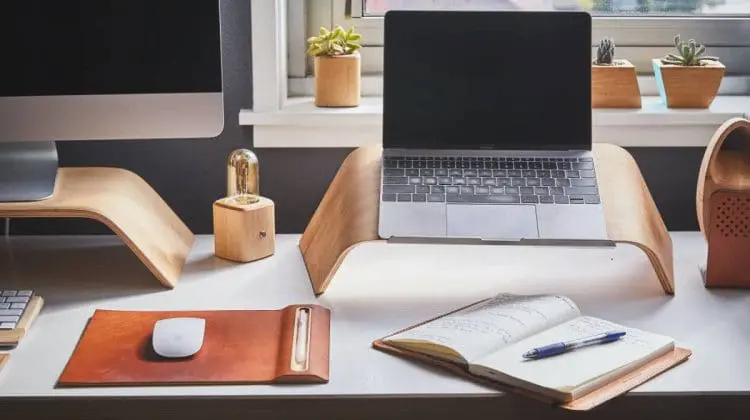
Since the pandemic started in 2020, the popularity of working from home has risen and it looks like it’s set to stay. Home offices are becoming less of a luxury and more of a necessity but it’s hard to know where to begin when setting your home office space up. There’s no need to fret, […]
Fun & Patriotic Printable 4th of July Decorations
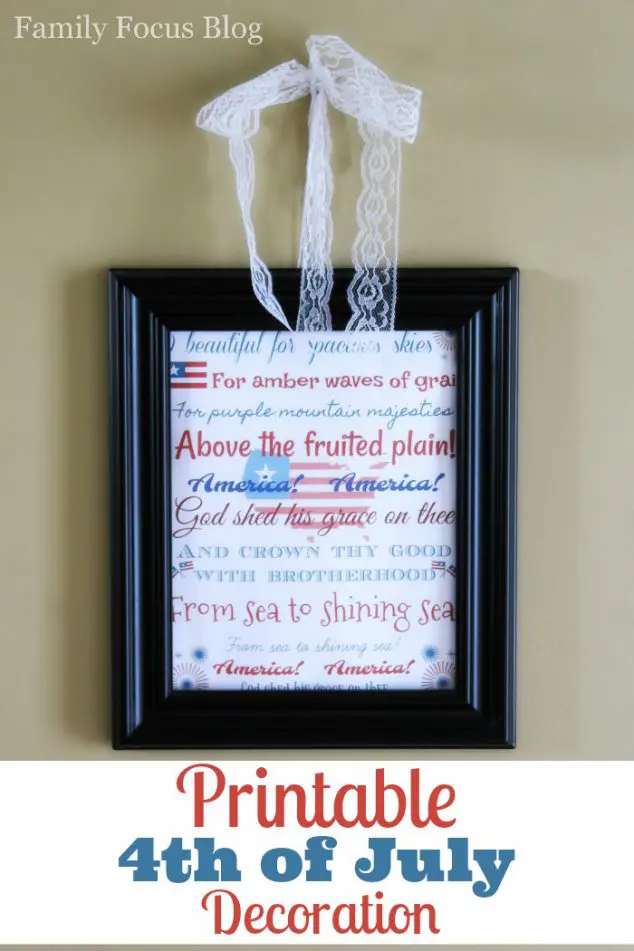
Are you ready for a patriotic celebration? I think I’ve mentioned before that the 4th of July is my favorite holiday. The holiday is about our Nation’s freedom and independence but it’s also about family and coming together to celebrate all that we are so fortunate to have. This year I’ve made special Printable 4th of July […]
How To Decorate Dining Room
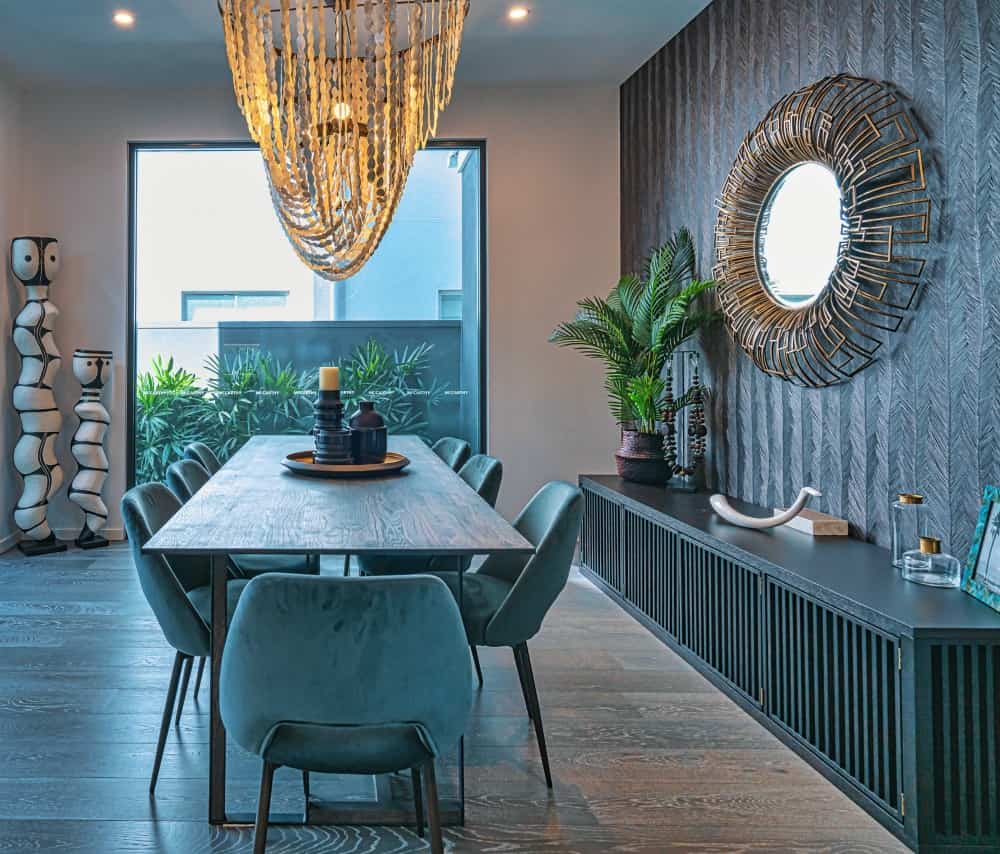
If you are in the market to decorate a brand new dining room or just want to rearrange what you have, then here are a few tips to consider when planning your dining room. You want your dining room to fit your living style and your design style. Here is how to decorate a dining room […]
Baby Wardrobe: How To Maximize Space
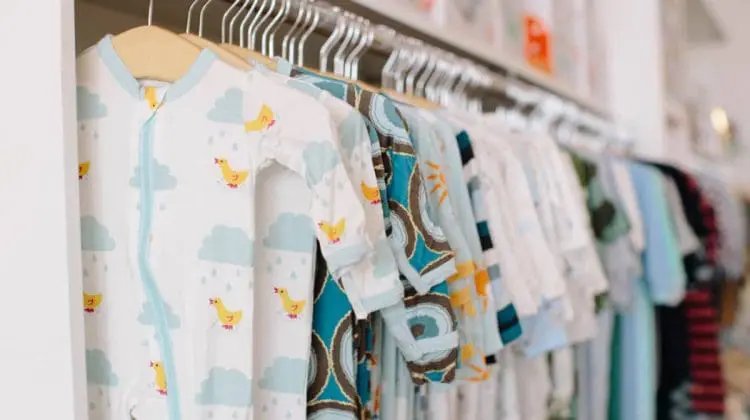
As you may already know, babies grow up incredibly fast. With the blink of an eye, you suddenly have an entire wardrobe of clothes. Some items they don’t even wear! Keeping track of everything and storing it in an orderly fashion can certainly be a challenge. Thankfully it’s not completely impossible. Below we are going […]