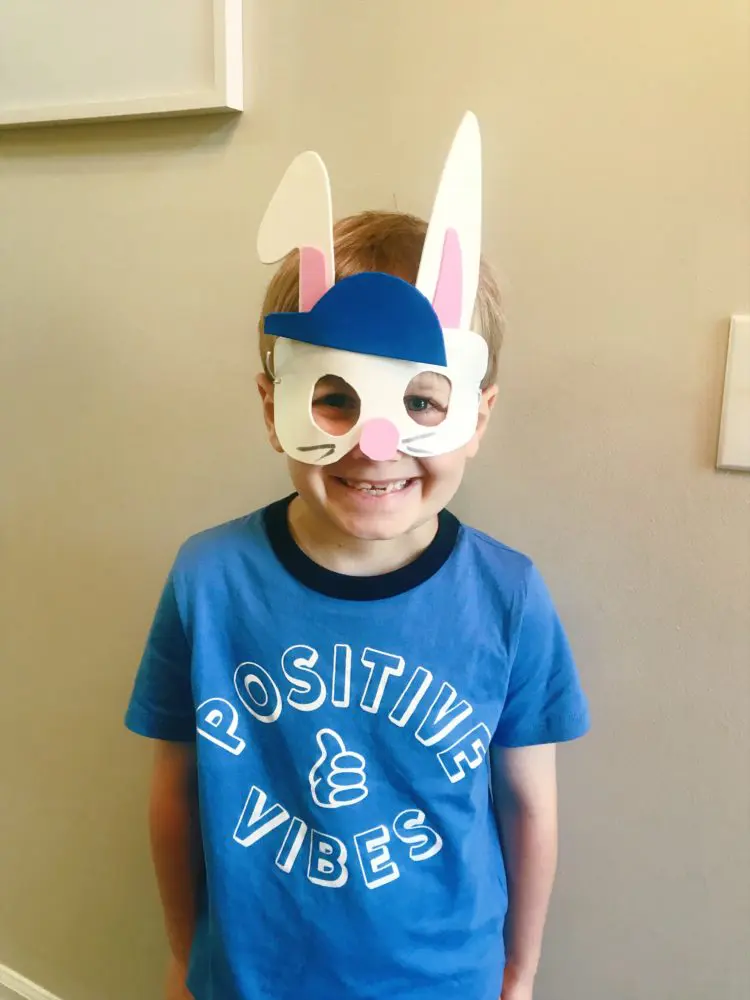
If your kids like to craft, they will absolutely love this DIY foam mask activity! My kiddos love to make an Easter craft and take it over to their grandparents house on Easter Day. This year instead of the typical paint something cute or create a fun card, my son decided that he would like to make an Easter Bunny mask and wear it over to their house! He’s really into super heroes and has a few costumes all of which include…yep, superhero masks! I thought it was a great idea for my kids to make their own Easter masks. Here is how you can make cute and easy Easter Bunny Masks with your kiddos!
Easter Bunny Rabbit Mask For Kids
Making a cute Easter bunny face mask craft for kids is a fun and creative way to celebrate the holiday while encouraging imaginative play. This simple DIY activity helps develop fine motor skills as children cut, glue, and decorate their masks, fostering their creativity and hand-eye coordination. It also provides a festive opportunity for family bonding, making memories together as you craft adorable bunny faces. Plus, kids will love wearing their handmade masks for Easter egg hunts, photos, or pretend play, adding extra joy to the holiday celebrations!
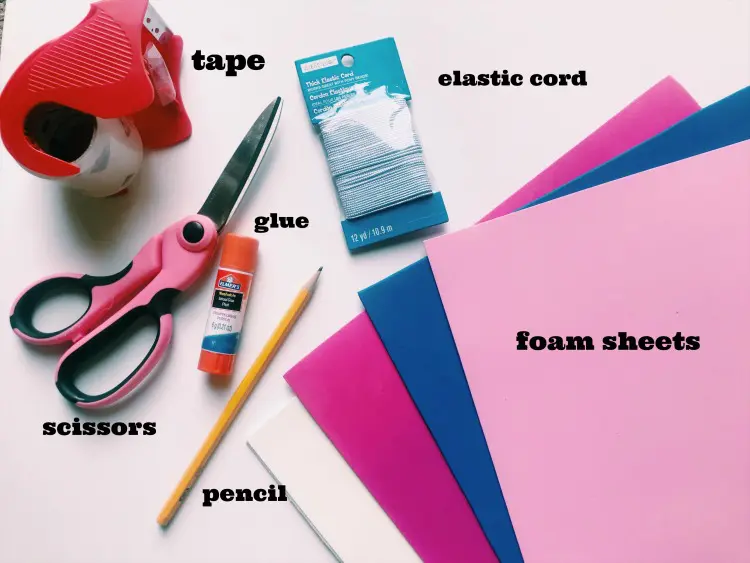
White Rabbit Mask Making Craft Supplies Needed:
- Foam Sheets (white and pink, other colors optional)
- Scissors
- Tape
- Glue
- Pencil
- Elastic Cord
As you can see, the materials needed for this fun indoor activity are quite simple and can be purchased as a local craft store or dollar store. You can let your kids do this craft in the days that lead up to Easter. Alternatively, you can create an Easter mask craft kit with the materials in a plastic bag. Then just addd it to their Easter basket right next to their chocolate Easter eggs on Easter Sunday.
This is an easy craft for children of all ages. You can use a thick card stock instead of foam sheets if you prefer. Other fun substitutions may include using glue and pipe cleaners for the whiskers or pink pom poms for the bunny nose.

How To Make Bunny Masks:
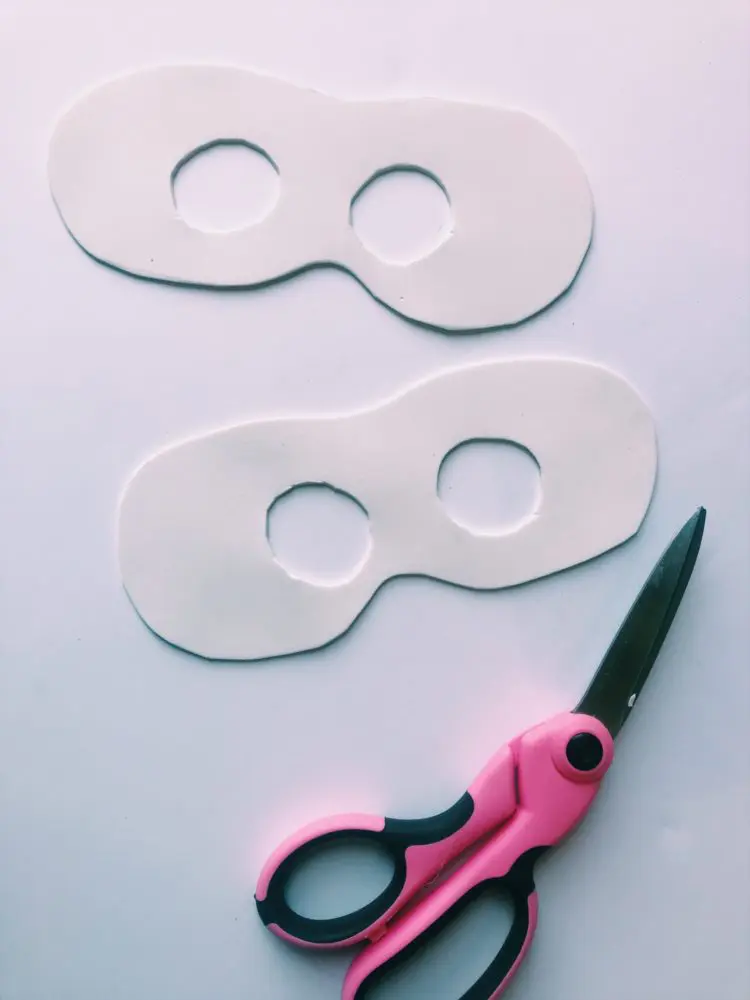
My son decided on an Easter rabbit mask and he made an Easter bunny mask for his sister too! We went with white foam for the Easter bunny masks instead of paper because the foam is much sturdier and would hold up better with the fun that they’ll have wearing them around for awhile on Easter. We started with the white foam for the bunny face mask. It is so easy that you don’t even need a bunny mask template. I just sketched out a typical face mask shape and cut out eye holes.
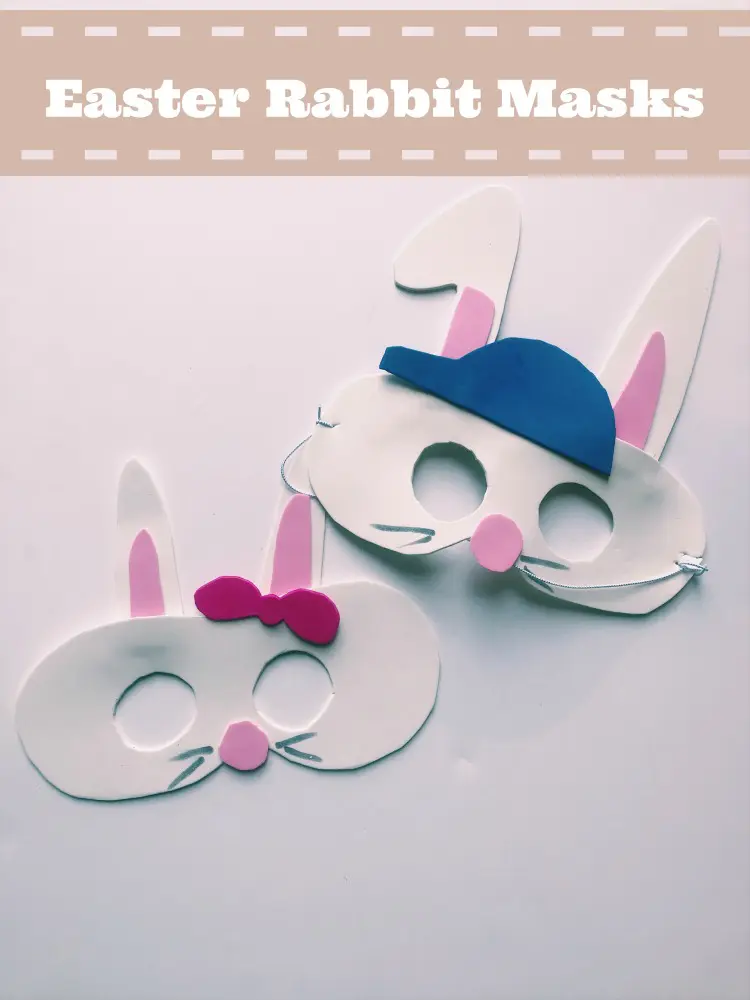
Once you have done this basic eye mask part, it is time to make the cute bunny ears! So we drew 2 ears on the white piece of foam that we had and 2 smaller parts of the ear on the pink foam to be the inside of the rabbits ears. Once those parts were drawn and cut out, we took our glue stick and glued the pink inside part of the ear to the white part. Then we taped the ears to the main part of the white rabbit mask.

Once the ears were on, we needed some whiskers and my son wanted to go all out so he asked me to draw his rabbit a hat that he could wear! So we drew thin whiskers with a grey marker to complete the rabbit’s face. Then, we cut out a hat on the blue foam that we had!

Once the hat was cut out, we glued it on and the bunny mask was all ready! Then we did a pink hair bow for his sister’s bunny mask.
Finally, we poked a small hole in each side of the mask about 1/3 inch from the edge. You can use a hole puncher to punch holes if you have one. Then we thread the elastic cord through the hole and tied it tight on one side. Then I tied it on the second side of the mask after he held it on his head to let me mark the perfect size.
Rabbit Face Mask Craft For Kids Conclusion
Face masks are fun for kids because they let them transform into different characters, sparking their imagination and creativity. Crafting their own masks adds an extra layer of excitement, allowing kids to personalize their designs. wearing masks during playtime or themed events makes activities like dress-up, parties, and holidays even more magical and engaging! Your kids may enjoy wearing their bunny mask to the local Easter parade.
One of the best parts about this cool mask craft for kids is that it is so easy to customize. It really allows their imagination and creativity to shine through. They can pick the colors they like for their bunny mask and add their favorite accessories. Are you counting down the days till Easter? Do you think your children will have fun making Easter bunny masks? If he or she makes one, make sure to share with us their creation by using #familyfocusblog. We can’t wait to see your child’s DIY Easter bunny mask! Tag us @familyfocusblog and @roo615
Related Posts:


Veronica Mitchell says
These bunny rabbit crafts are really cute! My two sons tried to recreate this easter bunny mask. They didn’t get the exact same thing but they had loads of fun doing it. I had extra time so I made three more white rabbit masks for me, my husband, and my daughter too. Great tip! I had an extra pipe cleaners from my art box so I used them for the whiskers instead. What a cute bunny craft. Perfect for Easter time.
Katrina says
What fun bunny rabbit masks for kids to play with. Thanks for the Easter craft tutorial.
Maddie says
This is such a wonderful Easter craft idea! Bunny masks are a fun way for kids to get creative while celebrating the holiday. I love how this activity combines crafting with imaginative play, making it both entertaining and educational.
Diligence Certifications says
It was fun to get creative for Easter with a fun and easy DIY Bunny Mask craft! It will be perfect for kids to play pretend. This adorable project adds a festive touch to our celebrations. Thanks.