I just love the new biodegradable coolers which are so much better than the old styrofoam coolers that broke easily and were not compostable. This is such a quick and easy DIY project and it is perfect for this time of year when you want to get outside and enjoy nature. This step-by-step written tutorial with photos will help you turn a used Igloo RECOOL compostable biodegradable cooler into a cute DIY planter for your deck or front porch. I have also included a quick video tutorial so you can see how it is done.
Easy DIY Planter From An Igloo Biodegradable Cooler
This post was sponsored by Igloo. All opinions are my own. It was first published on Hometalk.
Igloo is the number one cooler manufacturer in the world and they are introducing a brand new product that is sure to fit nicely into your outdoor plans- the RECOOL cooler, the first cooler made with all biodegradable materials! So you can use it, and then reuse it in a fun, creative way. Here is how you can give that cooler a quick makeover and turn it into cute patio decor. First, grab your RECOOL.
For more information on Igloo and its product offerings, please visit igloocoolers.com/RECOOL.
How To Turn An Igloo Recool Into A Planter- A Cool Reuse Project!
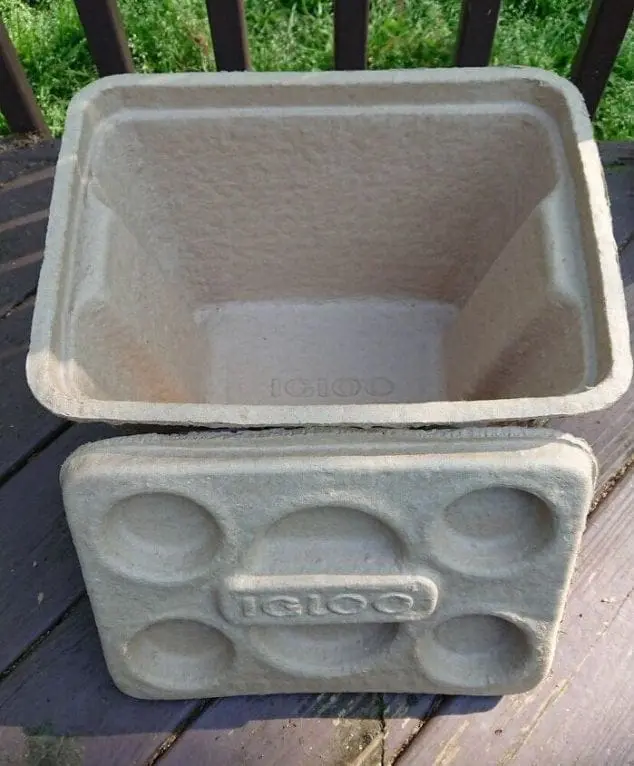
1. Grab your Igloo Recool Cooler.
The RECOOL is made in the USA from molded pulp and it is thick and strong enough to hold up to 75lbs. Plus, won’t squeak, chip or break when bumped (like foam coolers)! It can even hold water without leaking for up to 5 days. In fact, it is plenty strong to make a great planter box.
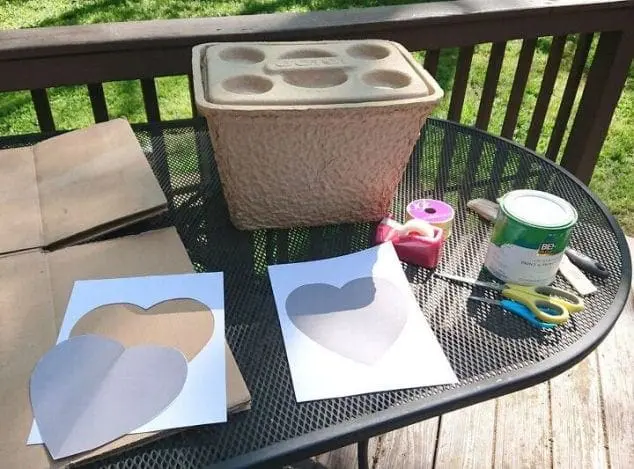
2. Prepare To Paint.
Cover your workspace to protect it from paint (I used an old cardboard box). Gather your paint supplies and heart template. Cut out your heart template.
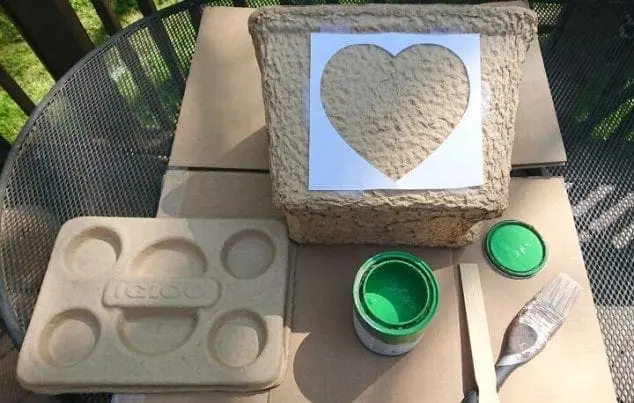
3. Attach Template.
Tape your template securely to the RECOOL.
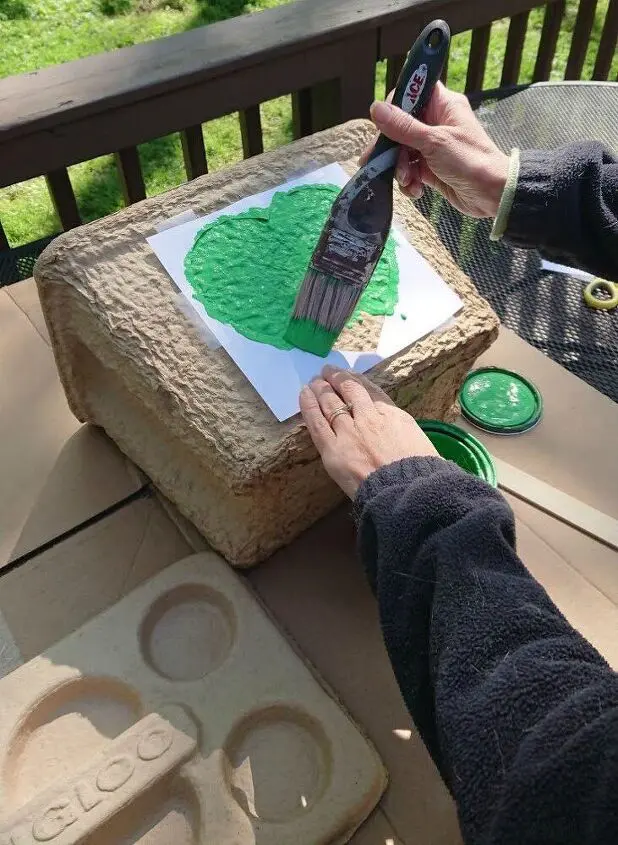
4. Paint Inwards.
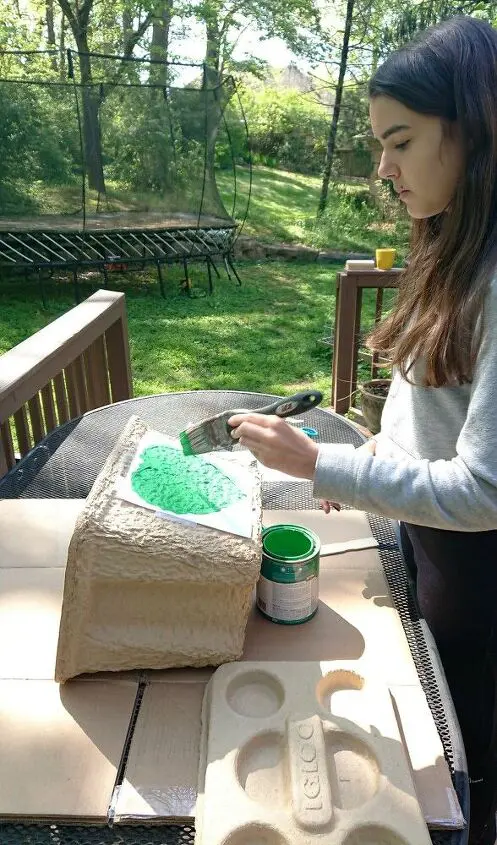
Dip your paint brush in the outdoor paint and gently wipe off any excess to prevent dripping. Paint inward (starting on the paper template and pulling the brush towards the middle) so that you don’t get paint under the template edges.
5. Paint Entire Cut Out Area.
Cover the entire cut out template area with paint. Allow to dry for one hour at least until dry to the touch. Then you can turn it over and paint the back side to, if you like. I only did one side. My daughter wanted to help with the painting because she loves DIY projects!
6. Remove Paper Template And Add Rocks.
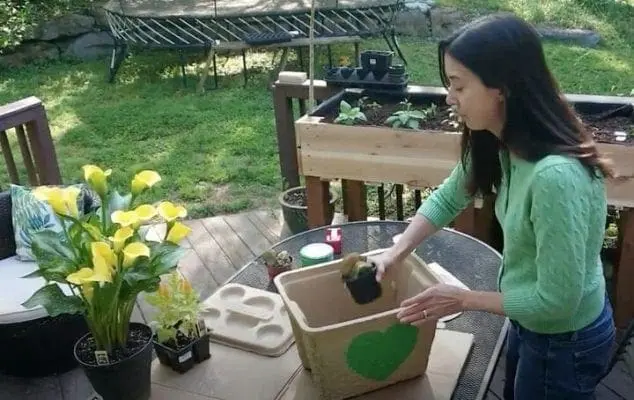
Remove your paper template once the paint is dry. Then add rocks to the bottom of the RECOOL in order to provide drainage.
7. Add Soil And Plant.
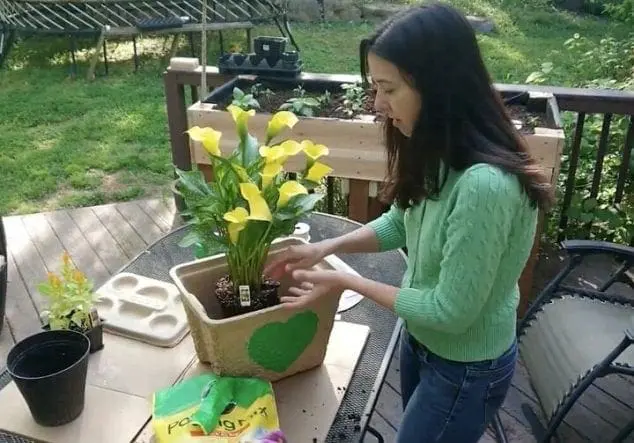
Once you have added the rocks for drainage, you can now add the plant and soil. Test out the size of your plant by placing it in the cooler to see if you will need soil under the plant and about how much. Pour in some potting soil and then remove plant from its pot and add to the cooler planter.
8. Fill With Soil.
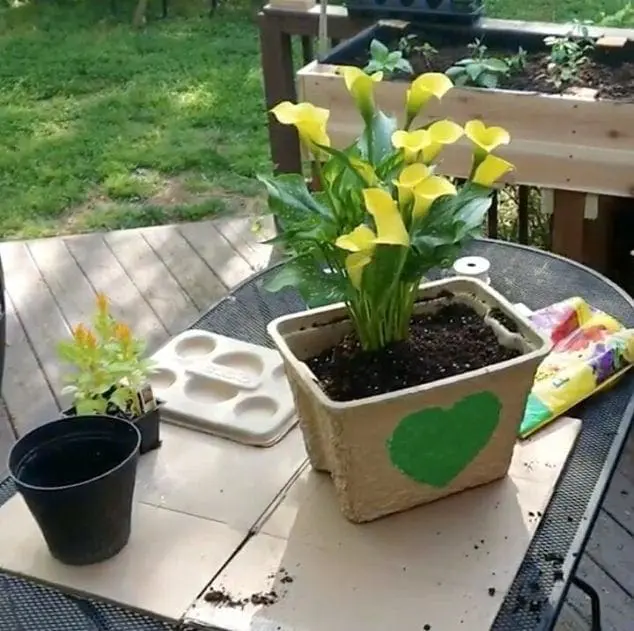
Fill around the roots and over the roots with soil. You can use the cooler rim as a fill to the top guide.
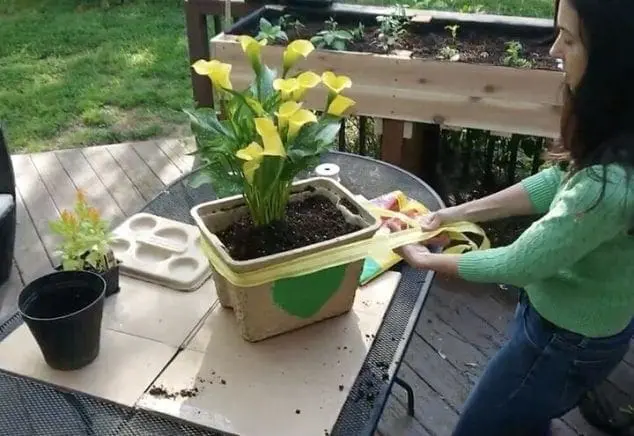
9. Add ribbon.
Take a wired ribbon, wrap it around the top of the planter and tie a bow.
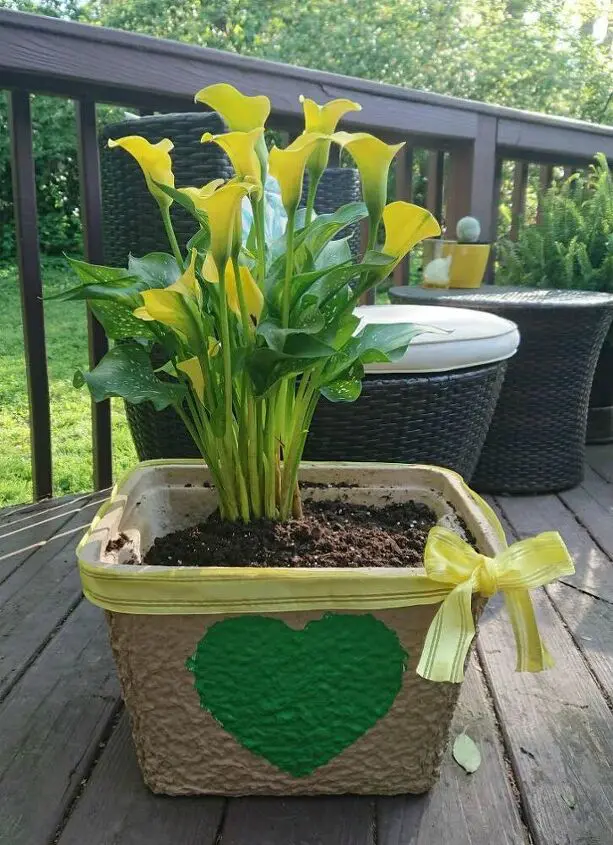
10. Fluff bow.
Fluff bow into a nice full shape.
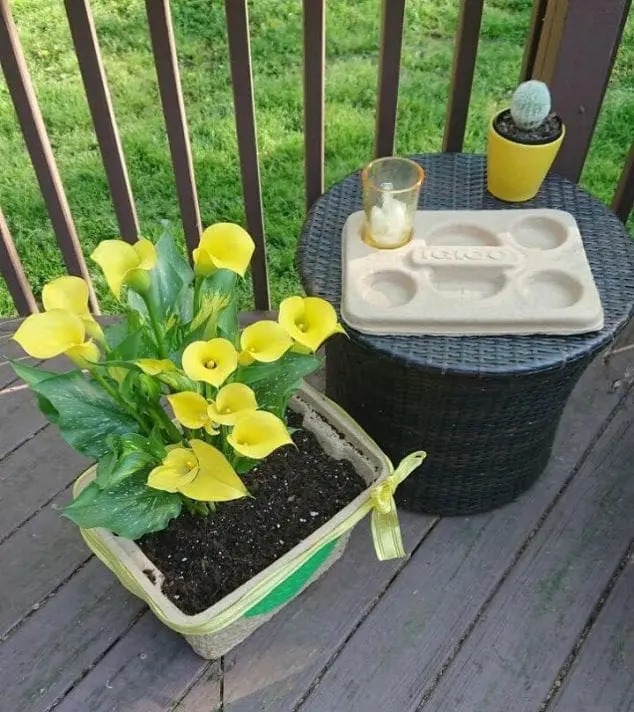
11. Place RECOOL planter.
Place your RECOOL planter on your porch or patio for cheerful outdoor decor.
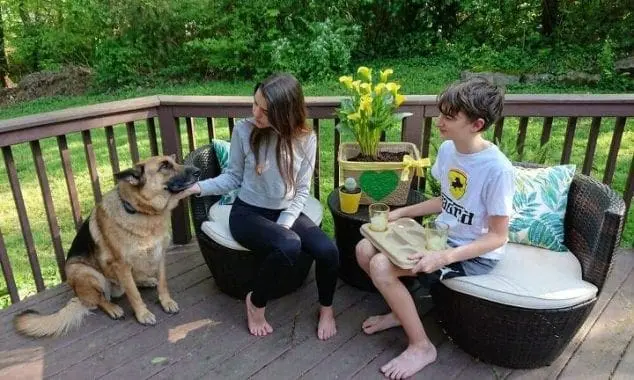
12. Add family.
Add family and enjoy your new planter box and some time outside together!
Video Tutorial
In case you prefer videos, I have made a brief video showing you the process so you can see what to do step by step and how it looks as a finished project.
Biodegradable Cooler Box Conclusion
The Igloo cardboard cooler offers an innovative and eco-friendly solution for on-the-go cooling needs. Its lightweight, recyclable design makes it an excellent choice for those seeking a more sustainable alternative to traditional plastic coolers. Despite its disposable nature, the cooler delivers reliable insulation for short-term use, making it ideal for picnics, day trips, or small gatherings. By combining convenience, functionality, and environmental responsibility, the Igloo cardboard cooler is a forward-thinking product that aligns with the growing demand for sustainable lifestyle options.
I think this is such a fun and simple way to upcycle a used Igloo RECOOL. I hope you enjoy the new DIY planter that will brighten up your porch. Save this planter project on Pinterest so you don’t forget to give it a try and let me know if you have any questions!
Related Posts:
