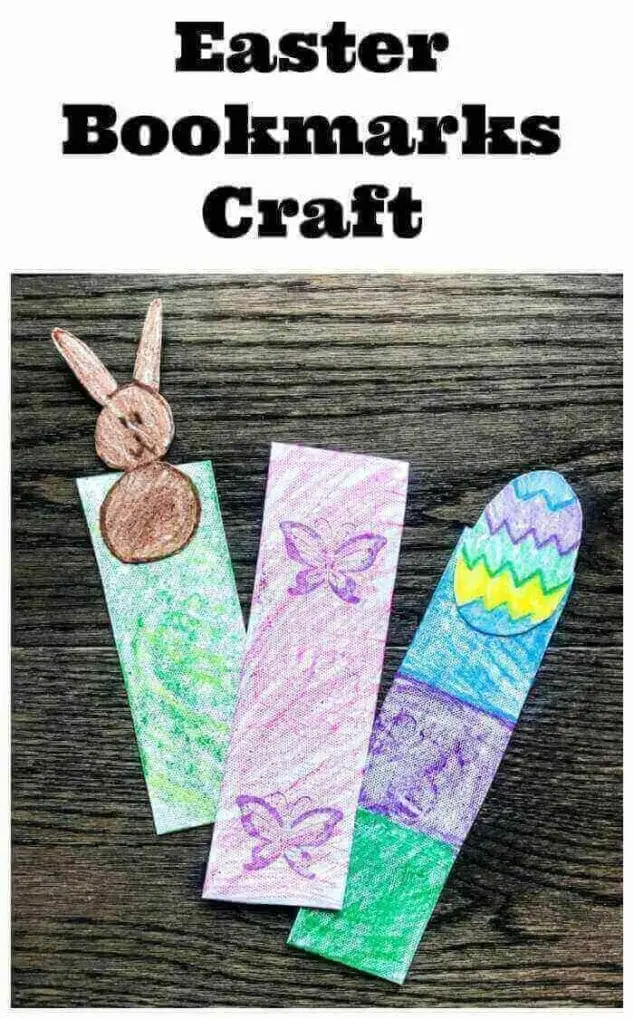
My kiddos love to read and so do quite a few of our family members. On Easter, it’s always the kids getting all the goodies so we decided this year to hand make a couple Easter Bookmarks for some family members. Of course, the kids wanted to make these easy homemade bookmarks for themselves as well! There are lots of different Easter art crafts for kids to make but we thought this one was a little different and pretty useful (not just for Easter time). If you have a book lover in the family or just a child who enjoys crafting, this tutorial for how to make your own bookmarks will come in handy all year round. Just customize your bookmark to your desired theme. This craft is pretty mess-free and you can probably find the craft supplies for these handmade bookmarks around your home!

Easy Bookmarks Tutorial
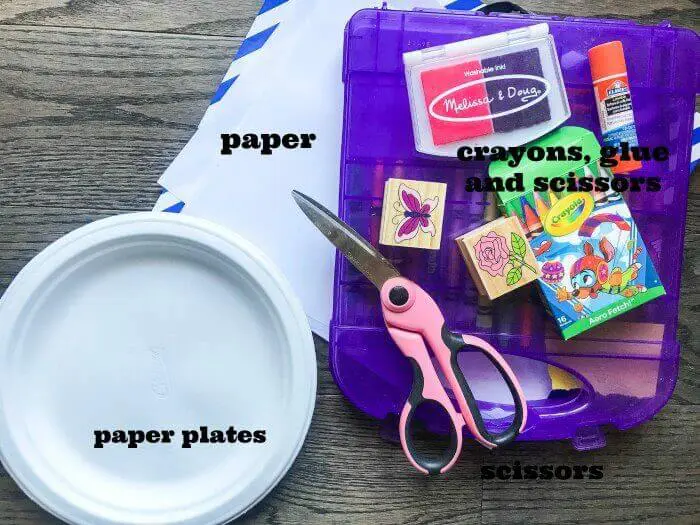
Supplies For Bookmark Arts And Crafts Project:
- Thick Paper Plates or Thick Cardstock (construction paper is a little too flimsy)
- Markers or Crayons
- Scissors
- Glue Stick
- Stamps (optional)

How To Make Homemade Book Marks (Step-By-Step Instructions)
Gather your supplies and find a place where you and your child can spread out. I love getting beside a large window so there is plenty of light!
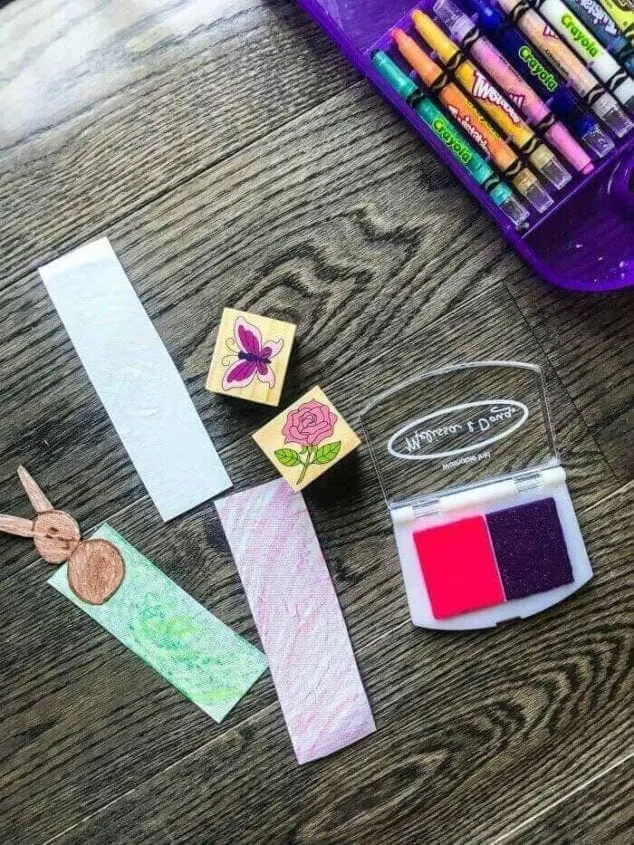
You are going to start by making the bookmark strips in a rectangular shape. We used thick paper plates so we took a little time cutting our bookmark pieces out of the plates. (A piece of card stock or scrapbook paper would be much quicker, but use what you have.) Once those were cut out, it was time to decide how to decorate them. There are so many fun ways to decorate and top off your bookmark.

This is the artistic part where your kids can use their creativity to create the design for the craft.
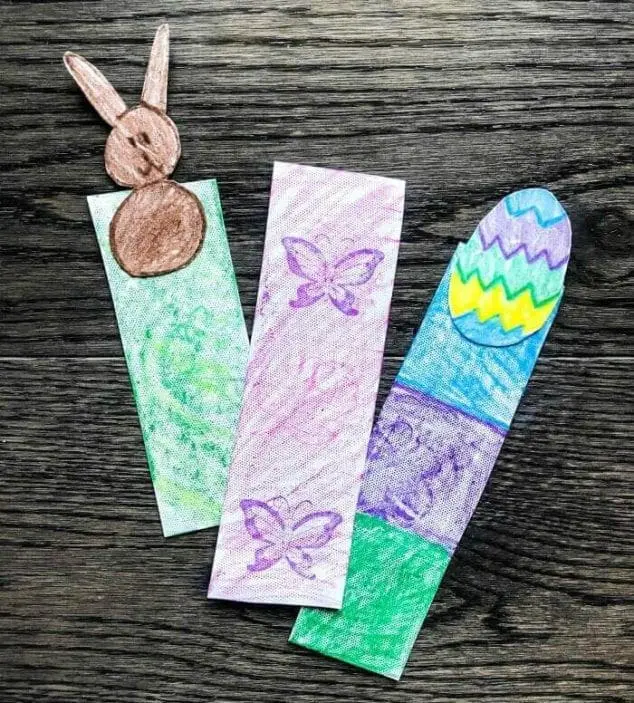
Since we were making homemade Easter bookmarks, we drew and cut out a bunny, and an Easter egg. For the remaining bookmark we just stamped it with butterflies for spring! There are so many possibilities.
The kids went to work with their crayons and colored all the parts of the bookmarks to create their own masterpiece.
Once the bunny and the egg were colored, we used our glue stick and added a little glue to the back to stick it on the top of the bookmark. Allow the glue to dry. Then you can go ahead and use your easy homemade bookmarks!

More Easy Bookmark Ideas
Here are some more easy and creative bookmark ideas you can try:
Ribbon Bookmarks
- Materials: Ribbon, scissors, beads (optional).
- Instructions: Cut a piece of ribbon to your desired length. Optionally, thread beads onto the ends of the ribbon and knot them to keep the beads in place.
Paper Clip Bookmarks
- Materials: Paper clips, ribbon, washi tape.
- Instructions: Tie a small piece of ribbon to the end of a paper clip or wrap a piece of washi tape around it for decoration.
Paint Chip Bookmarks
- Materials: Paint chips from a hardware store, hole punch, ribbon.
- Instructions: Punch a hole at the top of the paint chip and thread a piece of ribbon through the hole.
Conclusion
These bookmark ideas are simple to make and can be personalized to suit your style or the recipient’s preferences. Now, we just need to make a few more Easter bookmarks to give as gifts! These cute bookmarks, along with their favorite books, make a great gift. Fun bookmarks like these may even make young readers more interested in reading! These easy DIY bookmarks are so useful to mark book pages without turning the corners of pages.
This is a great project for kids of all ages because young children can make cute DIY bookmarks while older kids can make more detailed creative bookmarks. Does this look like an Easter art craft your child would enjoy making? It may even become a new Easter tradition! Who in your family would love some of these easy homemade bookmarks?
Related Posts:
