Tired of outdated cabinet hardware ruining the look of your kitchen? Learn the expert tips and tricks for installing new hardware that will instantly transform your space. With detailed instructions and helpful visuals, this guide is your go-to resource for a hassle-free upgrade. Whether it’s a graduation open house, an upcoming family reunion, or just the beautiful weather it seems that this time of year brings home improvement projects for many. This project really make a big impact for very little money. Adding or updating the knobs and pulls on your kitchen cabinet doors or bathroom cabinets can really make your space feel new and fresh. Goodbye to outdated cabinet pulls and hello to a more modern style and finish. If you don’t know How to Install Cabinet Hardware this simple tutorial will make it seem less intimidating!
This was originally published May 20, 2015. I have added a few sections on choosing the right types of cabinet hardware for your design and preparing the old cabinets for your own cabinet hardware and republished it as a more complete guide.
Revamp Your Cabinets with Ease: The Ultimate Guide to Installing Hardware
Tired of staring at your outdated cabinets and wishing you could give your kitchen a modern makeover? We get it. The hardware on your cabinets can make or break the overall look and feel of your space. But fear not! In this ultimate guide, we’ll reveal the expert tips and tricks for installing new cabinet hardware that will instantly transform your kitchen into a stylish oasis. From choosing the perfect hardware that combines style and functionality to removing the old hardware and prepping your cabinets for the new installation, we’ve got you covered. We’ll also guide you through the precise process of installing your new hardware, ensuring that every handle and knob is perfectly aligned. Plus, we’ll share the finishing touches.
Choose the Right Hardware: Style and Functionality
When it comes to revamping your cabinets, choosing the right hardware is crucial for achieving the perfect balance of style and functionality. The right handles and knobs can truly transform the look and feel of your space, adding a touch of elegance and enhancing the overall aesthetic appeal. But with so many options available, it can be overwhelming to know where to start.
First and foremost, consider the overall style of your kitchen. Are you going for a sleek and modern look, or do you prefer a more traditional and rustic feel? The style of your cabinets, as well as the overall decor of your kitchen, should guide your hardware choices. For a contemporary vibe, consider sleek and minimalist designs, such as streamlined stainless steel handles or simple, geometric knobs. If you’re aiming for a more traditional aesthetic, opt for ornate and decorative hardware, like brass handles with intricate detailing or vintage-inspired glass knobs.
In addition to style, functionality is key. After all, your cabinets are not just decorative elements, but also practical storage solutions. When choosing hardware, think about how it will feel and function in everyday use. For example, if you have young children or elderly family members, consider handles and knobs that are easy to grip and operate. Soft-close mechanisms can also be a great addition, preventing your cabinet doors from slamming shut and reducing wear and tear over time.
Another factor to consider is the material of your hardware. While style and functionality play a significant role, the durability and longevity of your chosen hardware are equally important. Materials like stainless steel, brass, and bronze are not only aesthetically pleasing but also highly durable, able to withstand the demands of daily use without losing their shine or finish.
Lastly, don’t forget about the little details. Finishing touches like matching hinges, drawer pulls, cabinet knobs, and backplates can elevate the overall look and cohesiveness of your cabinets. Take the time to explore different combinations and configurations, ensuring that every element works together harmoniously.
Cabinet hardware comes in just about every shape, size, and price range you can imagine. When I designed and sold kitchens it was amazing to see the options! From knobs for less than $1 a piece to single handles that retail for $100+ you can find something to fit your style and taste. Cabinet hardware is a great style boosting feature in any kitchen.
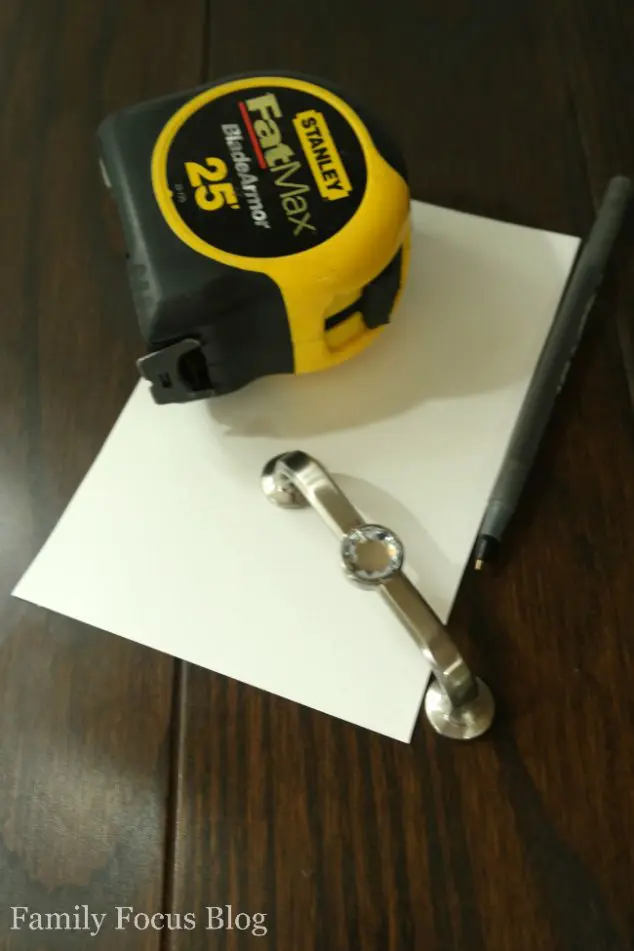
Gather the Necessary Tools and Materials
Supplies:
- cabinet hardware
- screws
- screw driver/drill gun and drill bit
- cardboard for template or cabinet hardware template
- tape measure
To ensure a successful cabinet revamp, it’s essential to gather all the right tools and materials before diving into the project. Having everything at your fingertips will not only make the installation process smoother but also save you time and frustration along the way.
You’ll need a screwdriver or drill with the appropriate bits. Cabinets typically come with pre-drilled holes for hardware, but if they don’t, you may need to create them yourself. A ruler or measuring tape will come in handy for accurately marking the spot where each piece of hardware will be installed.
Screws are something that can easily fool you. Most cabinet hardware comes with screws but often they are too long or too short for your needs. The screw needs to be long enough to go through the door thickness and have enough thread left over to securely hold the hardware on. If you’re installing on drawers, the screw must also be long enough to go through the drawer front itself. This means 2 different lengths of screws typically. Or you can purchase “break off” screws which are longer than necessary but have score lines that allow you to “break off” the extra length you don’t need. These work great!
Don’t forget about personal protective equipment (PPE) to keep yourself safe during the installation process. Depending on your preference, this may include gloves, safety glasses, or a dust mask. It’s always better to be safe than sorry, especially when dealing with tools and potentially sharp edges.
Remove the Old Hardware: Step-by-Step Guide
You’ll need a screwdriver with a head that matches the screws on your current hardware. Additionally, have a small container or bag on hand to collect the screws and other small pieces as you remove them.
Begin by opening one of the cabinet doors. Locate the screws that secure the hardware in place. These screws are usually found on the inside of the cabinet door or drawer. Using your screwdriver, carefully loosen and remove each screw, placing them in your container or bag. Once all the screws have been removed, gently pull the kitchen hardware away from the cabinet door or drawer. This may require a bit of force if the kitchen cabinet handles secured tightly. If you encounter any resistance, double-check for any remaining screws that may still be holding the piece in place. Avoid using excessive force that could damage the cabinet’s surface or the hardware itself. Continue this process for all the cabinets in your kitchen or bathroom, ensuring that you remove every bit of old hardware.
Prep the Cabinet for New Hardware Installation
Now it is time for prepping the cabinet for new hardware installation. This will involve a few simple yet important tasks to ensure a smooth and secure fit for your fresh new hardware.
The first thing you’ll want to do is clean the surface of the cabinets thoroughly. Use a mild detergent or a gentle cleaner to remove any dirt, grease, or residue that may have accumulated over time. A clean surface will provide a better adhesion for the new hardware and ensure a long-lasting installation. Plus, it will just look nice! Next, inspect the cabinet surface for any imperfections or damage. Fill in any screw holes or cracks with a wood filler, sanding it down until it is smooth and flush with the rest of the cabinet. This step is crucial not only for aesthetic reasons but also to prevent any potential problems with the installation down the line.
How to Install New Cabinet Hardware
Once the surface is clean and repaired, it’s time to mark the placement for your new hardware. Take measurements and use a pencil to mark the exact spots where you want your hardware to be installed. The pencil marks will help you ensure that the hardware is evenly placed on each cabinet and create a cohesive look.
Looking for a game-changing solution to simplify cabinet hardware installation? Uncover the secret hack that will revolutionize your workflow and give you professional results in no time. Say goodbye to headaches and hello to effortless hardware upgrades. Before drilling any holes, it’s a good idea to use a template to help guide your installation. Most home improvement stores sell cabinet hardware templates for installing hardware.They are made of plastic and have holes for the different size pulls you might use. They are inexpensive and make installation easy by ensuring accurate hole placement.
Simply position the template on the marked spot and use it to guide your drill, creating clean and precise holes for your hardware.
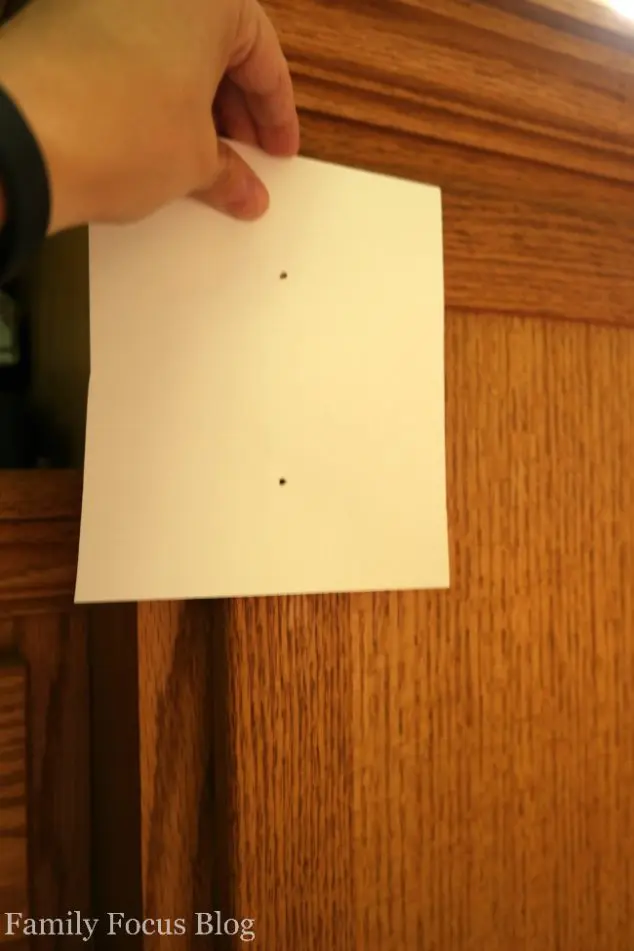
How To Make A Cabinet Hardware Template
If you don’t have a cabinet hardware template or don’t want to purchase one you can make your own using cardboard.
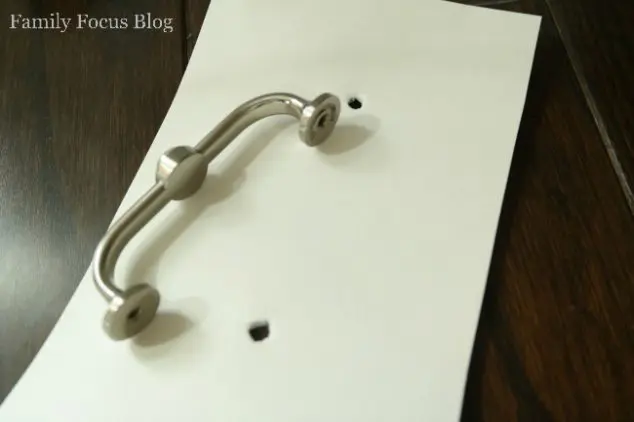
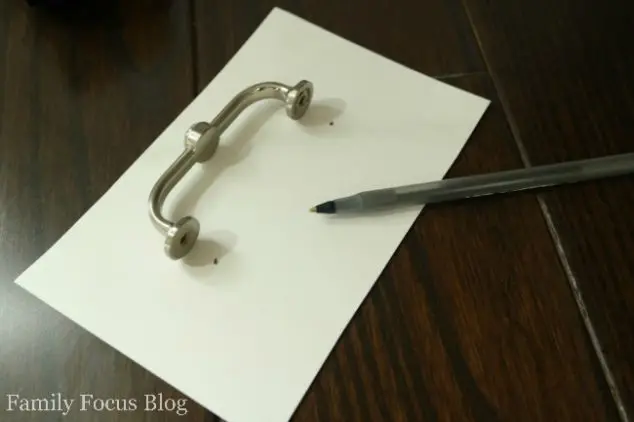
Once you’ve purchased your hardware simply measure the distance between holes and mark this distance on a piece of cardboard. Use a punch or something sharp to create a hole where you marked. This will let you quickly mark your cabinetry for drilling.
Make sure the cardboard has straight edges. The straight edge will be held against the top of your drawers or the sides of your doors to make sure your hardware is installed straight. Mark the holes on the template the same distance in from the edge that you want the handle to be in from the edge of your door.
You are ready to learn how to install cabinet hardware.
Place the template along the edge of your door or drawer and mark your holes.
When you have marked your cabinets (and double checked to be sure the holes will be in the right place), the next step in how to install cabinet hardware is to carefully use a drill and drill bit to drill the holes for each pull or knob.
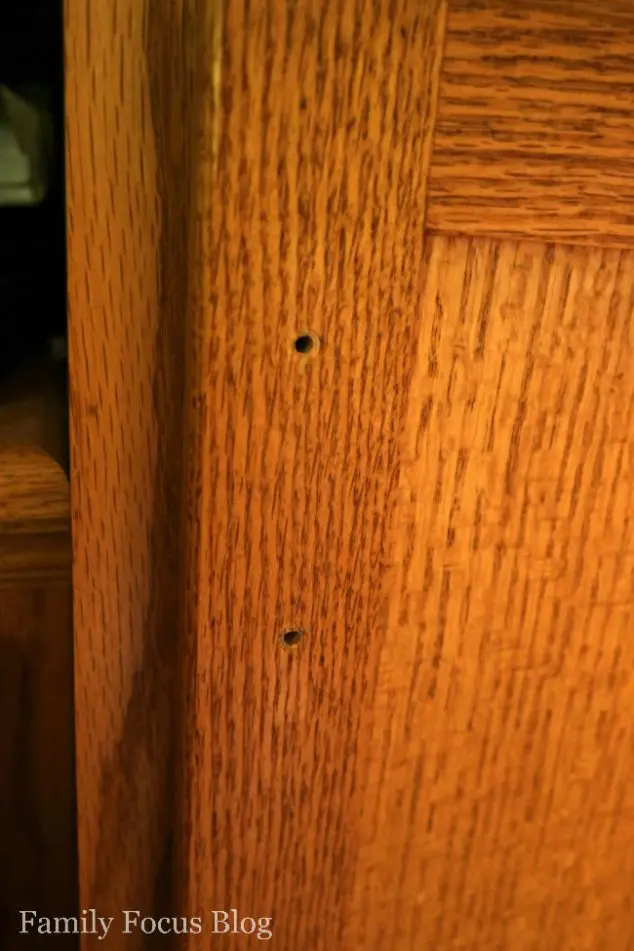
Once your holes are drilled you are ready to install the hardware. If you are using break off screws measure and break off the screws you will need. Use a screw driver to securely attach each knob and pull to the cabinets.
Conclusion
Ready to give your cabinets a stylish makeover? Use these insider secrets and pro tips for flawlessly installing cabinet hardware that will take your space to the next level. Say goodbye to amateur mistakes and hello to a high-end, polished look. I hope you find these tips for how to install cabinet hardware useful. Let us know if you have questions or show us how your cabinets turn out by tagging @familyfocusblog. You’ll love the difference this simple kitchen update makes to the overall appearance of the room.
Related Posts:
Some Effective And Easy Tips To Organize Your Bathroom
James says
Just installed new cabinet hardware on my shaker style kitchen cabinets, and I couldn’t be happier with the results! Using a template for the holes was a great option—it saved so much time and helped keep everything lined up, especially on the upper corner doors. One thing I learned the hard way: always check the back of the drawer for clearance and test out shorter screws first, especially if you’re adding drawer handles to thinner drawers. Also, double-check the inside of the drawer before drilling—the last thing you want is a hole in the wrong place on your new kitchen cabinets!
Abubakar says
Absolutely love this step-by-step guide on how to install cabinet hardware! The clear and concise instructions make it seem like a breeze, even for someone like me who’s not very handy. The tip about using a template is brilliant – it takes the guesswork out of placement and ensures a professional-looking result. I’m definitely going to tackle this DIY project in my kitchen and bathroom. Thank you for breaking it down so well!
Indus says
Installing cabinet hardware might seem like a minor detail, but it can significantly enhance the overall look of a space. ‘How to Install Cabinet Hardware’ is a practical guide that empowers homeowners and DIY enthusiasts to achieve a polished and professional finish in their interior design projects