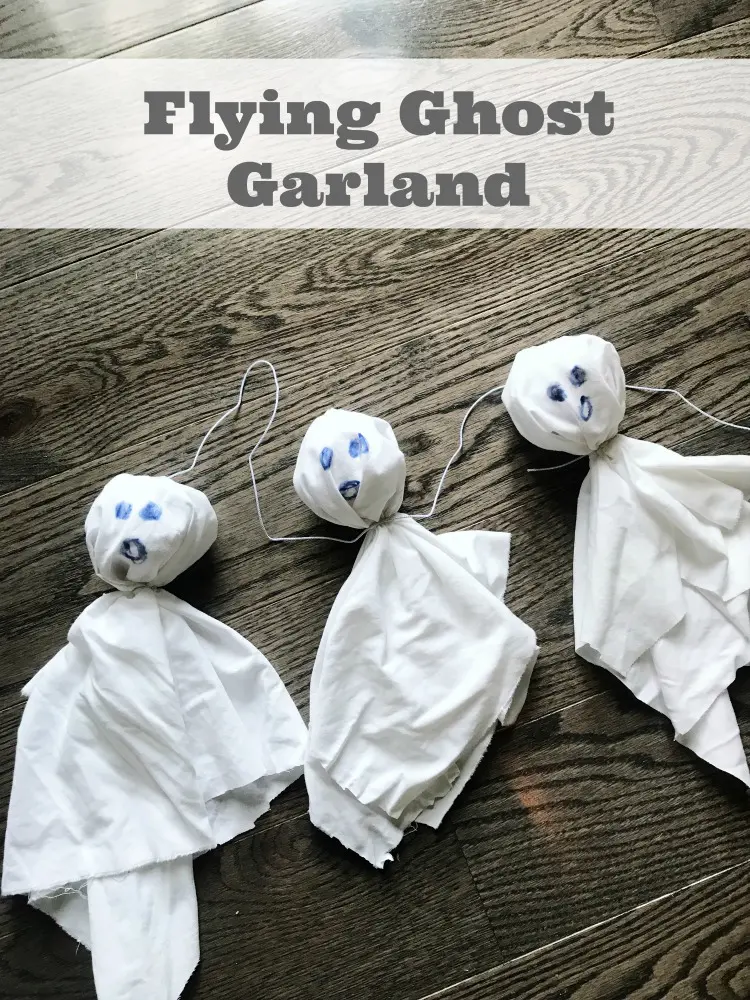
If you are looking for a last minute quick and easy Halloween craft to make with your child, this flying ghosts Halloween decoration is perfect! It’s zero mess and takes about 10 minutes total plus, your child will LOVE them! Grab your scissors and an old white sheet or old white t-shirts and get ready for some not-so-spooky ghost making! This DIY flying ghosts craft is perfect for decorating your yard or for a Halloween party.
DIY Flying Ghost Halloween Decoration

We are not talking about a store bought large flying ghost that needs aa batteries and makes creepy sounds. We talking about cute small flying ghosts with expressive faces. The white fabric ghost make for a spooky yard scene on a more mild level, perfect for younger children. These Halloween decorations ghosts are suspended on a thin string which creates the appearance of flying.
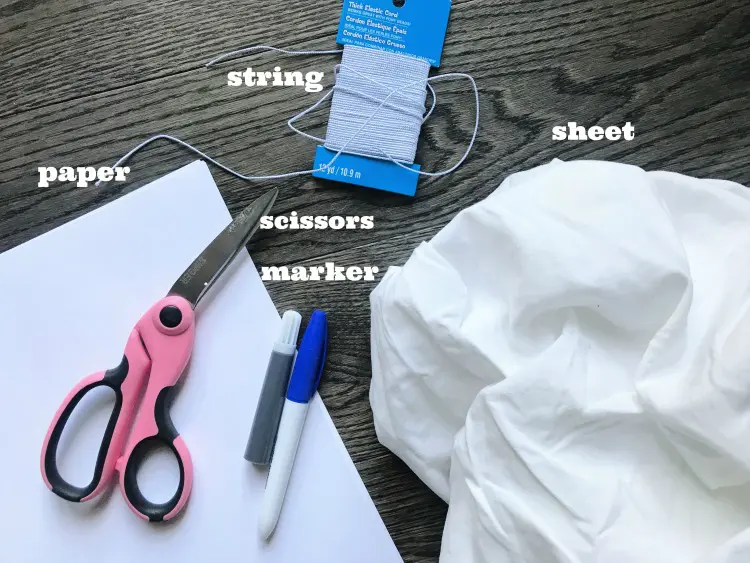
Materials Needed for Ghost Halloween Decorations:
- Old White Sheet (old white t-shirts or trash bags will work too)
- Newspaper or white printer paper
- Dark colored marker
- Scissors
- String

How To Make Flying Ghost For Halloween:
Gather the flying ghost decoration supplies and head to a space where you can spread out.
Start making flying ghosts Halloween decorations by cutting out squares from an old white sheet. They do not have to be exactly all the same size so no need to measure (unless you just want to). Ours were about 10 inches tall once folded over so 20 inch squares. You can make really big ghosts or medium size ghosts. This is definitely a craft where you decide on what you want to do…lots of options!
Go ahead and cut up a few small pieces of string to have those ready for your ghosts. If your child is good with scissors, let them do this part.
If they haven’t mastered scissor skills yet, they can still help draw faces on the ghosts!
Once the squares are cut out, take a piece of your paper and gently wad it up. Place under a sheet square and tie up with a small piece of string.

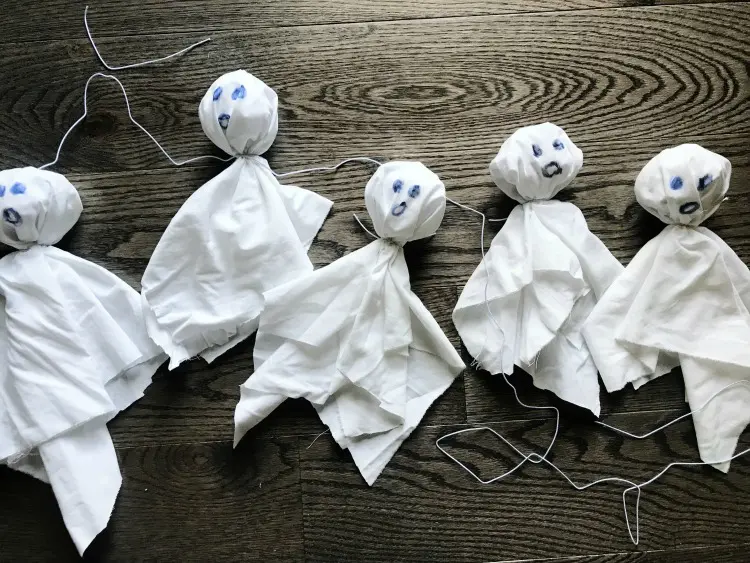
Draw faces on your ghost decorations with your dark colored marker. To add an extra element of spookiness we drew open-mouth ghost faces like they are moaning.
Cut out a long piece of your string to hang your ghosts from.
Next, we grabbed some packing tape and taped each ghost to our string.
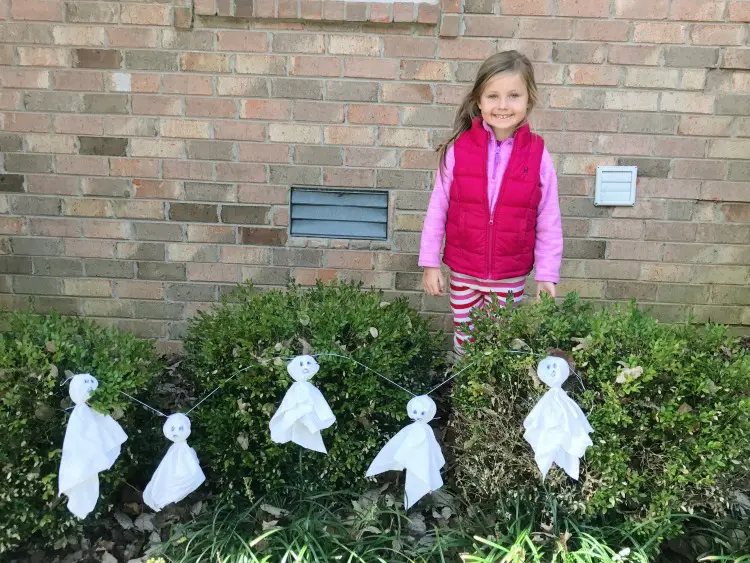
Lastly, find a spot outside to hang your ghosts! My daughter wanted to place ours on some of our bushes!

5 Reasons To Try This DIY Ghost Craft:
A flying ghost decoration is popular for several reasons:
- Halloween Atmosphere: It adds an eerie and spooky vibe to Halloween decorations, creating a festive and fun atmosphere for the holiday.
- Dynamic Movement: The flying or floating movement makes it more engaging and eye-catching compared to static decorations.
- Versatility: Flying ghost decorations can be used indoors and outdoors, making them versatile for different decorating needs.
- Scare Factor: The unexpected movement can startle and entertain guests, adding to the fun of Halloween parties or trick-or-treating.
- Creative Expression: It allows for creativity in decorating, as people can customize the look and setup to fit their Halloween theme.
Have you and your child made any Halloween crafts yet? If you are looking for something really easy to make, give this flying ghosts Halloween decoration a try! With just a few handmade pieces, you will have a great flying Halloween decorations for your bushes.
Related Posts:
Monster Halloween yard decorations craft

Kristina Faricelli says
Thank you for sharing this Rachel! My grandson is autistic and loves to make holiday crafts but gets frustrated if they are too complicated. This is perfect for him and I know he’ll have so much fun making this ghost garland to help decorate for Halloween.