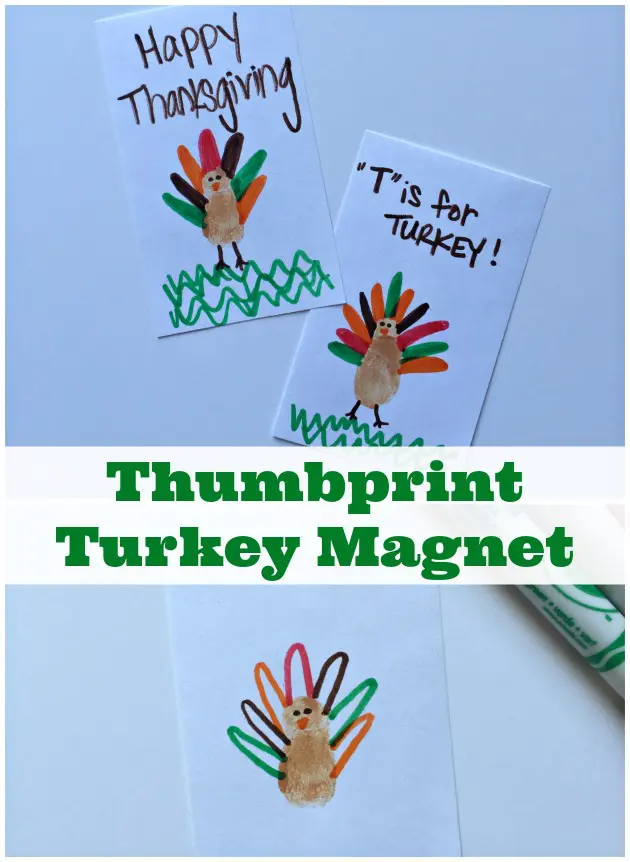
This Thumbprint Turkey Magnet is such a fun and easy craft for kids that they will more than likely want to make multiple magnets all day long! You probably have most of the items that you need for this activity already in your craft stash. My kids love hanging finished crafts up on the fridge and they especially like making magnets because they are able to move them around easily to different spots on the fridge. These Thumbprint Turkey Magnets are the perfect craft for this time of year. Thumbprint art makes great (inexpensive) gifts for family members too!
Have you tried fingerprint art projects before? They are a fun way to engage touch and visual senses for kids of all ages. This turkey craft is great for preschool aged children who will enjoy using thumb and fingerprints to create the turkey body. We use flat magnets for this fun craft project so care will need to be taken to ensure that the magnets are too large to present a choking hazard. Also, children should be supervised while crafting.
Turkey Thumbprint Art Tutorial
Fun handprint art and fun fingerprint art ideas are often a part of preschool curriculum because they are a great way to engage young children and they make great keepsakes. It is so nice to look back at their tiny little fingerprints, thumbprints, and handprints as they grow.
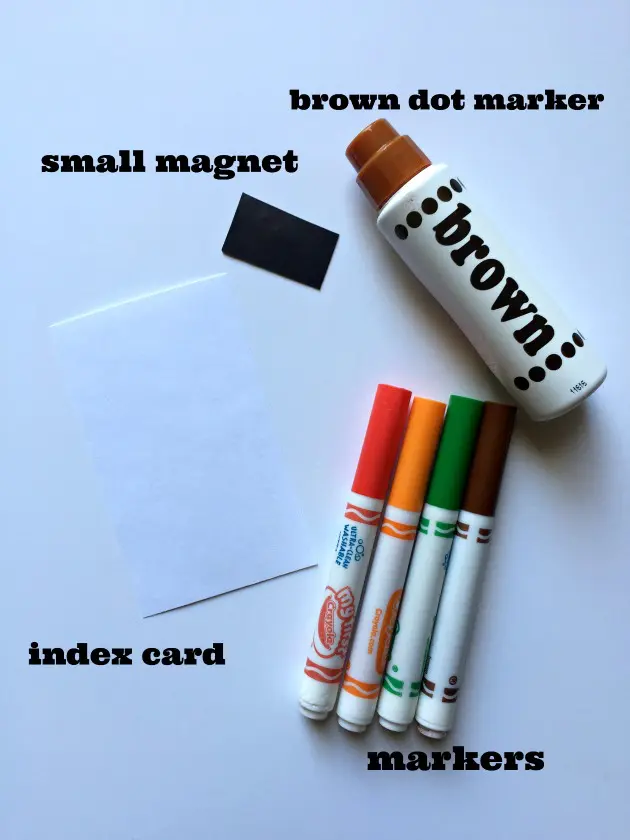
Art & Craft Supplies Needed:
- White Index Card or Small Piece of Card stock
- Markers in different colors
- Brown Dot Marker or Ink Pad
- Wide Flat Magnet (large enough for preschoolers not to swallow)
Directions For How To Make A Thumbprint Turkey:
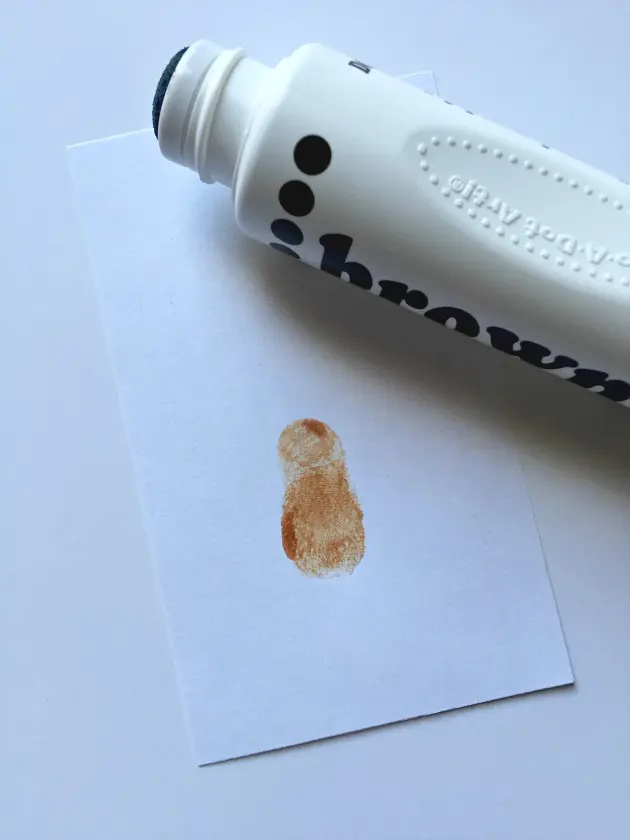
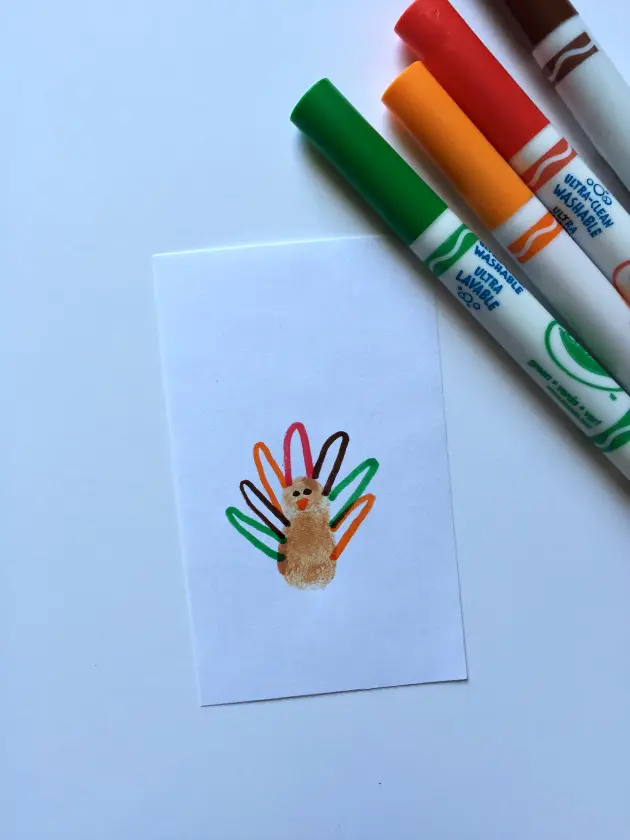
Gather your supplies and grab a seat at the table for this great activity. First, take your index card and your brown dot marker. Color your child’s thumb with the dot marker and let him/her press it down on the index card. Or allow them to use stamp pads for this step. This makes the turkey’s body. Next color his/her pinky and press on top of the body for the turkey’s head. Have your child wash their hands or use a wet wipe to get off the extra ink.
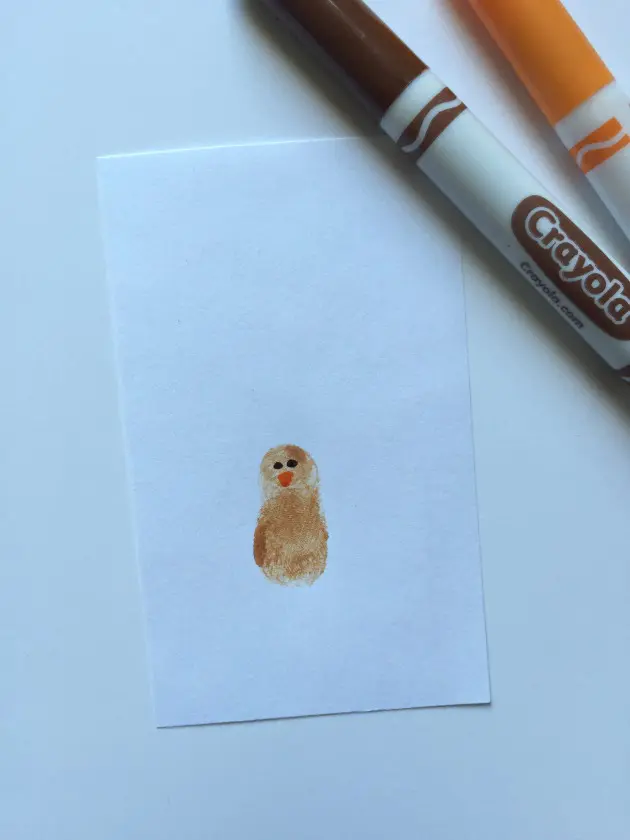
After you have the head and the body of the turkey, take your brown marker and dot two eyes. Take your orange marker and draw the beak.
Now it’s time to add the turkey’s feathers. You can draw the feathers and let you child color them in! Any color feathers will work. We kept it pretty traditional and went with red, orange, brown and green colors.
Lastly add the turkey feet! We went a little further and added some grass under the turkey’s feet and put a title at the top. Pop your magnet on the back and you have a Thumbprint (and pinky print) Turkey Magnet!
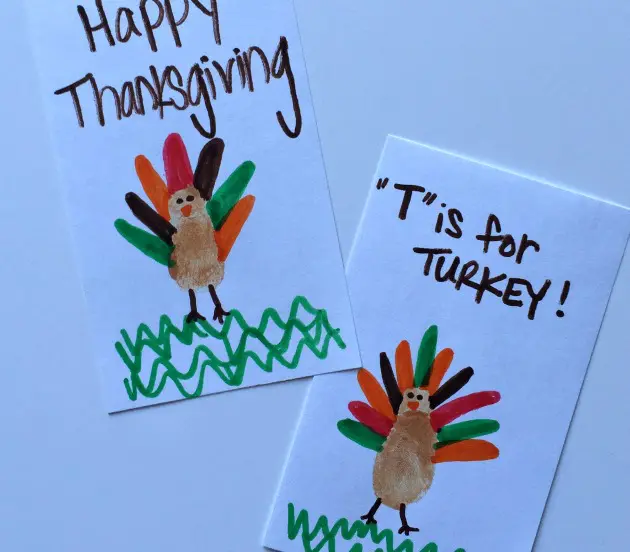
Pretty simple right?
Conclusion
Making a turkey craft can be a fun and creative activity. Crafting allows for creativity and self-expression. You can use different materials and techniques to make your turkey unique. For preschool aged children and other younger kids, making a turkey craft can help improve fine motor skills, such as cutting, gluing, and decorating. Turkey crafts can be used as decorations for Thanksgiving, adding a festive touch to your home or classroom. Crafting can also be educational. You can talk about turkeys, their habitats, and other related topics while making the craft.
Thumbprint art is a creative and fun activity where you use your fingerprints to create designs, shapes, and characters. It’s great for kids because it offers a tactile way to make unique art pieces. Has your child ever made thumbprint art before? There are so many animals that you can make with your thumbprint! Give this Thumbprint Turkey Magnet a try and add some turkey decorations to your fridge just in time for Thanksgiving! You may also want to ask your child if they have any more thumbprint art ideas. Kids can be so creative and it is fun to see what they come up with! You can share your child’s fingerprint creations with us on social media @familyfocusblog! You can also follow more of my family fun projects @roo615.
Related Posts:
10 Cute Thanksgiving Crafts For Kids
Mandy says
Fingerprint art is so fun! Capturing the unique patterns of ridges and whorls found on human fingerprints is really a neat experience.
Presley says
What a cute thumbprint craft. My kids loved making them and I loved how easy and mess free this thumbprint art project was. The magnets are so cheerful on the fridge and we made extras for gramma.
Lucy says
This is such a cute and creative idea for a Thanksgiving craft! I love how easy it is to make and how it can be turned into a fun magnet. Perfect for the holiday season!
William says
This is such a cute and easy craft idea! Perfect for kids to make and a great way to celebrate Thanksgiving!
JK Maxx says
Such a creative and fun idea for kids! Thumbprint turkey magnets are perfect for Thanksgiving crafts and memories.
Bachon Ki Web says
What a delightful and simple craft idea! The thumbprint turkey magnet is a perfect way to engage kids in holiday art while creating a memorable keepsake for the season. Great activity!