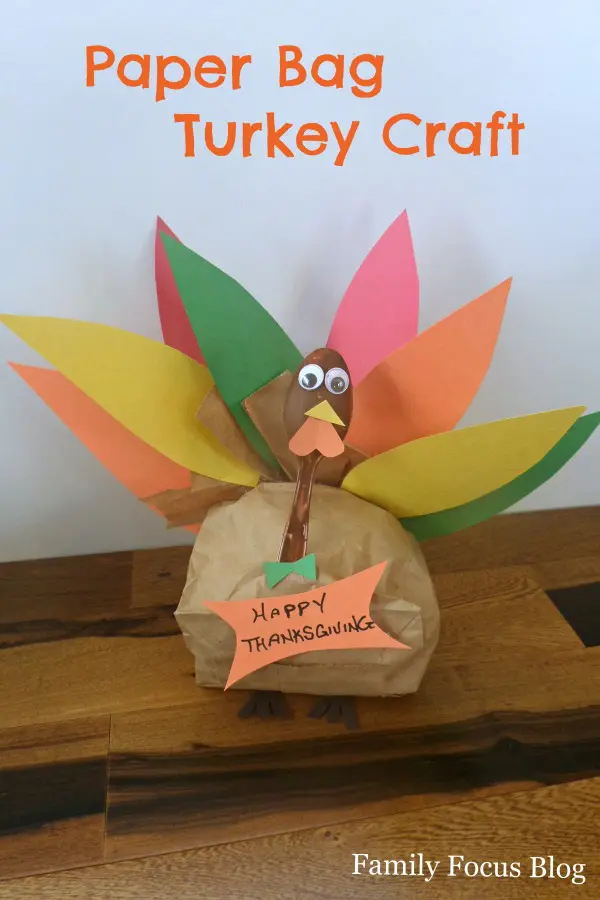
Thanksgiving and all those delicious Thanksgiving foods are coming up fast and my little ones are excitedly making crafts to celebrate. Our favorite Thanksgiving craft is this colorful and fun Brown Paper Bag Turkey Craft! It’s easy to make and you probably have most, if not all, of the simple materials you’ll need on hand. This cute turkey will be a great way to decorate for Thanksgiving Day. This is a great Thanksgiving activity is keep them occupied while you get a few preparations out of the way, or if you can make time, join in the fun. Kids love crafts even more when their parents join in!
This paper bag craft was first published here by Racquel on November 21, 2014. We love crafting. It is one of our favorite Thanksgiving traditions so I thought I would republish it now to reach more of my readers. It makes a great centerpiece for the kids table.
Turkey Paper Bag Craft Tutorial For Kids
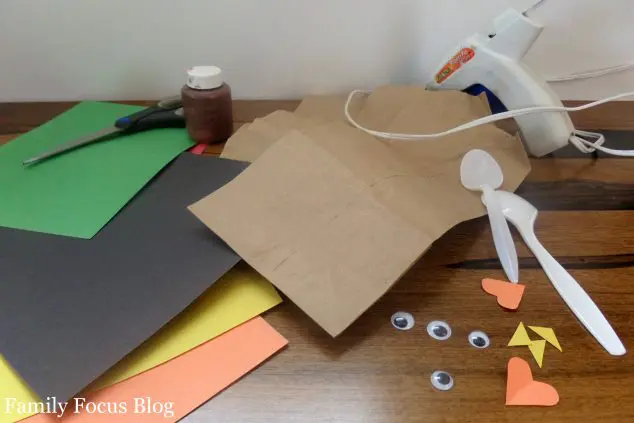
Brown Bag Turkey Craft Supplies:
- lunch size brown paper bags (would work with plain large brown paper bag from grocery stores too)
- construction paper – red, yellow, orange, black and any other colors you want for turkey feathers
- scissors
- plastic spoons
- brown finger paint
- googly eyes
- hot glue and glue gun (younger children with need an adult to handle the HOT glue gun)
- scrap paper, plastic bags, paper towels, tissue paper or other material for stuffing the turkey
Crafting with brown bags is a simple and fun idea for Thanksgiving. With just a few basic supplies from your craft drawer, you kids can make their very own 3D turkey. Making a paper bag turkey craft is a fun and easy way to get kids involved in Thanksgiving festivities! It encourages creativity, keeps them engaged, and provides a memorable hands-on activity that celebrates the season.
How To Make Paper Bag Turkeys:
Begin by laying down a sheet of newspaper over your working surface to protect it. Then paint the plastic spoons with the brown finger paint and set them aside to dry. The spoon will be the turkey head so paint one for each turkey body you want to make.
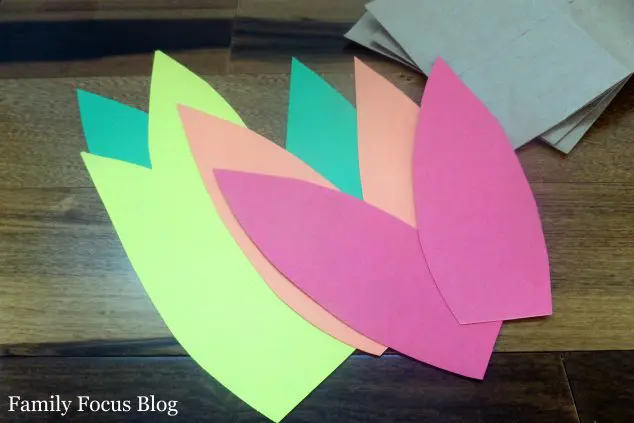
Next cut several pieces of colorful construction paper into feather shapes. These tail feathers should be approximately 2″ wide and 6″ tall. Set these aside as well.
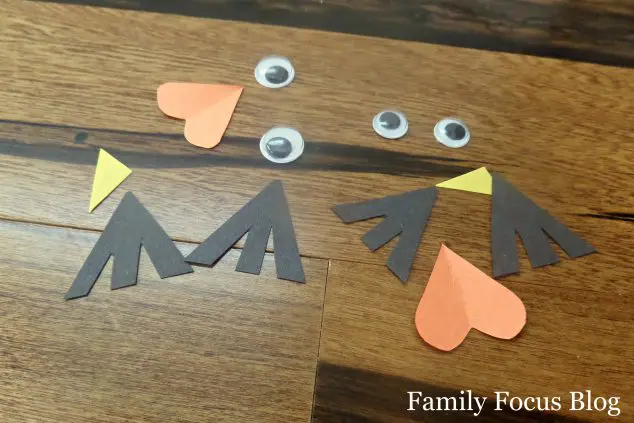
Cut small yellow triangles for beaks, orange hearts (to turn upside down) for the turkey’s waddle, and black piece for feet.
Stuff the brown paper bag approximately half full. Cut 1 1/2″ strips from the top of the bag, halfway down all the way around the bag.
Carefully twist the bag just below where you have cut the strips. You may need to add a small amount of hot glue to secure the bag shut.
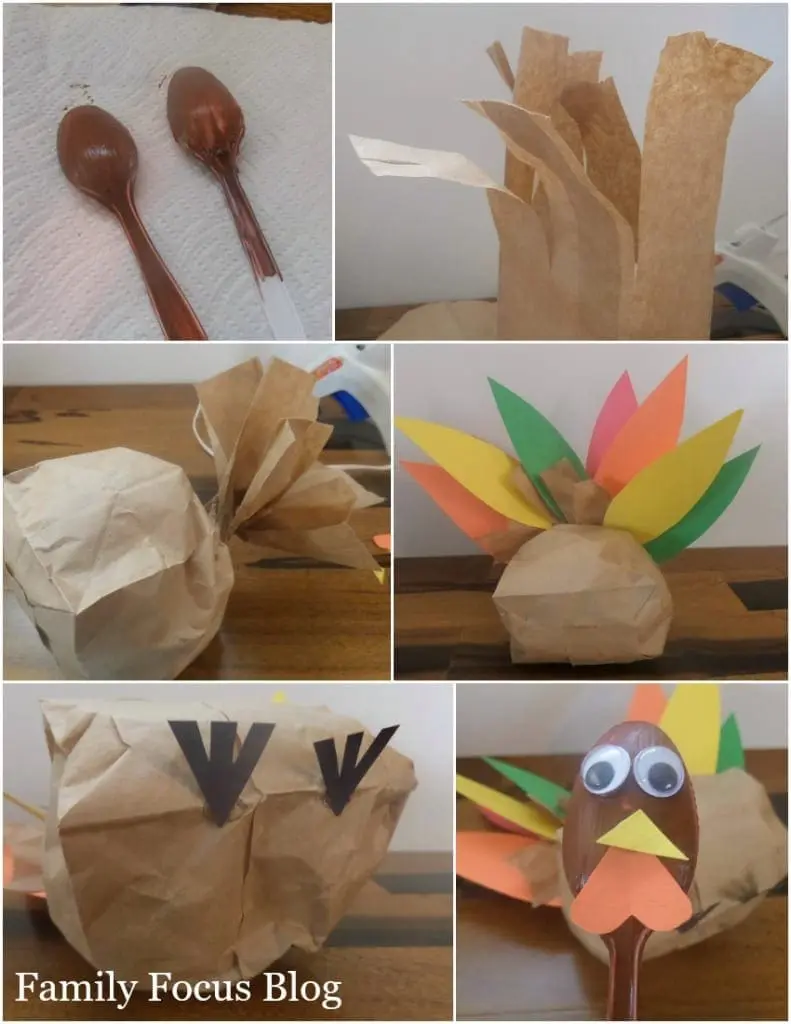
Using the hot glue, add the colorful feathers to the paper bag strips to create the turkey’s tail.
Glue the feet to the bottom of the paper bag.
Add the googly eyes, the beak and waddle to the plastic spoon using the hot glue.
Cut a small slit in the front of the bag for the spoon to slip into.
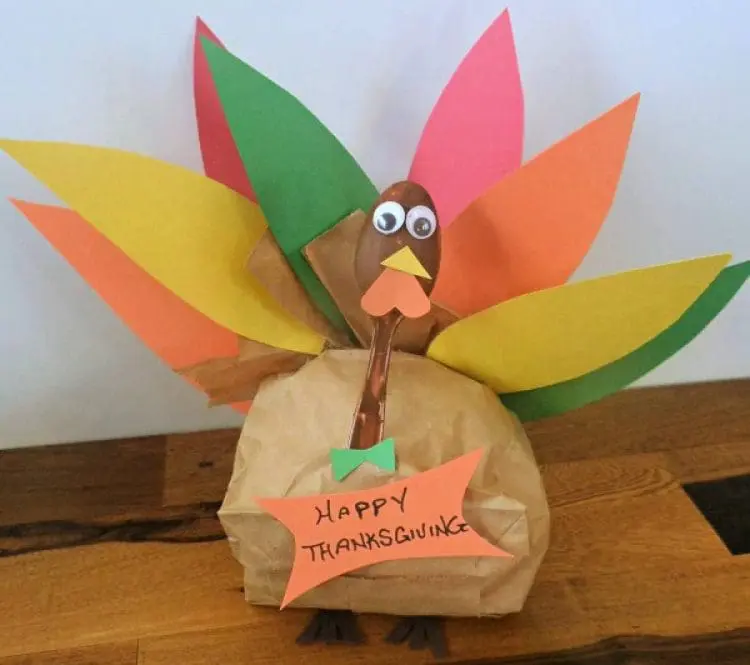
Your Stuffed Paper Bag Turkey Craft is all finished!
Brown Bag Turkey Craft Conclusion
Creating a paper bag turkey craft is a fun and easy activity which only requires a few basic craft supplies. I added a small green bow tie to dress Mr. Turkey up a little bit for our special holiday Thanksgiving dinner! I also made a “Happy Thanksgiving” banner and glued this to the front of my turkey as well. You could make several of these paper bag turkeys and add a banner with each dinner guests name for each place setting!
This is a simple craft for the entire family. The best thing about this craft is it is a fun activity for the kids to work on while the Thanksgiving meal is in the oven! Are crafts a part of your Thanksgiving traditions? Do you think your kids will enjoy making these paper bag turkeys? Share your pictures on social media @familyfocusblog!
Related Posts:
10 Cute Thanksgiving Crafts For Kids

Julie says
What a creative, great thanksgiving activity! I just love this turkey craft for kids.
Janiffer says
Crafts are a very easy and interesting way to teach. Thanks for sharing this paper bag turkey craft idea. You can also turn brown paper bags into festive Thanksgiving turkey puppets! Simply cut out and glue on paper feathers, eyes, and a beak, then let kids color and decorate them for a fun craft.
Áo Khoác Blazer Nam says
Thank you so much, Racquel, for sharing this adorable and creative Thanksgiving craft! It’s such a wonderful way to engage children in the holiday spirit and keep them happily occupied. Your detailed instructions and thoughtful tips make it so easy for families to create memorable moments together.