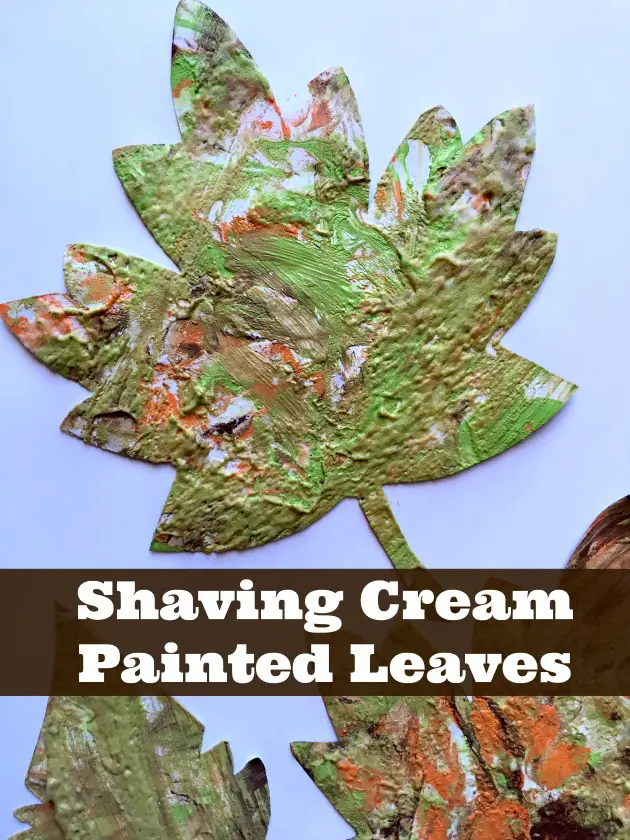
The air is getting cooler in many parts of the country. The leaves are starting to change colors and fall off of the trees. Pumpkin patches are starting to pop up and seasonal flavors are filling grocery stores! This time of the year is so great! Fall is a wonderful season. Fall crafts are fun as well. My kids love to paint and easy art projects for kids help keep them entertained. Watercolors are their favorite but every once in a while they want to be messy and do shaving cream painting. It’s an easy way to paint that might be a little messy but is actually easy to clean up. Often they will just dip their fingers in the shaving cream paint and have fun mixing it until it becomes marbleized in color. Today, we decided on making painted leaf shaving cream crafts! These marbled leaves look great mounted on a sheet of paper and displayed on the wall.
Shaving Cream Paint Art & Craft Project: Marble Painted Leaves Tutorial
A shaving cream paint craft project is a fun, sensory-rich activity perfect for kids and adults alike. The soft, fluffy texture of shaving cream combined with vibrant food coloring or paint creates unique, marble-like designs that are both easy and exciting to make. It’s an affordable and mess-friendly way to foster creativity, improve fine motor skills, and enjoy quality family bonding time. With no strict rules, you can experiment with colors, swirls, and patterns, making each creation entirely your own. Plus, cleanup is a breeze since shaving cream is water-soluble and non-toxic!
Supplies Needed For Shaving Cream Painted Leaves:
This is such a simple art project but it is so much fun. Part of it is the novelty of painting with the puffy paint. Part of it is the whole hands on experience of making your own paint medium and as part of the project. You only need a few supplies for this easy puffy paint with shaving cream and leaf painting project.
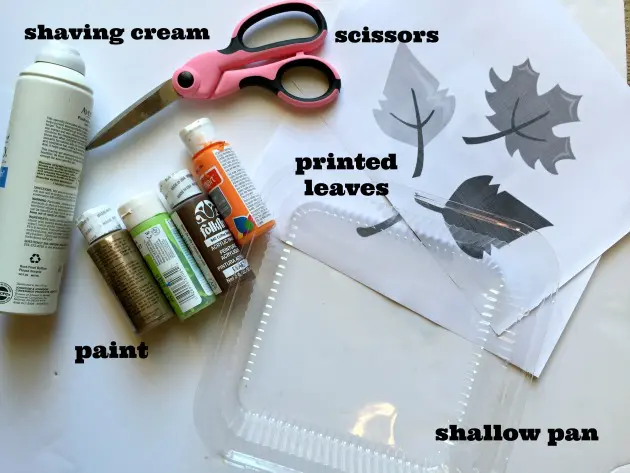
- Shaving Cream
- Leaves printed off of computer or hand drawn or traced by your children
- Scissors
- Acrylic Paint or tempera paint or washable finger paint (easiest clean up) or food coloring
- Shallow pan or dish
The texture of shaving cream is soft and fluffy, making it a great sensory activity for kids of all ages. To begin this fall leaves painting project, gather your supplies and head to the kitchen. Working on a counter near the sink would be ideal. Or you could keep a box of wet wipes handy.
How To Make Puffy Paint With Shaving Cream
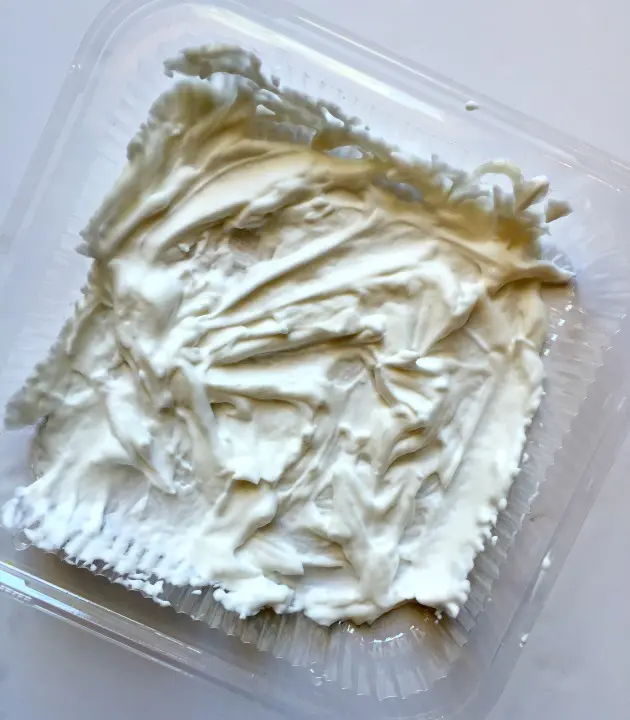
Start by taking you pan and filling the bottom with shaving cream. A thin layer is all you really need. Give it a little shake to spread the shaving cream out.
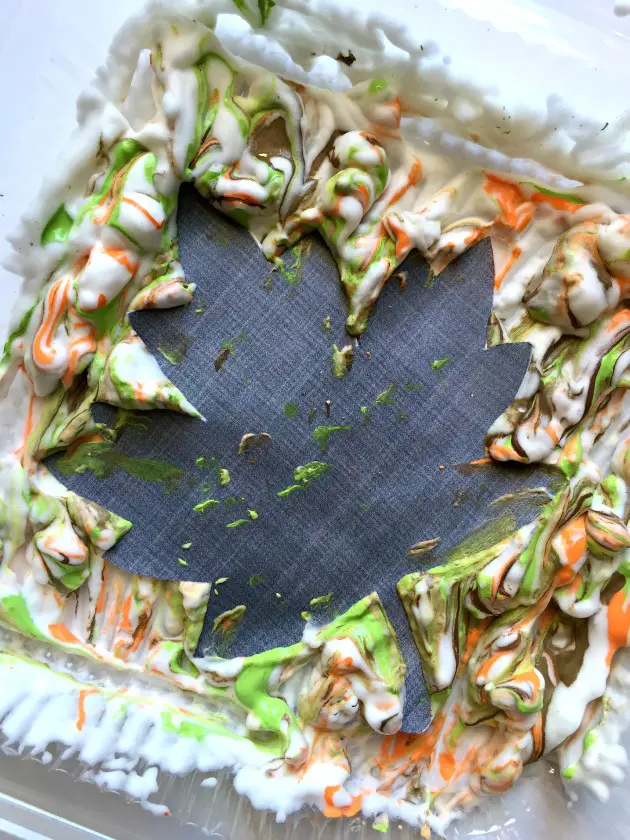
Next, take the paint and drizzle different colors around on top of your shaving cream.
After you have all the colors that you want on the shaving cream, gently give the colors a swirl. You might want gently draw a spoon through the shaving cream in wavy patterns or allow your kids to use their fingers for sensory play. To create the marble effect, you don’t want to mix the paint and shaving cream together until smooth. Rather, you are just making sure there aren’t any large blobs of one color in the pan.
After you have swirled your colors together for a marble art effect, you can proceed the craft portion of this shaving cream puffy paint project.
How To Make Shaving Cream Marble Art Painted Leaves:
Print various leaf shapes or allow kids to draw or trace leaves from the backyard. Cardstock leaves work the best but you can use regular printer paper if that’s all that you have.
Next cut out the paper leaves.
Take one of the cut out leaves at a time and lay it on top of the shaving cream paint mixture. Make sure to press down really well so every part of the leaf gets covered in paint.
Gently pull your leaf out of the shaving cream and set aside to dry over some newspaper or old paper bags. Once you have dipped all of your leaves in the shaving cream paint, gently go back and dab any excess paint off of the leaf. When they have completely dried (may take up to an hour), let you child pick a spot in their room to display their shaving cream leaves! These marbled leaf crafts with shaving cream can be quite pretty.
Shaving Cream Painting Craft Conclusion
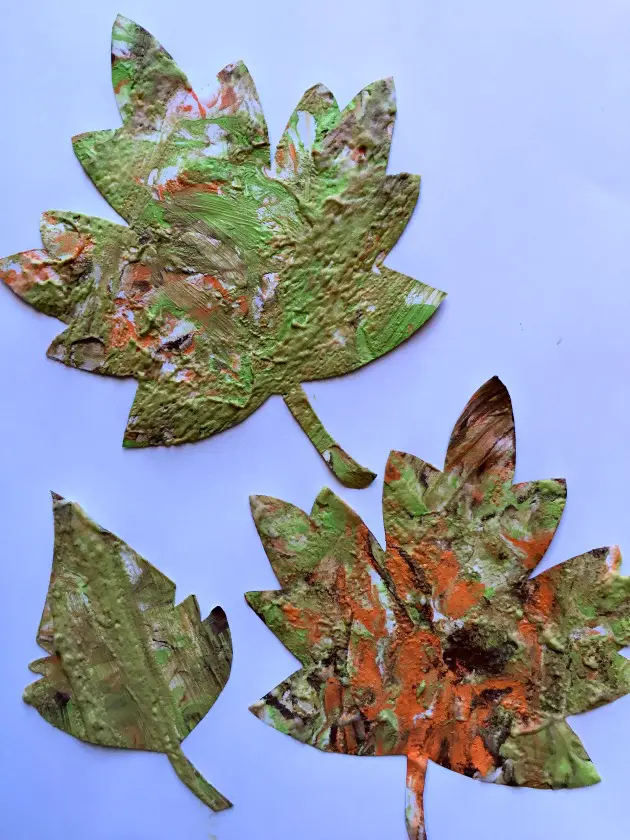
Shaving cream paint creates cool, marble-like designs that are hard to achieve with regular paints. You can experiment with swirling, blending colors, and even transferring designs onto paper. The materials—shaving cream, food coloring, or paint—are inexpensive and easy to find.
This autumn leaves painting project is a great way for kids to welcome the changing of the seasons. Kids can easily tape the painted leaves to a ribbon to hang them across their bedroom wall. It’s a great group activity for family craft time. Everyone can create their unique masterpieces while enjoying time together.
This shaving cream art is so fun to do. Have you or your child ever painted with shaving cream before? Give it a try the next time your child wants to paint! Share their shaving cream projects with us on social media @familyfocusblog. We can’t wait to see their marbled leaves!
You may also enjoy these fun fall crafts:

