Jersey Farm Scribe here with a fun wedding craft that is easy, cute, and inexpensive to make. Bride and groom craft ideas are a creative way to add a personal touch to wedding celebrations, allowing couples to infuse their special day with unique, handcrafted details. These projects can range from DIY wedding favors to customized table centerpieces. I hope you enjoy this bride and groom clothespins craft. This clothespin wedding couple is just so cute!
Bride And Groom Craft Tutorial-> Bride and Groom Clothespins
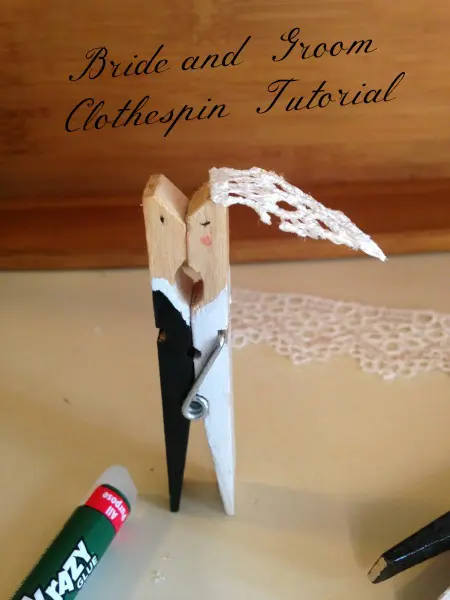
These clothespin bride and groom are a fun wedding day craft to make, and I’m always excited about how fantastic they came out. They make a great gift-topper, party decoration, or a gift in and of themselves. I have made them for a few couples and given them at the shower and they have always been a big hit. I had someone ask me to make these as favors once for a (small) shower, and they were a HUGE hit. Plus they cost less than $1 each!
They’re a great combination of simple, unique and versatile, which makes them something the couple often keeps standing at the bathroom window or clipped on a kitchen curtain. They can even serve a function as a chip clip or for their original use of hanging clothes to dry. If you use quality paint, they’ll certainly hold up over time and always bring a smile to person using them.
These handmade elements not only add charm and individuality to the event but also offer a memorable bonding experience as the couple prepares for their big day together.
Wedding Craft Supplies:
- Wooden clothespins (have a few extra for practicing certain steps)
- Ribbon or lace (for veil)
- Black and white paint
- A (thin tipped) black sharpie marker
- A red pencil
- Super glue
- Scissors
*needle-nose pliers are helpful, but not necessary. I wouldn’t buy them just for this, but if you have them, keep them handy for the end.
I got the clothespins and lace ribbon and at the dollar store, bought a tiny $3 sample-sized white paint at Home Depot, and had black paint in the garage. Making all ten that I made cost me as little as $5 ($8 if I would have had to buy both paints)
How To Make Painted Clothespin Bride And Groom Crafts For Wedding:
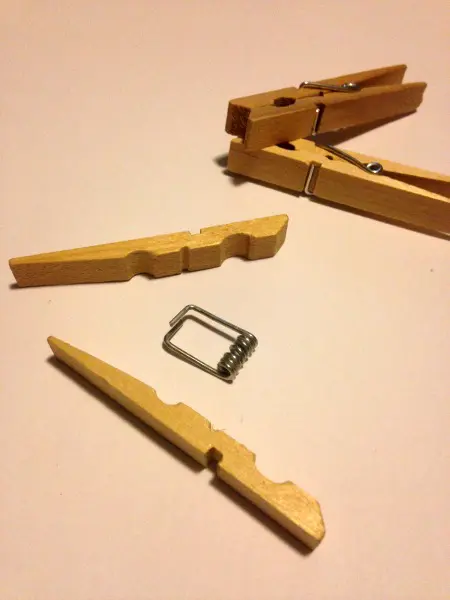
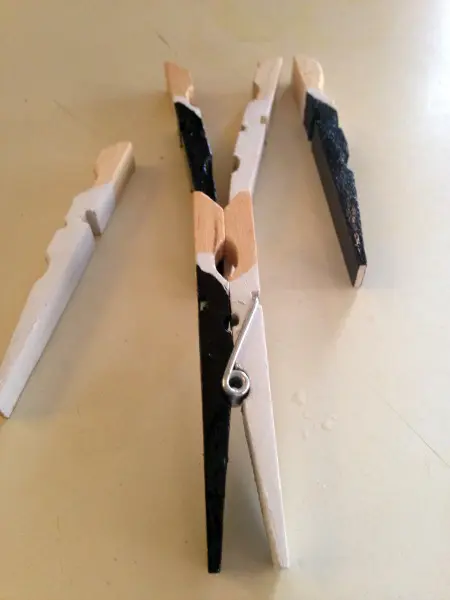
Step one: Take the clothespins apart. This makes the painting part MUCH easier.
Step two: Paint all the brides. If you’re doing more than one, it’s way easier to paint ALL the brides at once. Having the pieces apart makes you can get in the notches, for a cleaner look.
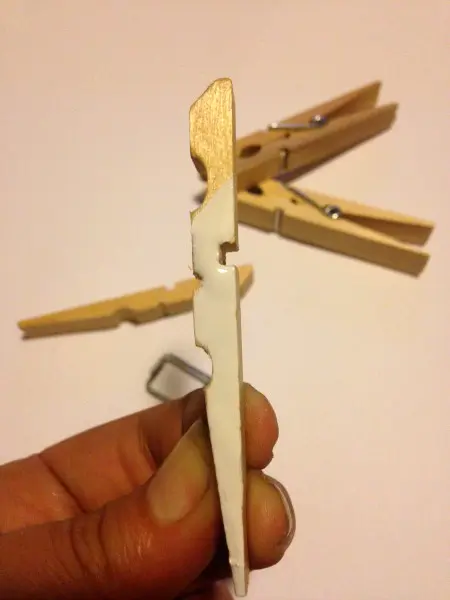
IMPORTANT: the slope of the neckline is part of what makes her look feminine. Be sure it comes down just slightly below the notch.
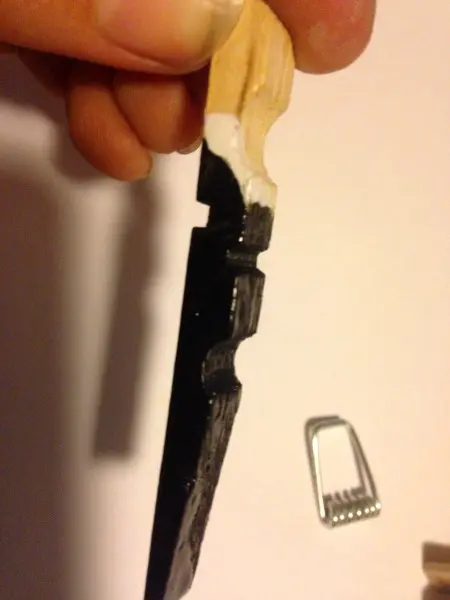
Step three: Paint all the grooms. Paint in black, stopping below the white line, at about the middle of that first rounded notch. And then carefully use a (clean!) white brush to add in the white shirt. The white neckline makes a bigger difference than you’d think in the final look. I tried one without it, it didn’t look right at all. It’s worth the headache. If you mess up a bit, remember you can always go back over the black part.
Step four: LET THEM DRY. Completely. I am not very good at these sort of steps, since I usually don’t plan ahead enough. So… if you’re like me and doing this without having 24 hours or so to fully dry them hard, let them sit for 10-15 min, then carefully stick them on aluminum foil and toss them in the oven at the lowest possible setting (mine is 170).
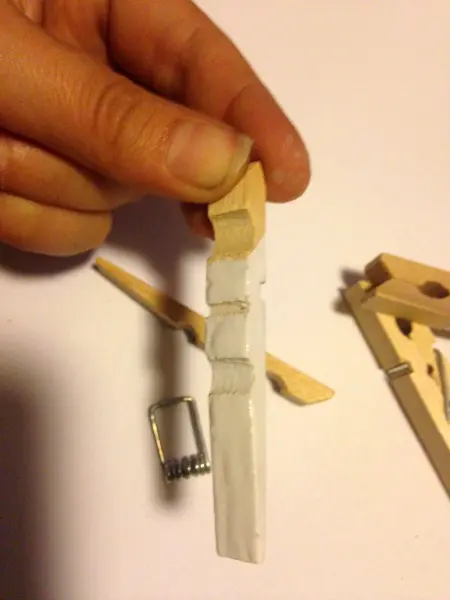
Step five: Reunite the loving bride and groom. Here is where the needle-nose pliers come in handy for this craft. I HIGHLY suggest practicing on one you have NOT painted up all nice. You don’t want to scratch the paint.
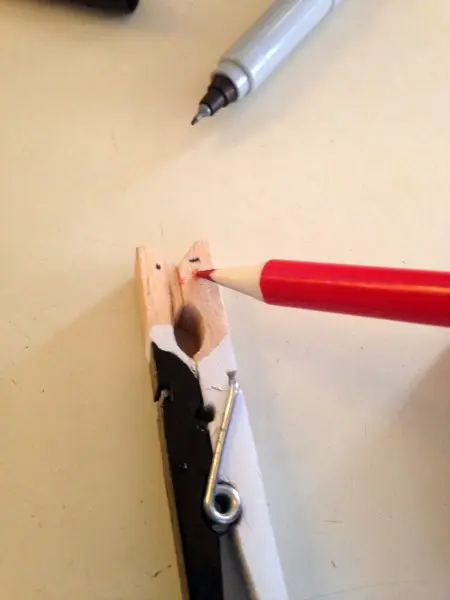
Step six: Use the thin-point Sharpie to do eyes. A simple dot for the groom and a quick flourish for the bride (QUICK is the trick here for the peaceful sweet, eye-closed look) And then use the red colored pencil to bring color to her cheeks and a touch of red on her lips. Again, I suggest practicing on some not fancy ones so you are comfortable with your placement.
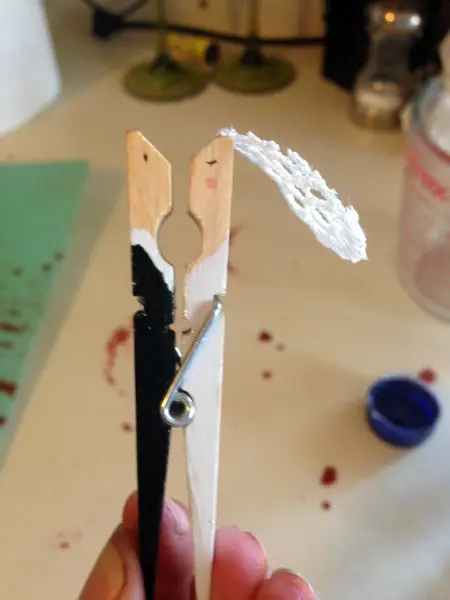
Step seven: Veil. You can see the lace ribbon I used, and how I cut out little veil-sized pieces to glue to her head.
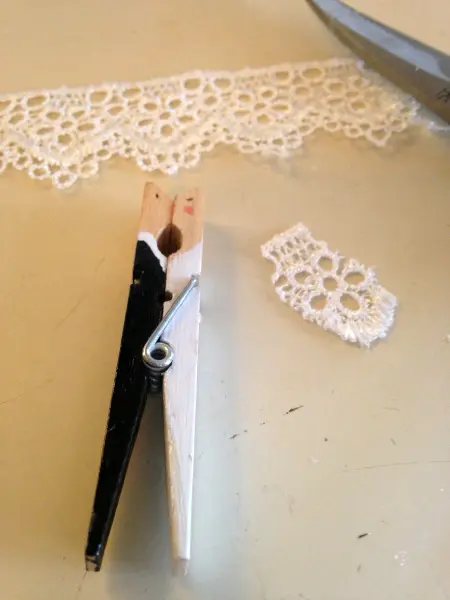
I had a hard time getting it to stick because the wood would basically soak up the glue. Here’s what I found works well: Saturate the wood with glue where you’re placing the veil. Let it dry. Saturate. Let dry again. After a few times, it won’t soak in as much anymore. Then it’s easy to glue on the ribbon or lace.
Conclusion
And that is how you make adorable DIY wedding decorations!
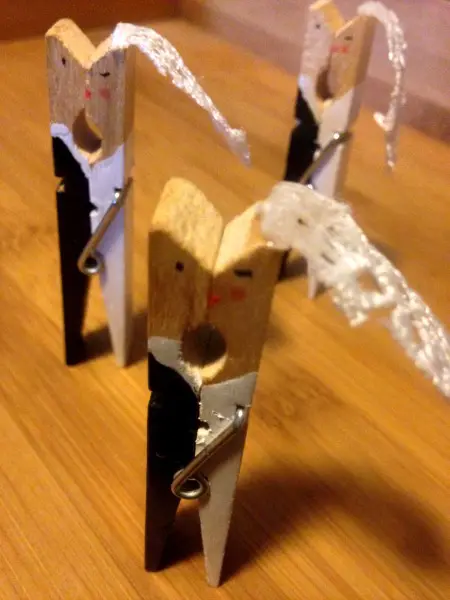
One clothespin bride and groom is precious, especially the way they kiss when you open and close the pin.
But stick a few bride and groom clothespins together, and it’s like a group of mini bride and grooms all dancing together!
Bride and groom clothespins are versatile decorative items often used in wedding-related crafts and celebrations. Here are some popular uses for this bride craft:
- Wedding Favors: Attach small tags or notes to gifts for guests using bride and groom clothespins as a cute, themed detail.
- Place Card Holders: Use the clothespins to hold place cards at the reception, marking where guests should sit.
- Photo Displays: Create a photo display by clipping pictures of the couple, their families, and friends onto a string or wire using the clothespins.
- Decorative Accents: Incorporate them into table centerpieces, guest books, or other wedding décor for a personalized touch.
- Gift Wrapping: Use them to secure tags or embellishments on wedding or bridal shower gifts.
These charming clothespins add a whimsical and personal element to wedding décor and favors.
Do you guys love the clothespin Bride and Groom as much as I do???? I’d love to see pictures of how your bride and groom clothespins came out or your thoughts on your favorite wedding craft. Come visit me on Twitter at @NJFarmScribe and tell me your thoughts!
Related Posts:
Ways To Involve Your Children In Your Wedding Day