This DIY Miniature Pinatas tutorial shows you how make a homemade pinata! You will love this fun craft and these DIY Miniature Pinatas make the perfect party decor for any event. You can make pinatas in any colors to match you party decorations. I saw this tutorial from Tanya Memme on the Home & Family, which airs weekdays at 10 am ET/PT on the Hallmark Channel. I was given permission to share these instructions on how to make a pinata with you here. Pin this because it is going to be so much fun for your next party!
How To Make A Pinata From A Cereal Box:
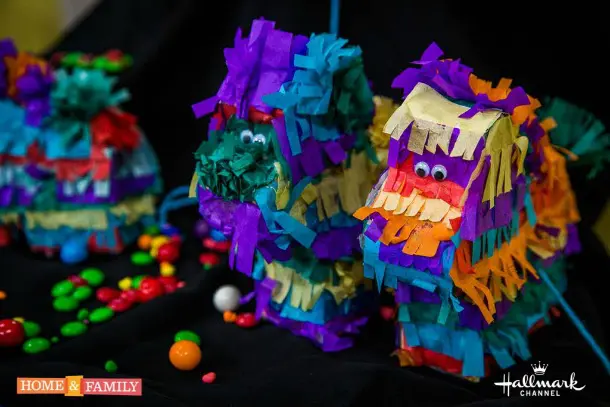
Photo Copyright 2015 Crown Media Family Networks/Photographer: Jeremy Lee
Are you wanting to make your own diy piñata? Then you are in luck because making your own pinata is surprising easy and fun. Besides making great party decor, they are also fun diy gifts.
DIY Miniature Pinata Supplies:
- Cereal box or cardboard
- Tissue Paper (or crepe paper streamers)
- Tape
- White Glue
- Scissors
- Candy and confetti
- String
- Hot glue gun
How To Make A DIY Pinata Mini
Step one:
Take an old cardboard box and cut out the template for the shape you want to make. In this case we made a mini pinata donkey. Trace the template and cut out a second. So at this point we had two mini donkeys traced and cut out of our cereal boxes. You could do any shape on your piece of cardboard for you diy miniature pinatas.
Step Two:
Cut out one long strip of cardboard 1 1/2″ in width, the same length as the circumference of the shape.
Tip: measure with guiding a string around the circumference of the pinata shape.
Step Three:
Then tape it all along the shape of the template.
Step Four
In the second template, cut a rectangle flap on the side to make a small opening. Then tape the flap to the other side.
Step Five
Fill small hole with plenty of candy, small toys, money, or confetti.
Step Six
Tie a draw string around the flap you just cut and lightly glue in place or use a little masking tape.
Step Seven
Take strips of tissue paper fringe, (made by cutting strips of tissue paper then cutting fringe along one side) and glue in strips all around the body covering the body of the pinata. You could use newspaper strips but the tissue paper is more colorful and eye-catching.
Step Eight:
For the next step, keep layer the tissue paper from the bottom up to the top leaving the fridges to cover the part you pasted flat. Add scrunched fringe all along the top to give it a finished look.
Step Nine:
Use a hot glue gun to attach a string to the diy piñatas.
All done! Now you can hang the pinata!
Conclusion
Using the pieces of cardboard to create the shape is much simpler than making a paper mache piñata. It is a huge time saving hack. Just follow these easy steps using simple materials and you will have your own piñata for your next kid’s party.
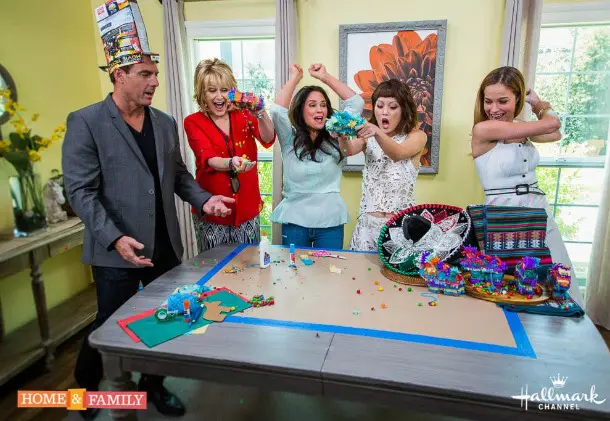
Making your own DIY mini piñata is a fun and easy craft that adds a personal, creative touch to any celebration. With just a few basic materials like cardboard, tissue paper, and glue, you can create colorful, festive decorations or party favors that kids and adults will love. It’s a great hands-on activity for families, perfect for birthdays, holidays, or just a rainy afternoon. Plus, customizing the shape and colors makes it even more special—and smashing them is half the fun! Do you think you will make your own mini pinatas with this tutorial for your next themed birthday party? I’d love to see how they came out. Share your pics @familyfocusblog!
Related Posts:
Cereal Box Crafts- Clever Ways To Reuse Cereal Boxes