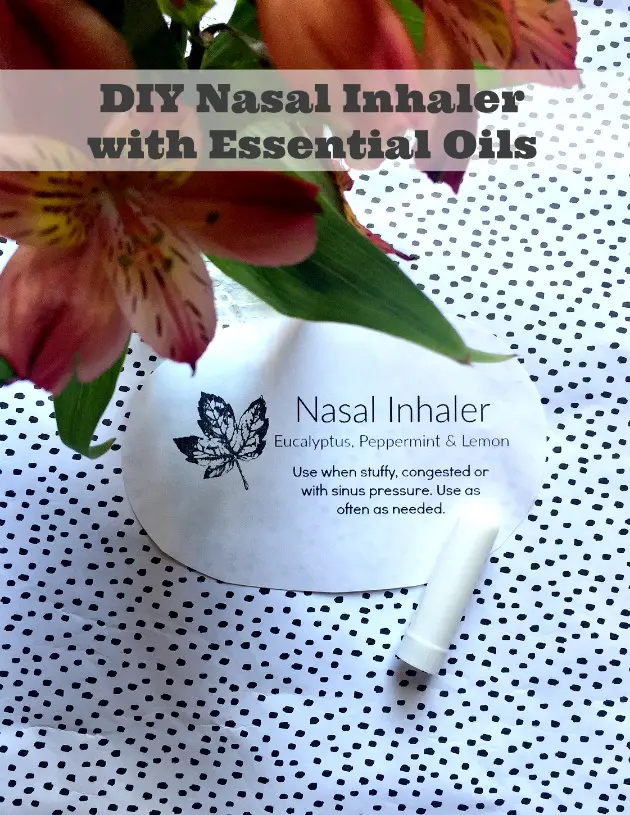
It is the season for stuffy noses, congestion and sinus pressure. No one has time for that nor wants to struggle with breathing! A lot of people depend on store bought nasal inhalers to clear up their sinuses and while some of those do work, they often contain things that just aren’t great for you in them. So I have decided to share my go-to nasal inhaler recipe that contains just essential oils. This DIY essential oil nasal inhaler is so easy to make and works wonderfully. All you need are your essential oils and a new empty nasal inhaler!
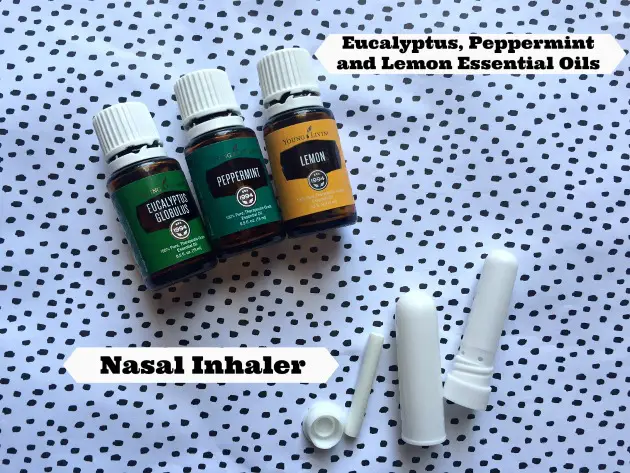
First, what is a nasal inhaler? A nasal inhaler with a plastic body and cotton wick is a small, portable device designed to deliver essential oils, medicated vapors, or other aromatic substances directly into the nasal passages for therapeutic purposes. They are sometimes called by other names such as essential oil inhalers, aromatherapy inhalers, and aromatherapy nasal inhalers. The outer casing is looks somewhat like a lipstick tube but plastic covers the tip except for a small hole. It is shaped to fit comfortably in the hand and to hold up against the nostril. A screw-on or snap-on cap protects the wick and prevents the aroma from evaporating when not in use.
Are essential oil nasal inhalers safe? Essential oil nasal inhalers are generally safe for most people when used correctly, but there are some precautions to keep in mind. Always ensure the oils used are of high quality and labeled as safe for inhalation. Start with minimal inhalation to test how they work for you. Essential oils like eucalyptus and peppermint may not be safe for young children or during pregnancy. Consult medical professionals before use.

DIY Nasal Inhaler With Essential Oil For Stuffy Nose
Aromatherapy nasal inhalers offer several benefits due to their portability, ease of use, and the therapeutic properties of essential oils. Inhalers containing eucalyptus and peppermint can help clear nasal passages and ease breathing during colds, allergies, or sinus congestion. As an added bonus, scents like lemon and peppermint are known to enhance focus, alertness, and memory. Inhalers allow you to discreetly access respiratory relief on-the-go, at work, or at home.
If it is your first time using essential oils, always do so slowly in small amounts to make sure you are not allergic to anything. The statements made regarding the use of essential oils or other natural remedies in this product have not been evaluated by the Food and Drug Administration (FDA). This product is not intended to diagnose, treat, cure, or prevent any disease. Please consult with a qualified healthcare provider before starting any new health regimen, especially if you are pregnant, nursing, taking medications, or have a medical condition.
DIY Nasal Inhaler Supplies & Essential Oils For Blocked Nose:
- Eucalyptus Essential Oil
- Peppermint Essential Oil
- Lemon Essential Oil
- Nasal Inhaler ( here’s my Amazon
affiliate link )

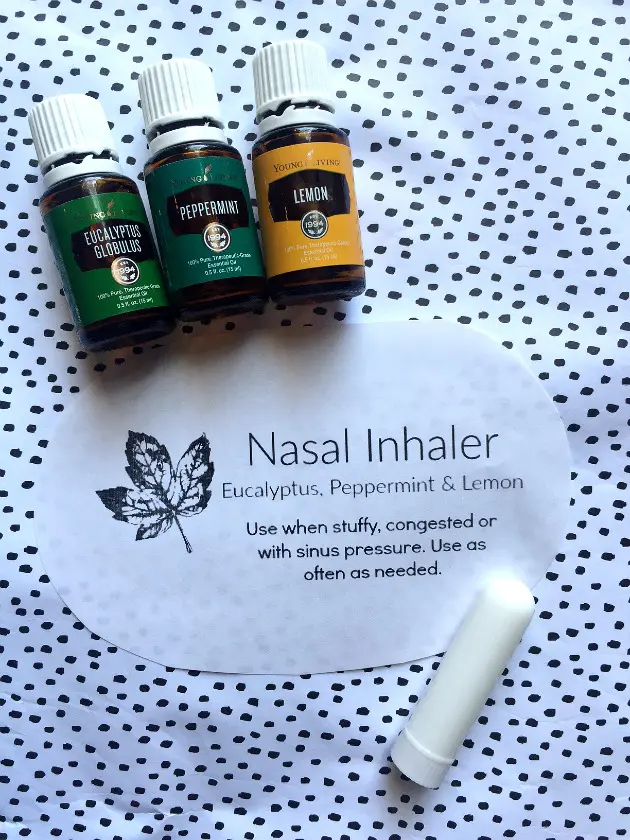
These three pure essential oils were chosen because they are really great essential oils for stuffy nose. I am a Young Living distributor if you need the best quality essential oil products for nasal inhalation.
Eucalyptus is well know for opening up airways and improving respiratory conditions. You are familiar with its smell if you have ever used Vicks VapoRub which contains Eucalyptus oil as a cough suppressant.
Peppermint Essential oil also known as a great essential oil for nose block. The menthol also serves as a cough suppressant. Just think of that cool feeling you get when you have a peppermint and you feel your sinuses start to open up.
Acccording to Healthline, “If you have a cold or are experiencing a sore throat, lemon essential oil is a good home remedy to try. Try setting up a diffuser with lemon oil to release its sweet, citrusy scent in your room while you get some rest. The calming properties of lemon oil can help relax both your mind and the muscles in your throat.”
I like to combine all three essential oils in my DIY nasal inhaler or in a diffuser for stuffy nose. It smells great and works great.
How to Make Essential Oil Nasal Inhalers:
Make a nasal inhaler for each person in the family that would like to use it. Do not share nasal inhalers, as this could spread germs.
Gather your supplies and head to the table or your kitchen counter. This takes all of about 60 seconds! Open up your essential oils and grab your wick or absorbent stick. Hold your wick in one hand and slowly drop 8 drops of each essential oil onto your wick. You might want to place a paper towel under your wick in case a little oil drips off. I found it helpful to tilt my wick to the left and right while dropping oils on. This helps the oils to soak in a little quicker. Once you have all your oils on the wick, drop into the main part of your inhaler and pop the bottom cap on. There ya go! You have a “Breathe Easy” essential oils Nasal Inhaler!

To Use Essential Oil For Nasal Congestion:
Remove the cap. Hold the inhaler close to one nostril while gently closing the other. Inhale deeply and slowly. Repeat with the other nostril if desired. The essential oils will begin to help clear nasal congestion. Allow it a few minutes to begin to work. Then, if you still feel stuffy, hold the inhaler close to your nose and breath in a second time.
Essential oils are powerful and should only be inhaled in small doses for brief periods. Use the DIY nasal inhaler to help you breath in the smells of the essential oils. It is in effect like concentrated aromatherapy. These nasal inhalers are reusable if you can refill the wick, making them both economical and eco-friendly when maintained properly.
Please consult with your physician before use if you have any health concerns and/or chronic respiratory issues as this is not intended to prevent or treat any medical conditions or concerns.
Conclusion
Making your own nasal inhaler is an easy and effective way to enjoy the benefits of aromatherapy wherever you go. This blend combines the invigorating and cooling properties of peppermint, the uplifting and refreshing scent of lemon, and the soothing, respiratory-supportive qualities of eucalyptus. By creating your inhaler at home, you can customize the aroma to your preference, ensuring a balanced and therapeutic experience. Portable and cost-effective, this DIY project offers a natural solution for enhancing focus, boosting energy, and clearing nasal passages. With just a few simple ingredients, you can craft a personalized tool to support your wellness journey.
Do you enjoy essential oil aromatherapy? This essential oil nasal congestion inhaler is a very easy product to make. If you are struggling with sinus issues or foresee that you will in the future, go ahead and make a DIY essential oil nasal inhaler to have on hand! Your sinuses will thank you! Have you ever made your own nasal inhaler?
Related Posts:
Healthy Essential Oils for Back to School

Jeanne says
I’m heading out on a trip and I have a sick kid with nose block! I was looking for something I could make that would help him on the road. Thanks for sharing your essential oil inhaler recipes for stuffy nose. This teen will hopefully have some breathing relief soon!
Jeannet says
Thanks for sharing this nasal inhaler recipe with essential oil for blocked nose. It works great! How long does the inhaler lasts before the scent wears off or needs to be refilled?
Scarlet says
If you keep the lid on your nasal essential oil inhaler most of the time, it will last for about 3 months. But if you leave the lid off or use it very frequently, you may need to reapply the essential oils in as little as 2 weeks. You can smell when the oils have begun to dissipate.
Orleans says
This DIY essential oil nasal inhaler is a quick, natural, and portable remedy for congestion relief, combining eucalyptus, peppermint, and lemon essential oils to help open airways, ease breathing, and provide a refreshing aromatherapy experience in just seconds. It works great!
Advocare says
Such a helpful guide! I love the idea of using essential oils in a DIY nasal inhaler— perfect for boosting wellness. Your step-by-step instructions made it easy to make at home. It works great and smells great!
Shri Chyawan Ayurved says
This blog post is incredibly informative and practical, especially for those struggling with sinus congestion or stuffy noses during the colder months. Rachel Easley does an excellent job explaining how to create a DIY essential oil nasal inhaler with simple ingredients, providing a natural alternative to store-bought inhalers. I love how the post highlights the benefits of using essential oils like eucalyptus, peppermint, and lemon to clear nasal passages and improve breathing. The step-by-step instructions made it so easy to follow, and the addition of precautions about using essential oils safely adds an extra layer of helpfulness. The homemade nasal inhaler is perfect for anyone looking for a quick, natural remedy for congestion. Highly recommend!