We finally were able to get the three little boys to decide on a Halloween costume, after changing their minds about a thousand times each. Last night, after much debate, they all declared they want to be bats! I’m not sure if they are all aware that they are going to be bats and not “Batman” but I’ll cross that bridge when we come to it. We looked at lots of bat costume ideas and today we decided to do a Bat Craft to get them even more excited about their upcoming costumes. This DIY Felt Halloween Garland with spooky bats actually turned into a craft and a few different activities for them. From tracing the bat outline of the bat template to cutting along the lines, this really encourages dexterity. I hope you enjoy this flying bat Halloween decoration and festive garland.
This post was originally published October 21, 2016. I have made a few updates and republished it here for my new readers to enjoy.
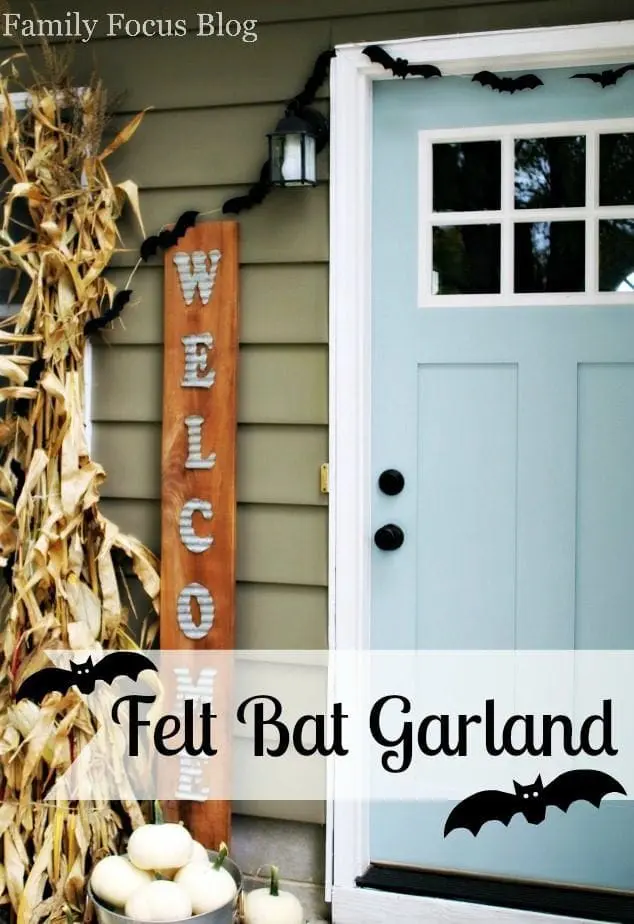
Halloween Garland Felt DIY Tutorial
Creating a garland allows you to customize your Halloween decorations, adding a personal touch to your space. It’s a fun project to do with kids or friends, engaging creativity and hands-on skills. Furthermore, a well-made garland with high quality material like felt can be reused year after year, adding to your Halloween decor collection. Felt doesn’t fray when cut, making it ideal for creating precise shapes like pumpkins, ghosts, or bats for Halloween decor. Hanging garlands instantly adds a festive, seasonal vibe to your home!
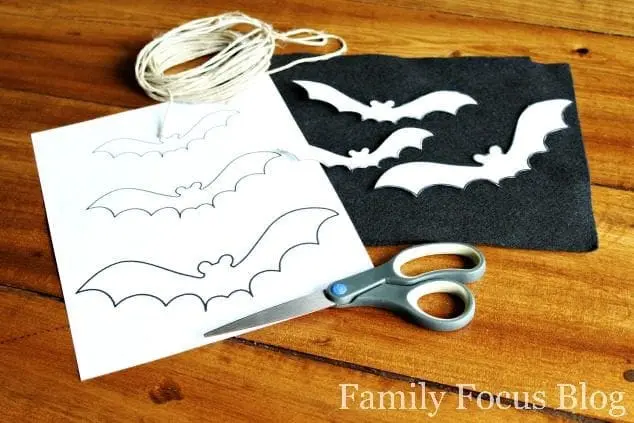
Bat Garland DIY Craft Supplies:
- Black Felt
- Fabric Paint Pen
- Scissors
- Printable Bat Template (below)
- Twine (thin white rope or another type of string for your garland)
- Hot Glue and Glue Gun
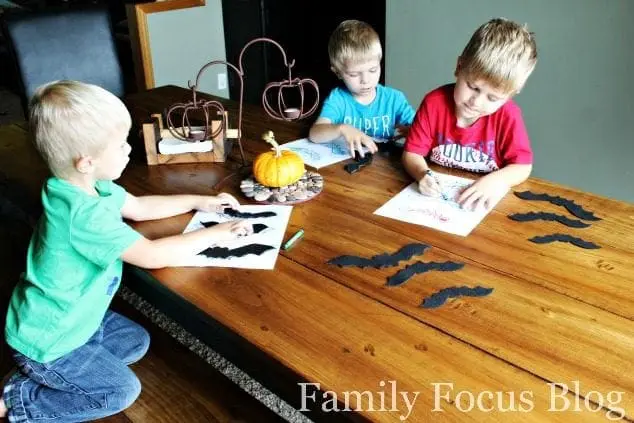
I printed several copies of the free printable bat template below so I could give extras to my younger kids as coloring pages. I grabbed the boys’ favorite colors of crayons and let them color the bat template printable. Meanwhile, older kids or adults can the main part of the craft that we are going to use as a flying bat Halloween decoration.
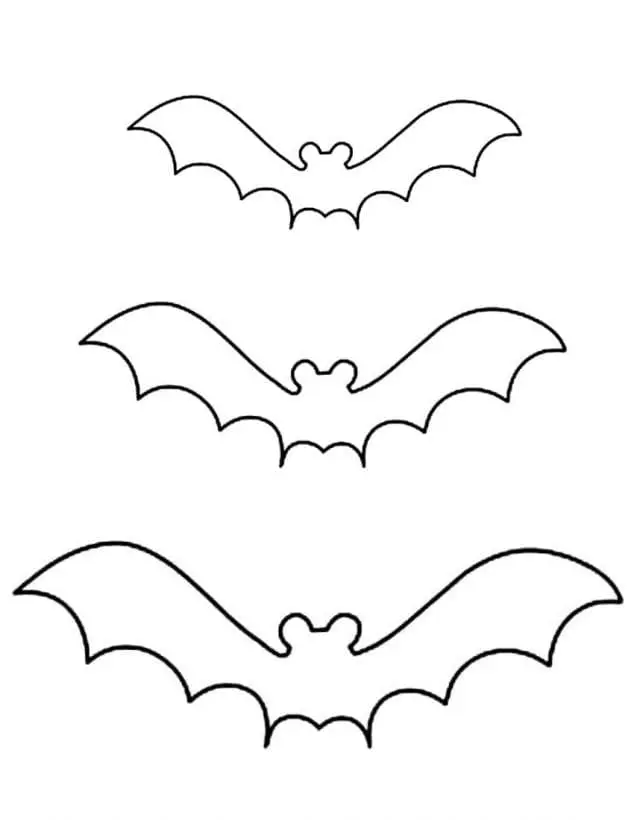
You should be able to right click on the printable bat template and select file then print. Or you can drag the image to your desktop and then click on the image of the bat printable, then click on file and print. Or use this PDF verison of the bat outline printable.
How To Make Bats Halloween Felt Garland
The bat template above can be saved and printed on regular printer paper. It gives you 3 different size bat templates for your garland. I traced the bat outline of 4 of each size onto my black felt using a silver paint pen. I didn’t have a fabric pen on hand and a regular pen or marker would not show up against my black felt.
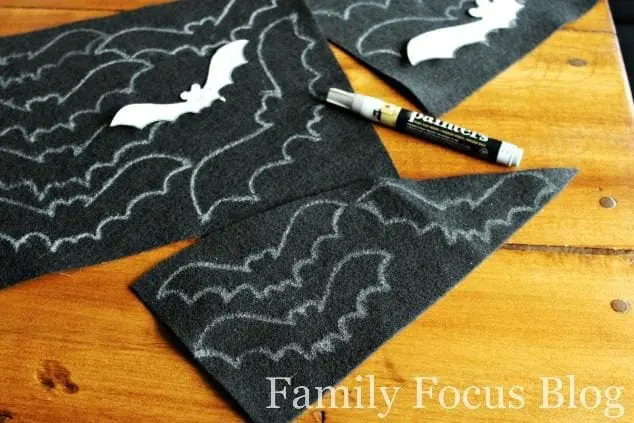
While I worked on tracing the bat outlines onto the felt and cutting them out, the boys were happy coloring. This is perfect for them because at their ages their coloring skills are all still developing. Our littlest doesn’t care much about staying in the lines, the middle tries a little harder, and the oldest wanted to color each bat a different color and worked much harder to stay within the lines.
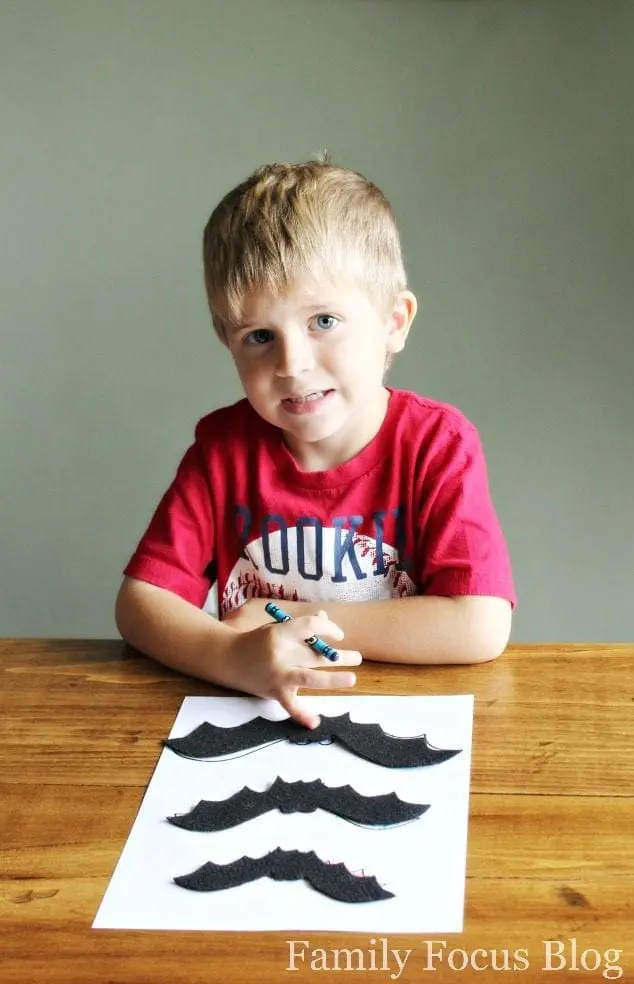
As I got the bat template cut out, the coloring activity turned into a game of matching shapes and sizes. The boys each grabbed felt bats matched them up to the bats on their coloring pages. They had a lot of fun talking about the different sizes.
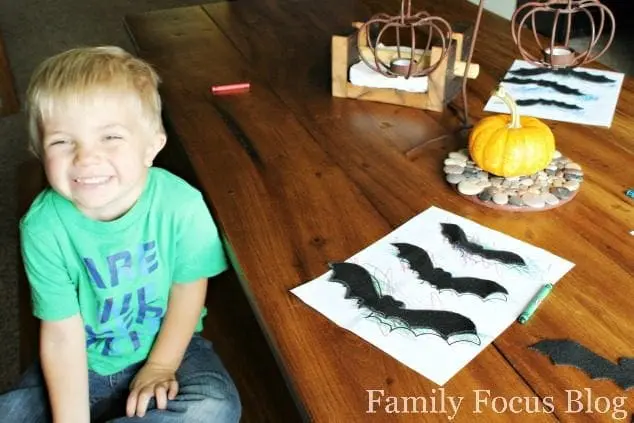
Even the littlest loved playing with the felt bats!
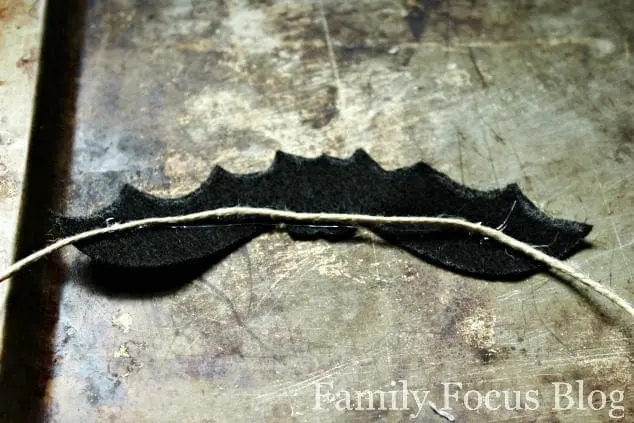
Once all the bat felt shapes were cut out I began gluing them to my twine using the glue gun and hot glue to make a homemade bat garland. I like to use an old cookie sheet to protect my surface from the heat of the gun and the melting glue. This has saved my counters and tables!
To create the flying bat Halloween decoration, I started at one end and added two of each size bat until reaching the middle. Then I worked my way back out, repeating the pattern to create a mirror image. I didn’t let the boys help with gluing because it gets SO hot. However, I did let them help with choosing the right size bats for the pattern. They helped decide whether we needed a small, medium, or big next for our bat garland DIY and it was a great learning activity! Make sure to leave empty excess cord at each end of your garland for easy hanging.
Conclusion
Homemade garlands are a cost-effective way to decorate for Halloween without buying expensive decorations. Its soft texture gives a cozy, homemade feel to crafts. That is why it is popular, especially for DIY projects like a Halloween garland.
Our Halloween Felt Garland is a fun DIY bat decoration. It will be perfect for the Halloween party we are having next weekend! I know we will love getting out the DIY bat garland every fall for years to come and remembering making it together. Do you think you will make an outdoor Halloween garland for your porch or doorway? It is a traditional Halloween look. Felt Halloween garland is a nice, durable choice of material and it looks great too.
Related Posts:
Zaza says
Thanks for the Halloween bat template. This is an excellent resource for all sort of Halloween projects!
Queen says
You’ve given me some new Halloween decor ideas with this post, thanks. I really appreciate the bats template too!
Nanajee Travels says
This felt bat garland sounds like such a fun and creative project! I love the idea of making something that becomes a cherished part of your Halloween decor for years to come. The fact that it’s durable and reusable is a huge bonus too. I’m definitely inspired to try making an outdoor Halloween garland for our porch now—it would add the perfect festive touch! Thanks for the great idea!
Allison says
This is the perfect bat garland DIY tutorial. The article is clear and easy to read with simple instructions. Thank you so much for the printable bat template.