There’s a little-known rule for effectively teach riding a bike to kids. You need to teach balance before you teach pedaling. With this method, plus a few simple steps, your child will be riding a bike in no time. Though it’s possible for a child to learn to ride in two hours or less, it doesn’t have to happen in a single session. With these five simple steps for how to teach a kid to ride a bike, you can progress at the rate they feel comfortable. Remember to take your time and make it a fun, memorable experience.
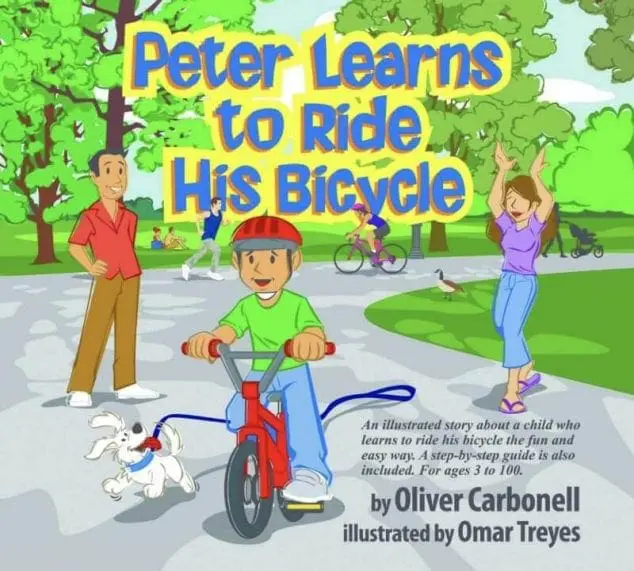
The following tips for how to teach riding a bike were contributed by Oliver Carbonell. He is a volunteer bike instructor with Bike New York and author of “Peter Learns to Ride His Bicycle”. Here is my affiliate link to the book on Amazon. It is an entertaining illustrated story about a child who learns to ride his bike using the method in this article.
How To Teach Riding A Bike
Here are 5 steps for how to teach your kid to ride a bike. The best way to learn a new skill is though practice and patience.
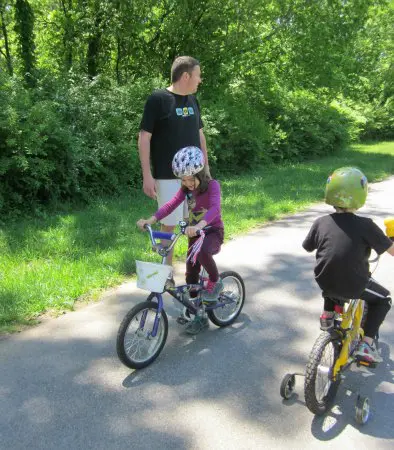
Determine a safe place to teach bike riding
Find a paved, spacious area free from cars and high pedestrian traffic—preferably a park with a flat or slightly sloping surface. Make sure your student is wearing a properly fitting helmet and that it is securely clasped under his chin.
Adjust the child’s bike
1) Remove the pedals
2) Remove the training wheels, if included on the bike
3) Lower the seat height so that when the student is seated he can place his feet flat on the
ground with just a slight bend to the knee
Note: Some bikes, called ‘balance bikes’, ‘pre-bikes’ or ‘running bikes’ are specifically made for kids to learn and hone balancing, steering and braking skills. These bikes do not have cranks, pedals, a chain or training wheels. If your child already has a balance bike, the “Adjust the bike” step may not be necessary.
Teach balance
The next step of how to teach a kid to ride a bike, is teach them balance. pHave the student sit on the bike and hold onto the handlebars firmly. If the bike has handbrakes, show him how to squeeze the levers so that he knows how to stop the bike. At this stage, however, most learners stop the bike by dragging their feet on the ground.
The goal for now is for the student to get comfortable being on the bike and get a sense of how it moves underneath him. Instruct him to walk while staying seated, pushing along with one foot at a time, propelling the bike forward, and remind him to look straight ahead. As another option to propel himself forward, he can push with both legs at the same time.
With practice, the student will be able to gain enough momentum to lift his feet up while the bike continues to roll. Have him practice at his own pace until he is comfortable and able to zoom in a straight line. At this point in the learning process, he will have learned to balance the bike.
Teaching Balance Tips:
1) Do not become your student’s “training wheels” by holding him up while he learns to balance. It’s best to let him find his own balance while he practices.
2) Stay positive and offer lots of encouragement. Remember that learning to ride should be a fun experience.
3) Some kids learn to balance within an hour while others take longer. Take as much time as necessary for this step, even if your student has to practice for several sessions.
Teach pedaling
Reinstall the pedals. Have the student position the cranks and pedals so that they are parallel to the ground.
While the student is seated and holding onto the handlebars, instruct him to firmly push off the ground with both feet at the same time until he is going fast enough to coast, and then to place his feet on the pedals and turn them round and round. Remind him to continue to pedal and look straight ahead in the direction he wants to go. Repeat as necessary until the student is able to pedal and ride the bike on his own. Many students learn to pedal within an hour but some may require more time. It’s okay if he doesn’t get it right away and needs to try again another day.
Teach Braking and Steering
Braking is typically performed by squeezing the brake levers towards the handlebar or by applying backward/ downward pressure on a pedal, depending on the set-up of the bike. A bike with two brake levers has a front and rear brake. The front brake has more effective stopping power than the rear brake and must be applied with caution to avoid a tumble over the handlebars. Braking should be performed while seated. The rear brake, with less effective braking power than the front, can be used to gradually slow the bike. To slow or stop the bike more quickly, both brakes can be applied simultaneously or with the rear brake being applied just before the front.
The student will, of course, have to steer the bike around corners or obstacles. Steering the bike at slow speeds will require more of a turn of the handlebar in the desired direction than at higher speeds. Higher-speed turns require less of a handlebar turn but in combination with leaning the bike. Have the student first practice steering around wide turns, in both directions, before advancing to turns with leans.
Conclusion
Teaching a kid to ride a bike can be a fun and rewarding experience. First, ensure the bike is the correct size for your child. They should be able to touch the ground with their feet when sitting on the seat. Then, be sure to equip your child with a properly fitting helmet and any other protective gear like knee and elbow pads. Select a safe place to practice. It should be a flat, open area free of traffic and obstacles, such as an empty parking lot or a quiet park.
Start teaching kids how to ride a bike by having them pactice balance. Encourage your child to scoot along with their feet on the ground, lifting their feet for short distances to get the feel of balancing. Once they’re comfortable balancing, teach them to place their feet on the pedals and push off while maintaining balance. Show them how to start pedaling from a stopped position and how to use the brakes to stop smoothly. Run alongside your child, holding the back of the seat or their shoulders for support. Gradually reduce the support as they gain confidence. Praise their efforts and progress to build confidence and make the experience enjoyable.
Be sure to review proper bike safety before your kids start driving on roads. Did you find these tips for how to teach a kid to ride a bike helpful? Please share this article if you did!
Related Posts: