Ever look around your living room and feel like it’s missing that special something? Maybe your couch feels a little bare, or your bed could use a touch of personality. That’s where DIY custom photo pillows come in!
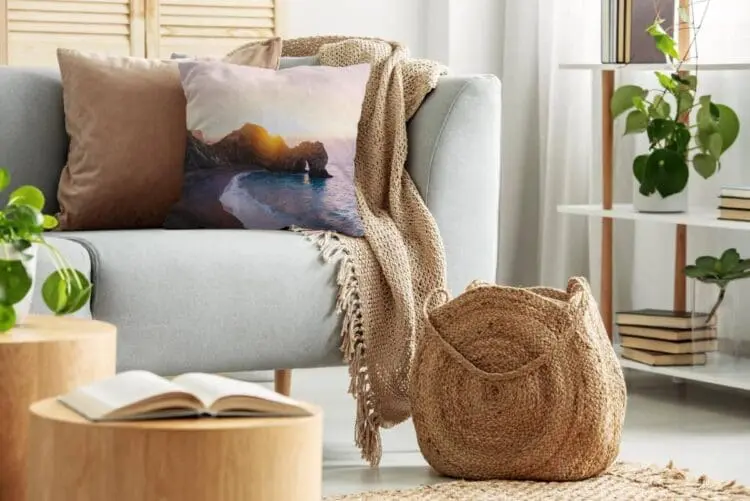
Custom photo pillows aren’t just comfy–they’re conversation starters. Imagine cuddling up with a fluffy pillow that showcases your favorite vacation pic and loved ones. Personalized photo pillows add sentimentality to your space, making it feel uniquely you.
But the best part? Creating them is surprisingly easy! No sewing experience necessary. This guide will walk you through the entire process, from choosing the perfect photo to printing it on fabric and (if you’re feeling adventurous) sewing your very own pillowcase.
So, ditch the store-bought throw pillows and get ready to unleash your creativity–a comfy haven awaits!

Design Your Personalized Photo Pillow
Here’s where the magic happens! Now that you’ve envisioned your perfect custom pillow, it’s time to bring that vision to life.
Choosing the Right Photo
The star of the show! Pick a photo that sparks joy. Image quality matters, in other words you will need a high resolution photo. A blurry pic won’t translate well. Consider composition too. Photos with a clear subject and balanced framing tend to work best. Most importantly, choose something that holds sentimental value.
Design Options
Let your creativity flow! You can feature a single photo, create a collage of memories, or add text like a funny quote or a special date. Feeling fancy? Experiment with borders or patterns to frame your photo.
Software Options
Don’t have expensive editing software? No problem! Plenty of free online photo editors (like picmonkey or canva) offer basic editing tools and design features.

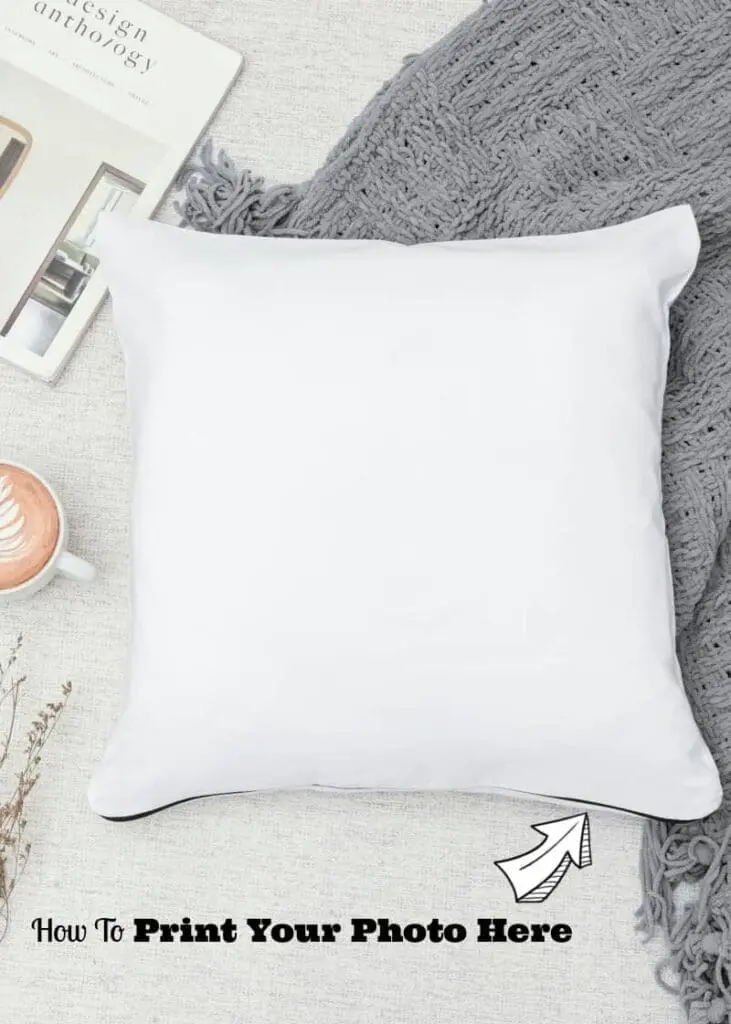
Photo above courtesy of PICANOVA.
Printing Your Photo on Fabric
Now that you’ve designed your masterpiece, it’s time to bring it to life!
Fabric Selection
Not all fabrics are created equal! Choose a fabric weight that’s comfortable yet sturdy. Use fabrics specifically made for printing, and consider how the fabric color will complement your photo and decor.
Printing Methods
There are two main ways to get your photo onto fabric:
- Online Fabric Printing Services: Some companies allow you to upload your design and print it onto high-quality fabric. Easy and convenient, but keep in mind there might be size limitations.
- Iron-on Transfer Paper: This is a great option for smaller projects. Find transfer paper compatible with your fabric type, print your design onto it, and iron it directly onto the fabric.
Uploading Your Design and Choosing Fabric Size
Once you’ve chosen your printing method, it’s time to upload your masterpiece! Most services will have size guides to help you determine how much fabric you’ll need based on your desired pillow size.
Preparing Your Image for Printing
Here’s a pro tip: Ensure your image is high resolution (usually 300dpi or higher) for crisp printing. Double-check the color mode too–most printing services require RGB mode.

Sewing the Pillowcase (Optional)
Feeling crafty? You can sew your own pillowcase to perfectly fit your printed fabric.
Materials Needed
Gather your supplies–fabric scissors, sewing machine, thread, needle, and a zipper or envelope closure (optional). Don’t forget the pillow insert!
Cutting the Fabric
Grab your printed fabric and some backing fabric. Measure and cut based on your pillow insert size, adding a seam allowance for sewing.
Sewing the Pillowcase
Here comes the fun part! Sew the printed fabric and backing fabric together using a straight stitch or zigzag stitch for a finished look. Remember to leave an opening for stuffing the pillow.
Stuffing the Pillow and Closing the Opening
Fill your creation with fluffy stuffing and then hand-sew or zip up the opening, depending on your chosen closure method.

Troubleshooting Tips
Uh oh! Even the craftiest among us can encounter a snag or two. Here are some common problems you might face while printing your custom photo pillows, along with tips to get you back on track:
- Blurry Image: Double-check that your image is high resolution before uploading it for printing. A blurry photo will result in a blurry print.
- Fabric Bleeding: This can happen if the ink used for printing isn’t compatible with the fabric. If you’re running into this with iron-on transfer paper, make sure it’s designed for the specific fabric type you’re using. Online fabric printing services typically use high-quality inks that are less prone to bleeding, making them a great choice for creating custom pillows that will last.
Tips for fixing mistakes are the ff:
- Don’t be Afraid to Experiment! Play around with different photo editing tools and design options to see what you like best for your unique gift.
- Order a Fabric Swatch: If you’re unsure about how a particular fabric will look with your photo, some online printing services offer fabric swatches to help you decide.
- Start Small: For your first attempt, consider using a smaller piece of fabric or iron-on transfer paper to minimize wasted materials if you encounter any issues.
With a little troubleshooting and these handy tips, you’ll be a photo pillow pro in no time! Now you can create the perfect gift idea for any occasion, all thanks to the power of personalized pillows!
Conclusion
There you have it! Your very own personalized photo pillows, bursting with sentimental value and ready to add a touch of you to your home decor. Display your creation proudly on your couch or bed, or even gift one to a loved one for a truly unique and thoughtful present. So, the next time you’re feeling crafty, consider creating personalized photo pillows. You might just be surprised at how easy and rewarding it is!
Related Posts:
Lavender Pillow Spray DIY Tutorial

Alvena says
What a great idea. Thanks for personalized photo pillow idea. I am going to put my cat on throw pillow so I don’t miss him so much when I go to college.