This is a super easy and fun, eco-friendly craft that you and the kids will enjoy long after it is done! Can’t say that everyday. Plus you get to recycle! All you need to learn how to make a bird feeder is an empty 1/2 gallon milk or juice carton and some string. They can decorate the milk carton bird feeder any way they want or not at all. Kids of all ages will enjoy making an old carton into a functional bird feeder. Your child will also feel very proud of themselves as they watch the birds chow down and appreciate their work.
Creating a bird feeder out of a milk carton is a fun and eco-friendly way to attract birds to your yard. Here’s how you can make one. To begin with select a half gallon carton and wash it out well with hot water.
Make Bird Feeder From Milk Carton Tutorial:
Looking for a fun and easy craft to do with your kids? Making a bird feeder from a milk carton is the perfect project! It’s a great way to recycle, get creative, and invite birds into your yard for your family to enjoy watching together.
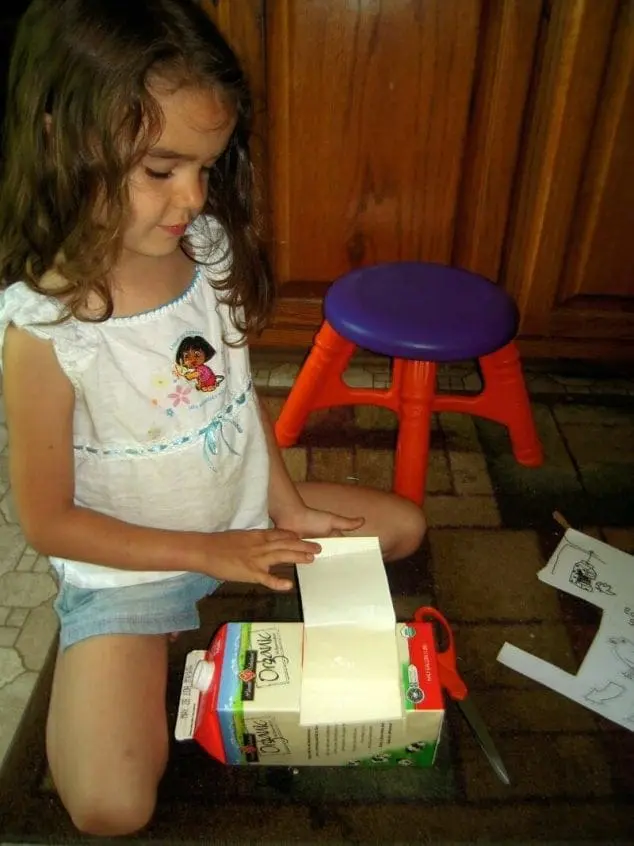
Step 1. Cut Out Square
Wash out the carton. Cut a square out of the carton leaving a large enough lip at the bottom to hold the bird seed and for the bird to perch on.

Step 2. Decorate Milk Carton
Decorate your carton bird feeder craft anyway you like! My daughter used acrylic paints to cover most of the carton sides. She also used crayon and paper and glued that part on.
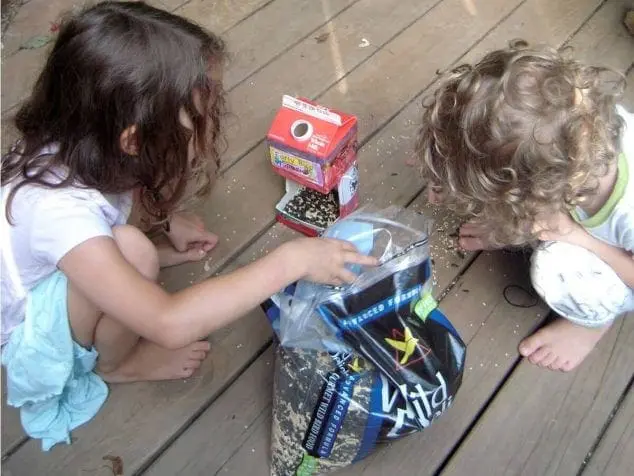
Step 3. Add bird seed.
Allow your children to fill the homemade bird feeder with with birdseed.
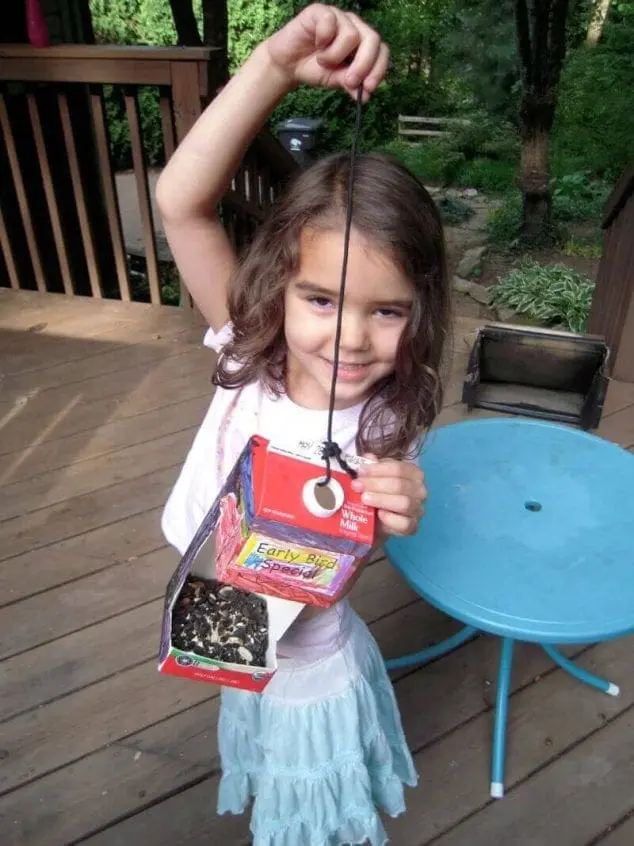
Step 4. Attach string.
Take the lid off the screw top if it has one. Then poke a hole through the gable of the carton on the opposite side (or both sides if it had no screw top). Loop the string through the holes and tie a few knots.
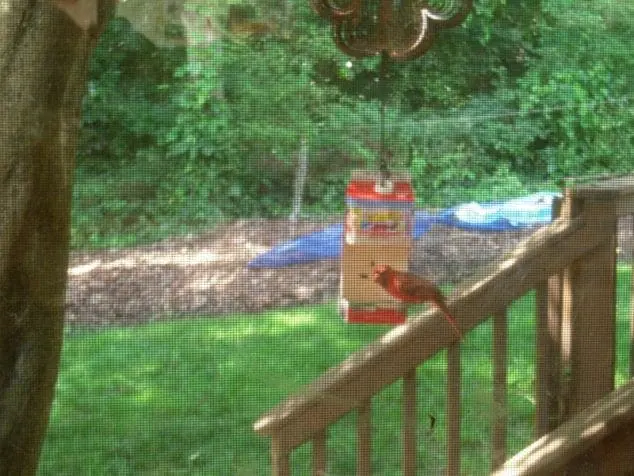
Step 5. Hang Bird Feeder
Find a suitable location to hang your feeder, such as from a tree branch or a hook. Make sure it’s high enough off the ground to deter predators but low enough for you to refill it easily. Hang the bird feeder made from a milk carton off a branch. Then just keep your eye out for birds! You can wind your string around the branch and tie some knots to make it stay in place.
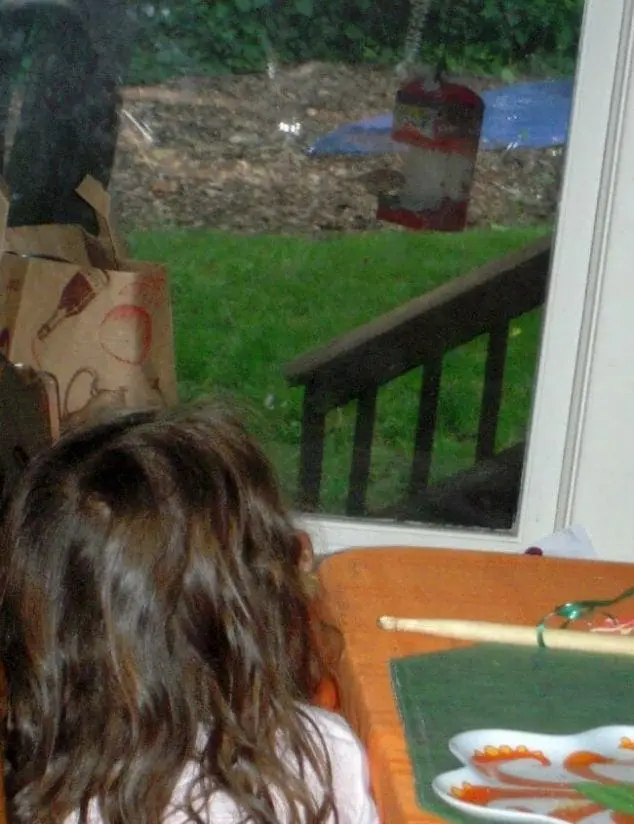
Step 6. Watch For Birds
Once your feeder is hung, sit back and enjoy watching the birds come to feed! Help your child identify the different species that come to the homemade bird feeder with your own knowledge, a library book of regional birds, or online bird identification help. Let your child draw or color some of the birds that they spot at the feeder! They might even want to keep a log of what species they spot at what times of day to see if they can find a pattern and determine the most common type of bird in their backyard.
Milk Carton Bird Feeder Craft Conclusion
Making a bird feeder from a milk carton with your kids is a simple, fun, and eco-friendly project that teaches valuable lessons. Not only do children get hands-on experience with recycling and creativity, but they also learn about caring for wildlife and observing nature up close. This activity encourages responsibility, sparks curiosity about birds, and provides a rewarding way to spend quality family time together. Plus, the joy of watching feathered friends visit a feeder they helped create is an experience your kids will always remember.
Remember to regularly clean and refill your feeder to keep the birds coming back. I hope you enjoyed these instructions for how to make a bird feeder. It is a fun, eco-friendly and educational craft to do with kids. You may even inspire your kids to become birdwatchers or little naturalist!
Related Posts:
Ideas For Kids Gardening Activities