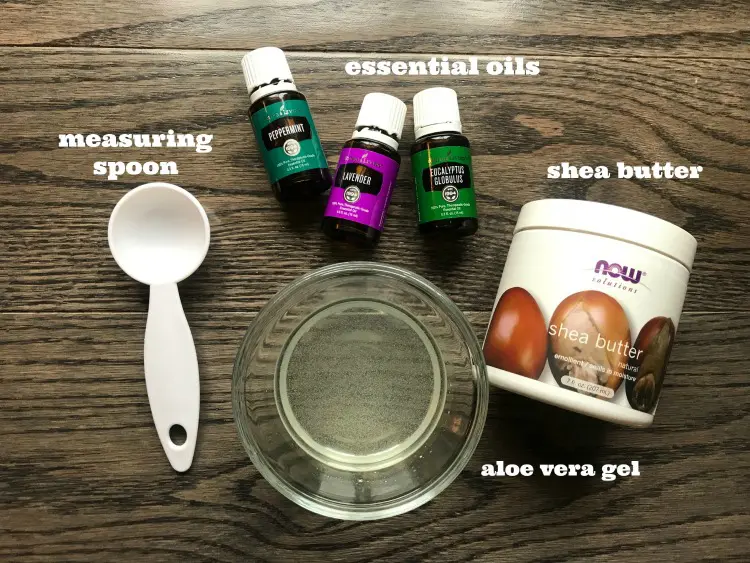
I love a good foot scrub but I also have really started loving a cooling foot mask! I played around with a few different recipes and I think I have landed on a really good one. During this time of the year especially it feels like I am running all over the place getting things […]
Green Living
Green living ideas, eco friendly cleaning tips, eco friendly home ideas, and going green tips for the eco-friendly family and eco friendly kids.
How To Clean A Bathtub Drain
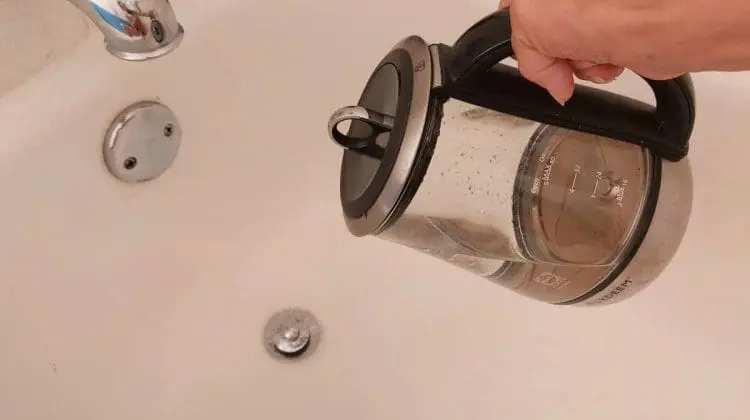
You may be trying to finish your spring cleaning and just reaching the part about cleaning drains. Or if you have a daughter with long hair like I do, it is pretty much always time to clear a slow bathtub drain! When your bathtub drain gets dirty, it gets smelly and it can clog your […]
How to Make Natural Insect Repellent That Works
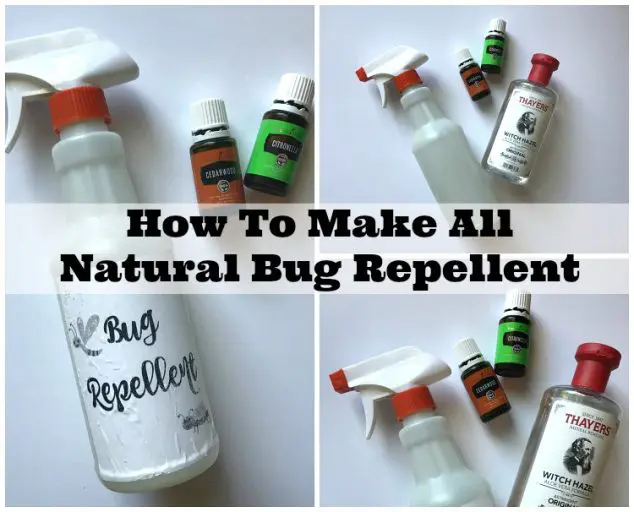
There are so many bug sprays and insect repellents to choose from! Sometimes it can be quite overwhelming to make a decision. Last summer I really focused on what I was putting on my body and also more importantly my children’s bodies…from lotions to body wash to sunscreen and even bug spray. There are far […]
Teaching Solar Energy For Kids
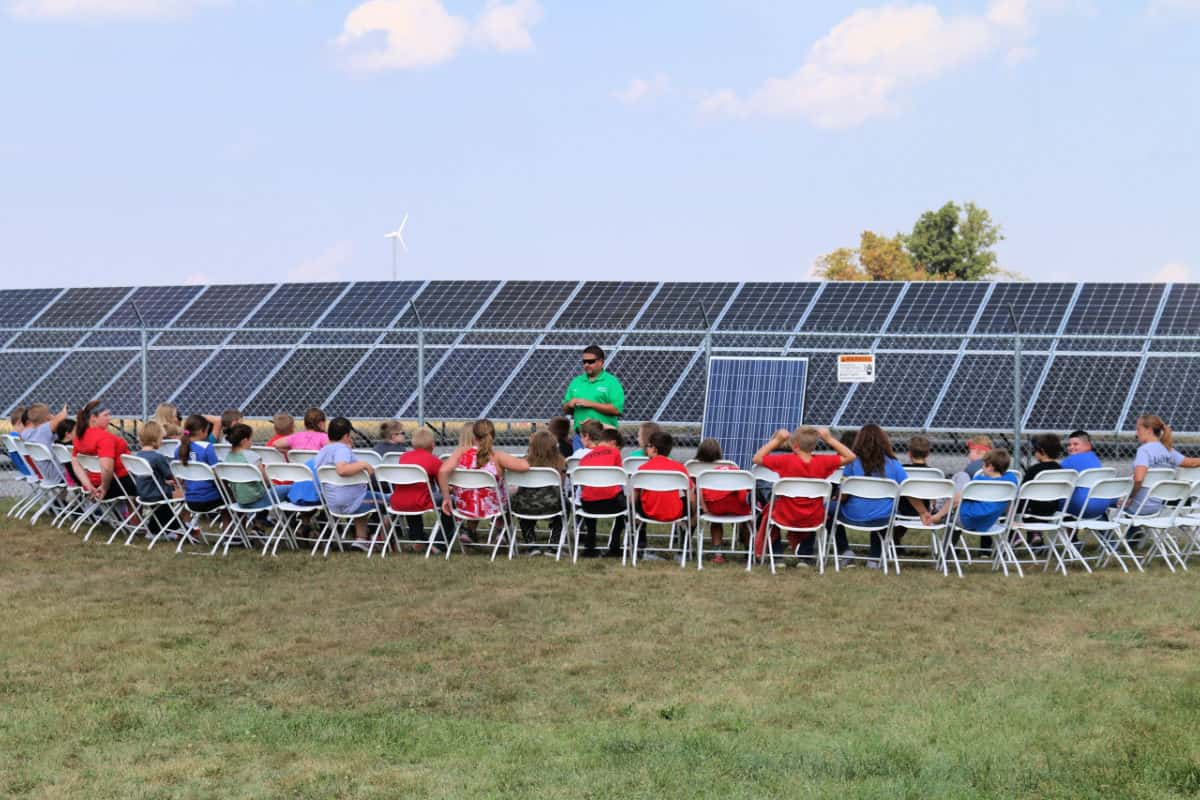
Solar energy is considered a renewable energy source as it comes from a natural resource- the sun. Solar energy is a very viable source of energy in some areas of the United States. In fact, it is successfully being used by some energy companies to supply clean electricity both commercially and residentially. Teaching your children […]
Nourishing Body Balm Recipe For Dry Skin
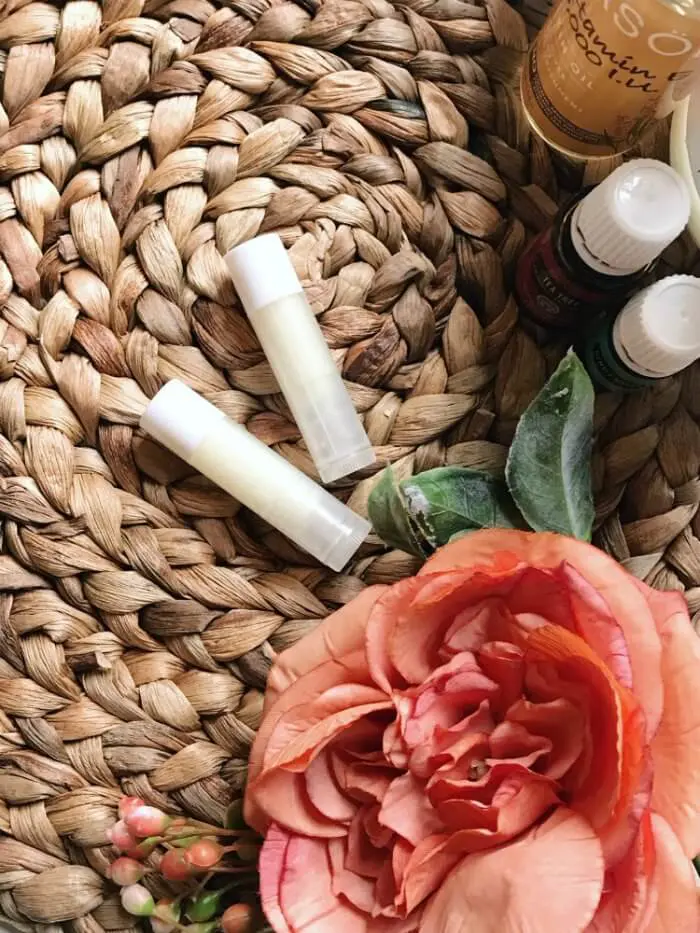
I discovered early on in our parenting days that store bought creams/balms were often filled with undesirable ingredients especially products for children! My daughter had really dry skin when she was younger and none of the things friends were suggesting were working at all in clearing up her dry skin. Some products made it even […]
Responsible Shopping- What Does It Really Mean?
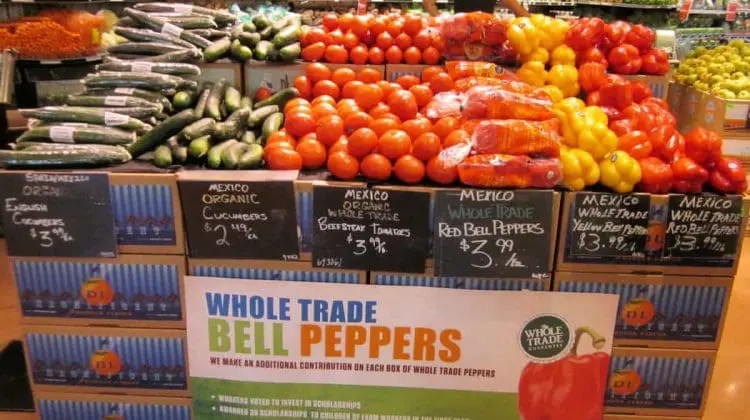
Like most consumers, I had heard of responsible shopping and labels like Fair Trade. They had some meaning to me but until recently, I didn’t have the whole picture. With environmental issues there is just so much to be educated on when it come to the supply chain, social impact, and sustainable products. In this […]
How To Make Perfume With Essential Oils
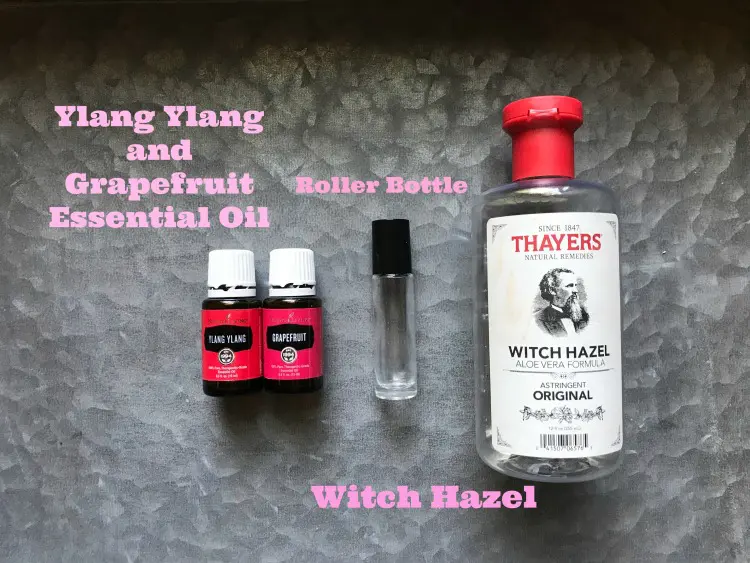
If you are looking for an all natural fragrance that you can quickly whip up on your own, I have the perfect DIY perfume with essential oils recipe! It’s simple since it has only three ingredients and one bottle will last you quite awhile! Many perfumes contain harsh alcohols and chemicals so this all natural […]