My kids love art. After all, most kids love the opportunity to be creative, express their imagination, and make a mess! I am going to share with you a recipe for how to make finger paint that is easy and fun. You and your kids will enjoy making these DIY paints together as a fun arts and crafts project, plus it will save you money! This homemade finger paint recipe is made with corn starch and other common kitchen ingredients. Younger children and older kids love to paint and making your own art supplies with a few simple ingredients is so much fun!
Easy DIY Finger Paint Tutorial

Finger painting is an awesome activity because it combines creativity, sensory exploration, and learning all in one messy, colorful package. It allows kids to express themselves freely without needing fine motor control or artistic “skills,” making it perfect for all ages and abilities. The squishy, smooth texture of paint is not only fun but also helps with sensory development, while moving fingers through paint strengthens muscles and coordination needed for writing and other tasks.
Beyond the physical benefits, finger painting offers a powerful emotional outlet. Kids can explore feelings, experiment with color and movement, and tell stories through their art—all of which support brain development and language growth. Plus, it’s easy to set up and clean up with washable paints, making it a low-stress, high-reward way to encourage creativity and connection.
This DIY finger paint recipe and tutorial was originally shared by Tanya Memme on the Home & Family Show which airs weekdays at 10 am on the Hallmark Channel. I was given permission to share this fingerpaint recipe with you here.

Photo Copyright 2014 Crown Media Family Networks/Photographer: Jeremy Lee
Finger Paint Craft Supplies:
- 3 tbs Sugar
- 1/2 tsp Salt
- 1/2 cup Corn Starch
- 2 cups water Water
- various Jell-O packages for chosen for their colors (I suggest lemon, strawberry, and berry blue)
- colored glitters (optional)
How To Make Finger Paint:
Over medium heat, combine sugar, salt, corn starch, and water.
Stir until thickened to about the consistency of Greek Yogurt.
Remove from heat and pour into bowl. (Use a separate bowl for each of the different colors you wish to make).
Add ½ package of Jell-O to each bowl for desired color. More jello or more vibrant colors. If you use the three flavors I suggested you can make red, yellow, and blue finger paints. This will give you the primary colors and then kids can have fun mixing from there.
Add 1 tbs of matching color glitter to each bowl of paint, if desired. The glitter is completely optional and I only suggest to for children that are old enough not to stick their fingers in their mouths. All of the ingredients in this recipe are totally OK to eat EXCEPT for the glitter. Therefore, these are edible finger paints as long as you don’t add the glitter.
Allow to cool fully before giving to your children to use for painting.
This recipe will make one 2 cup batch of finger paint. Repeat this recipe 2 more times to get all your primary colors. After that, you can then mix a portion of those to create more colors. I would suggest 1/2 cup of red and 1/2 cup of yellow to make orange as your fourth color and 1/2 cup of yellow and 1/2 cup of blue to make green as your fifth color. That should be plenty to work with.
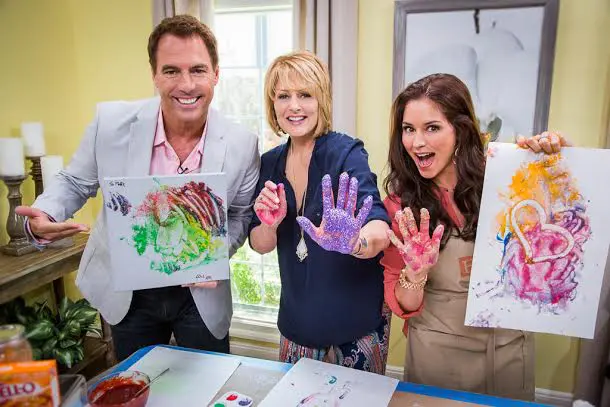
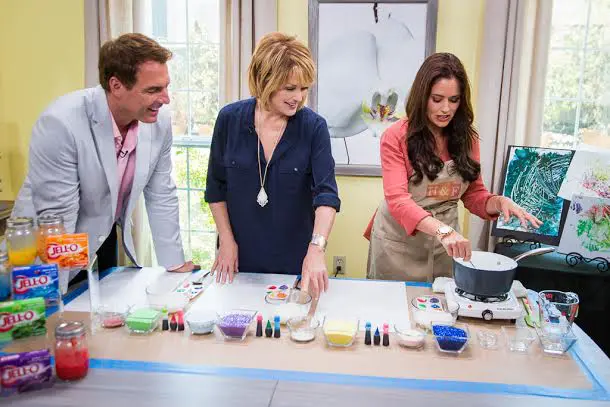
Photo Copyright 2014 Crown Media Family Networks/Photographer: Jeremy Lee
When young children have covered their little fingers and painted themselves out, you can store the excess of this non-toxic homemade finger paint recipe in airtight containers for use at a later time.
Printable Finger Paint Recipe Card
Finger Paint Recipe

Notes
The ingredients listed will make 2 cups of finger paint. Repeat this process with different flavors of gelatin for each color you want to make.
Ingredients
- 3 tbs white granulated sugar
- ½ tsp Salt
- ½ cup Corn Starch
- 2 cups Water
- 1/2 package of Jell-O Gelatin
- Glitter (optional)
Instructions
- Over medium heat, combine Sugar, Salt, Corn Starch, and Water. Stir until thickened to about the consistency of Greek Yogurt.
- Remove from heat and pour into bowl and allow to cool slightly.
- Add ½ Pack of Jell-O for desired color and mix well.
- Add 1 tbs Glitter (if desired).
- Allow to cool fully before painting.
Conclusion
Making your own finger paint is a fun way to engage kids of all ages in a creative and sensory-rich experience. It’s a great activity for building hand-eye coordination while letting little ones explore color and texture. Mixing it up in a small bowl and storing any leftovers in an airtight container makes cleanup easy and the fun last longer. Whether you’re painting rainbows, animals, or their favorite things, homemade finger paint turns any day into a hands-on adventure.
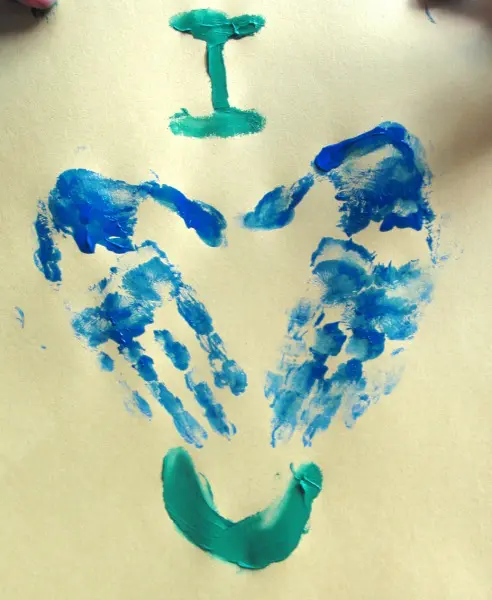
Finger paints are a great way to allow your child to express their creativity. Kids love to engage and work together so they can be inspired and you. Have fun painting and don’t forget to tell you children that you notice how hard they are working on their art projects and that you are are proud of that. Finger painting is also a great opportunity to do fun hand and foot print art that you can incorporate into your decor. Have fun with it! Do you think you will try this homemade paint recipe? Little hands are sure to enjoy the textures of the paint! Homemade fingerpaint is such a thrill for younger children. Share your pics @familyfocusblog!
Related Posts: