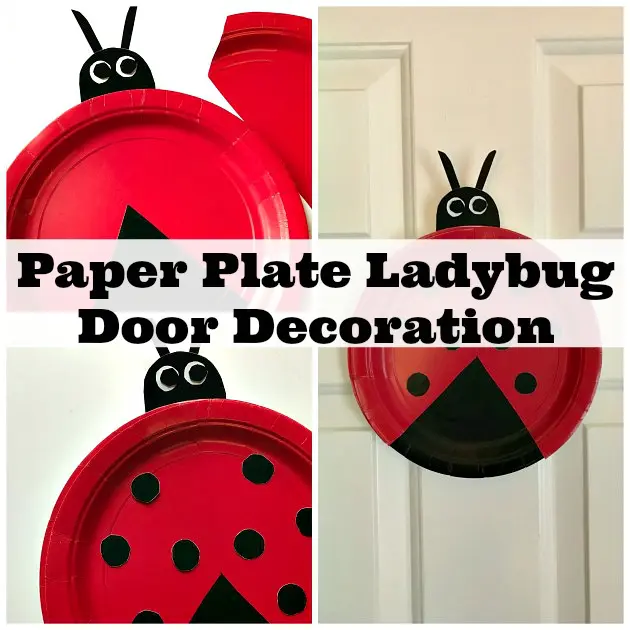
Do you have a little ladybug lover in your house? If so, I have the perfect craft for all little ladybug lovers today! This simple paper plate ladybug craft if perfect for even the tiniest crafters! Once finished, it makes a fun door decoration for your child’s bedroom door. This paper plate ladybug craft for preschoolers is bright, colorful and brings on the feeling of Spring. This fun ladybug craft would go great with the any ladybug books you happen to be reading such as “The Grouchy Ladybug” or “Ladybug Girl”. Or if Eric Carle has inspired a fascination with insect crafts, this is an easy peasy and fun paper plate ladybug craft for kids of all ages.
This Simple Ladybug Craft For Preschoolers Makes A Great Door Decoration
A ladybug craft for preschoolers is a fun and engaging activity that supports fine motor skill development, creativity, and early learning. It helps children practice cutting, gluing, and painting while also introducing them to basic science concepts about insects and nature. Ladybug crafts can be a great way to teach colors, counting (by adding black spots), and even simple life cycle lessons. Plus, it’s an enjoyable seasonal or springtime craft that encourages hands-on learning and artistic expression!
As we enjoy making this easy craft, it’s interesting to note that ladybugs also have a symbolic meaning. Discover what it means when you find ladybugs in your house here.
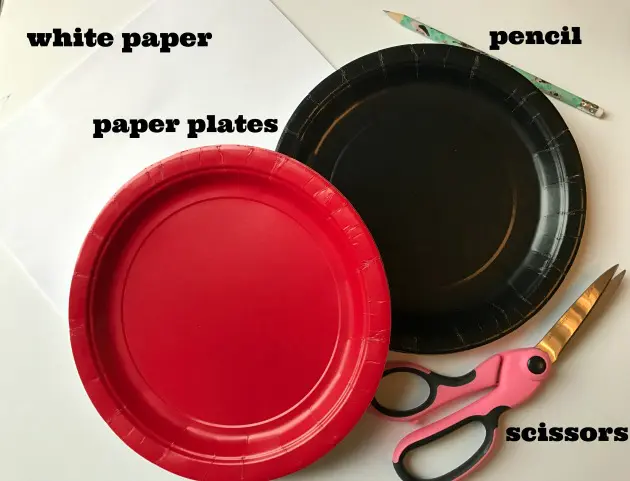
Ladybug Craft Supplies:
- Red and Black Paper Plates
- Scissors
- White Paper
- Pencil
- Glue Stick or Tape
You just need a few very simple craft supplies for this fun ladybug craft. If you don’t have red and black plates, you can use plain paper plates and cover them with red and black acrylic paint or red and black construction paper.
You could use black pipe cleaners for the antennas if you happen to have those on hand. You can also substitute googly eyes for the paper eyes if you have those.
Directions For How To Make A Ladybug Paper Plate Craft:
Gather your supplies and head to a flat working space. My young children and I actually love to spread out on the kitchen floor to do most of our crafts!
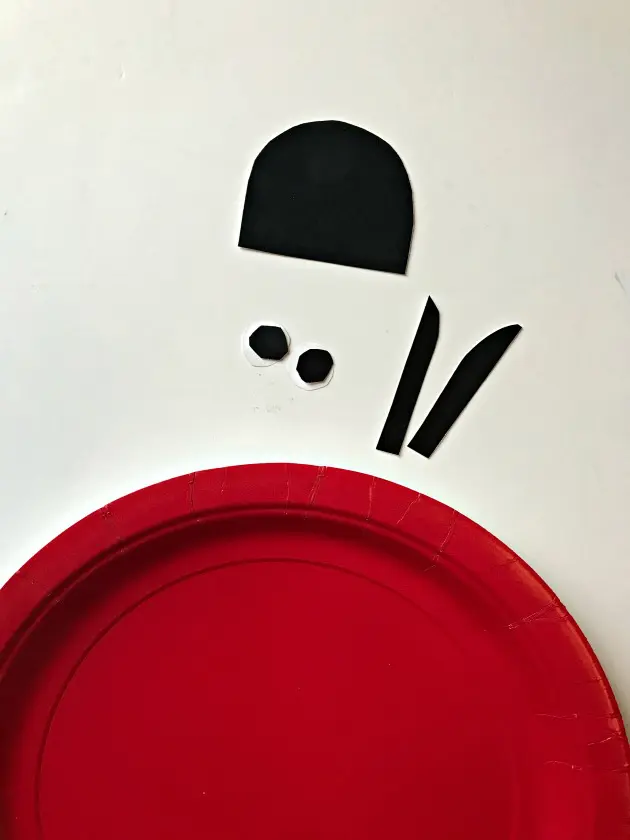
Start with a black paper plate. Take your scissors (adults may want to do this part depending on the age of the children) and cut out a head for your ladybug, antenna’s, and 2 eyes. For the ladybug’s eyes, cut out smaller black circles and a little larger white circles using one of your white sheets of paper. Once all of theses parts are cut out (I drew my circles before cutting them out but feel free to free hand them if you would prefer), start taping or gluing them on! Your child can definitely jump in and help on this part of the craft!
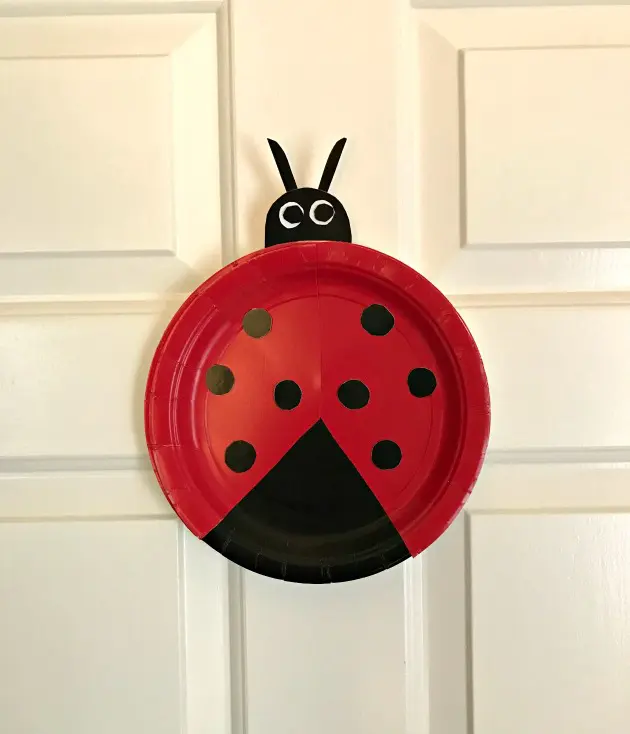
Once those parts are taped on to the ladybug’s head, you will next want to grab another red plate for the wings. Cut a triangle out of the bottom part of your red plate. Take a second black plate and cut out a pie shaped piece to go under that space in your red wing plate like the picture below…
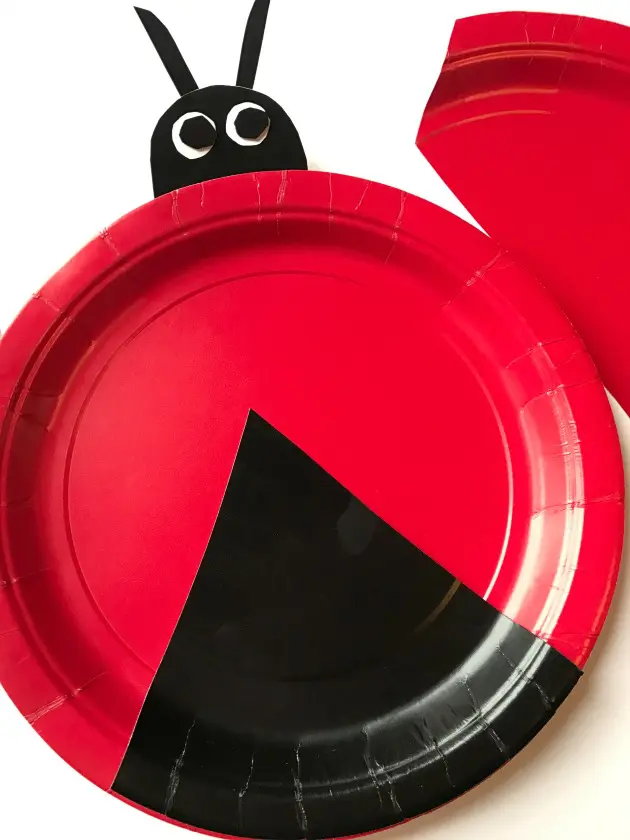
Place tape on the back side of your red wing plate and lay over the black pie shaped piece. Next, cut out a few black circle to be the spots on your ladybug’s body. Once those are cut out, let your child tape those on thereby completing the paper plate ladybug craft. Finally, head to your child’s room and either tape or hang their finished ladybug up on their door.
Conclusion
Making ladybug crafts is a fun and educational activity that young children will love. Using simple supplies, kids can create adorable paper crafts that help develop their creativity and motor skills. From adding small black circles as spots to attaching the head of the ladybug, this project is both engaging and easy to do. As part of spring crafts, it’s a great way to celebrate nature while keeping little hands busy. Whether at home or in the classroom, fun crafts like this make learning enjoyable and memorable!
We love bugs at our house so this was the perfect craft for my daughter and I to do together! This paper plate ladybug craft for preschoolers is a great opportunity to talk about ladybugs and why they are good for our plants. It is also a great chance for kids to use their fine motor skills and counting skills as they place the black dots. Do you think your child would like making this paper ladybugs craft? Share your craft photos with us @familyfocusblog and @roo615!
Other Paper Plate Crafts:
JASPREET SINGH says
Rachel Easley’s blog on the Easy Paper Plate Ladybug Craft for Preschoolers is an absolute delight! She presents a fun, simple, and engaging craft that little ones will love, making it perfect for both home and classroom activities. The step-by-step instructions and cheerful tone make it easy for parents and teachers to follow along. ✨ Adding a few tips for customizing the craft or incorporating learning elements (like counting spots for math) could make it even more educational. Overall, a super cute and creative blog! ️
Joanie says
This easy Ladybug Craft for Preschoolers is so cute and perfect for little ones! With easy-to-follow steps and fun materials, it’s a wonderful way to encourage creativity and motor skills in young children. My 5 year old son and I made one last night and he just loved it!
Accent Future says
This adorable paper plate ladybug craft is a fantastic way to spark creativity in little ones! It’s a fun, simple, and colorful project that perfectly captures the joy of spring.
Gina says
This is such a fun and creative idea for little ones! I love how simple supplies can turn into adorable ladybugs while helping kids develop their motor skills. Paper crafts like this are perfect for spring and make learning about nature so much more exciting. Thanks for sharing such a wonderful activity!
Kidzonia says
“We tried this today, and it was a huge success! We used glitter for the black spots, and it added a fun sparkle. Thank you for sharing!”