Chalkboard paint is all the rage these days. It can be used to make such fun projects that allow you to express your creativity both in making and decorating an object. You can come up with endless DIY chalkboard paint project ideas- from making a chalkboard paint wall in a kids room to making a chalkboard paint sign for living room decor. I decided to try a more unique DIY chalkboard project and make my own chalkboard paint bin. I will share my full tutorial with you here on how to apply the chalkboard paint, how many coats, as well as tips, tricks, and ideas along the way.
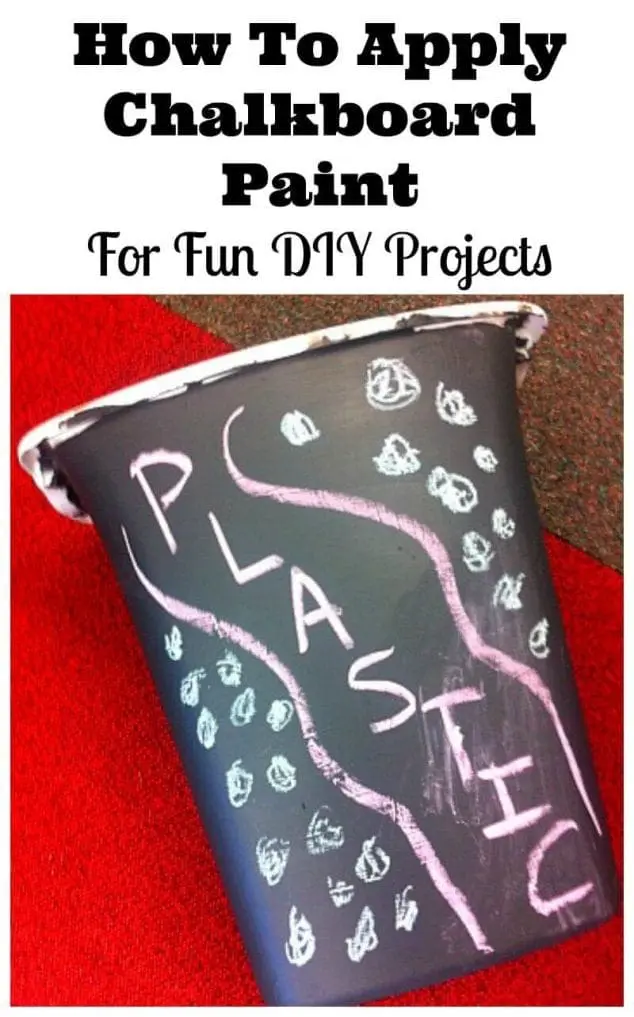
How To Apply Chalkboard Paint
First a quick note to answer the question, “What is chalkboard paint?” It is a type of paint that you can put on a surface for an ultra hard, scratch resistant finish to create a writeable, erasable chalk board like surface.
Chalkboard Paint Surfaces
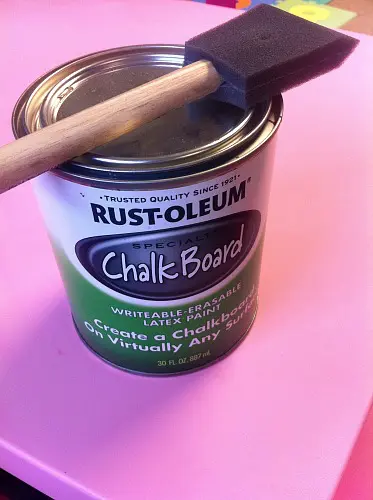
Make this DIY Recycling Bin with chalkboard paint for a fun, expressive way to get kids interested in recycling. Or come up with your own DIY chalkboard paint ideas and just use these methods to create whatever you can dream up! I used Rust-Oleum Flat Black Chalkboard Paint. According to the can, surfaces it can be used on include: wood, metal, dry wall, plaster, glass, concrete, masonry, terra cotta, paperboard, and hardboard.
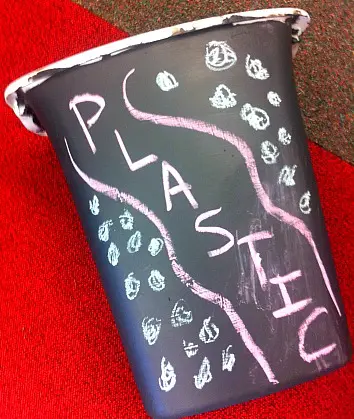
I wondered if chalkboard paint could be used on plastic too and I had seen it used on storage bins so I figured it could. They suggest using a latex primer first but I just went for it. I know the Home Depot website says you can use the Chalkboard Flat Black Spray Paint on plastic so I figured it would work fine and it did.
Chalk board paint provides the perfect surface for chalk writing on walls, flower pots, table tops, picture frames and other fun DIY craft ideas.
Painting Conditions:
Use when temperature is between 50-90 degrees F and humidity is below 85% to ensure proper drying.
Preparation:
You may wish it lightly sand glossy surfaces before application. However, if you live in an older home that may have lead paint, do NOT sand, scrape, or otherwise remove old paint that may be release lead into your environment and be unsafe. See EPA info on that here. Ensure that your work area has proper ventilation.
Primer:
Latex primer is suggested before using chalkboard paint on bare wood, metal, or plastic. Apply one coat and allow to dry for at least two hours.
Apply Paint:
Stir thoroughly or have the can shaken at your paint store before you begin. You can use a roller, a paint brush, or a simple foam paint brush depending on how big the area is you want to paint.
Use painter’s tape before you apply the chalkboard paint in order to achieve clean lines and edges.
Dry And Recoat Times:
Chalkboard paint will dry to the touch in about 30+ minutes, dry for handling in 2+ hours. You may apply a second coat after 4 hours of drying. Allow 3 days of drying to condition the paint before first use.
What To Write With On Chalkboard Paint:
You can use regular chalk as in the tutorial below or chalk markers. For a really fancy finish try chalkcouture.com. They have beautiful chalk paste in trendy colors that give a more color saturated, professional look to your chalkboard projects.
How To Clean Chalkboard Paint
Cleaning chalkboard paint requires a gentle touch to avoid damaging the surface. Here’s a basic method:
- Remove Dust: Use a dry microfiber cloth to remove dust and loose chalk particles from actual chalk.
- Wipe with a Damp Cloth: If you used chalk pens, dampen a soft cloth with water and gently wipe the chalkboard surface. Avoid using too much water, as excessive moisture can damage the paint.
- Dry the Surface: Use a dry cloth to thoroughly dry the surface after cleaning.
Looking For A Craft Project? Try This Fun DIY Chalkboard Paint Recycling Bin
I am always looking for ways to get kids excited about sustainability and taking care of our environment. One of the simplest steps kids can take in working toward a greener, cleaner planet is to recycle. You can make recycling fun with a great hands-on project and just a few materials.
DIY Recycling Bin Project Materials:
- Plastic trash bin
- Chalkboard paint
- Foam paint brush
- Colored chalk
- painter’s tape
Chalkboard Paint Trash Can Instructions:
1. Set up a work area by spreading newspaper or plastic sheets on a table or on the ground.
2. Gather your materials onto the the covered area.
3. If you want clean lines, now is the time to apply your painter’s tape to protect areas. Use the foam paint brush to cover the entire surface of your bin or container with chalkboard paint.
4. Allow the bin to dry completely.
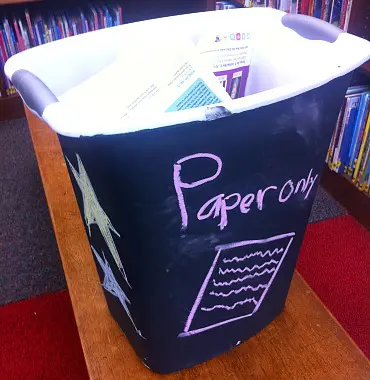
5. Decorate the DIY Recycling Bin with colored chalk. You can make multiple bins and label each one appropriately. If you are making the recycling bins for your home, make one for your bathrooms and the kitchen. If you are making them for a public place, like a school, make one for plastic, one for paper, and one for glass.
6. Talk to your kids about why recycling is important and help each other to remember as you create a new habit. Start using your DIY recycling bin every day!
Recycling helps protect the environment by reducing the need for virgin raw materials. It also saves energy and reduces greenhouse gas emissions and slow climate change. Do you recycle?
Conclusion
This is a great DIY Recycling Bin project to teach kids that helping our environment can be fun! How do your kids get involved in making our planet a better place? Which recycling responsibilities do you assign to your children?
Do you think you will try a DIY chalkboard paint project? We’d love to hear your ideas and see how your projects come out, tag us @familyfocusblog and/or #familyfocusblog!
Related Posts:
What To Do With Leftover Paint? Small DIY Paint Projects
Are Milk Cartons Recyclable? Answer To This And Other Carton Recycling Questions
Jamie says
I absolutely love the idea of using chalkboard paint for crafts! It’s such a simple way to turn everyday items into interactive, reusable pieces that grow with your family.
Dana says
Whether it’s labeling pantry jars, creating a rotating seasonal sign, or giving kids a creative space to doodle, chalkboard paint adds both charm and function. Plus, I appreciate how budget-friendly it is—you can upcycle thrifted finds or old décor and make them feel brand new. This is such a fun, versatile craft idea!