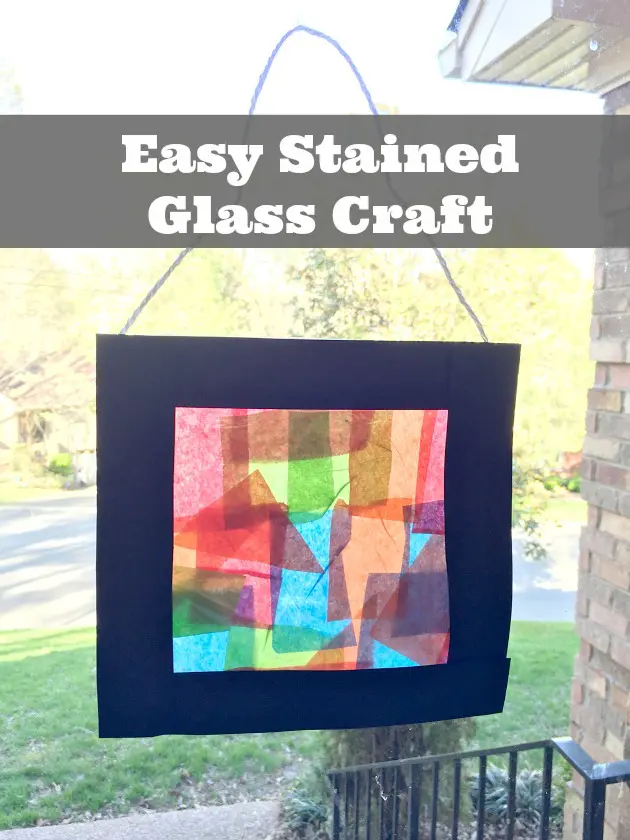
Lots of kids love tissue paper crafts because they are so much fun and so colorful. Today I’ll be sharing a fun and easy stained glass craft made with tissue paper. Faux stained glass is so fun to make. There is no wrong way to make it and everyone’s stained glass craft will be unique! You more than likely, you have everything you need already at your house- the best kind of craft! This tissue paper stained glass window craft will only take about 10 minutes and it will leave your child with a beautiful new decoration for his or her room. You may even want to join in the fun and make this simple project with tissue paper too!
Tutorial For Stained Glass Window Craft With Tissue Paper
With just a few basic supplies you can make this simple craft. If you have a few pieces of tissue paper you have saved from gift bags, this can be a great way to reuse them. Cutting tissue paper shapes is a fun way to for kids to develop their fine motor skills and they will find it rewarding when they have this art craft to show for it.
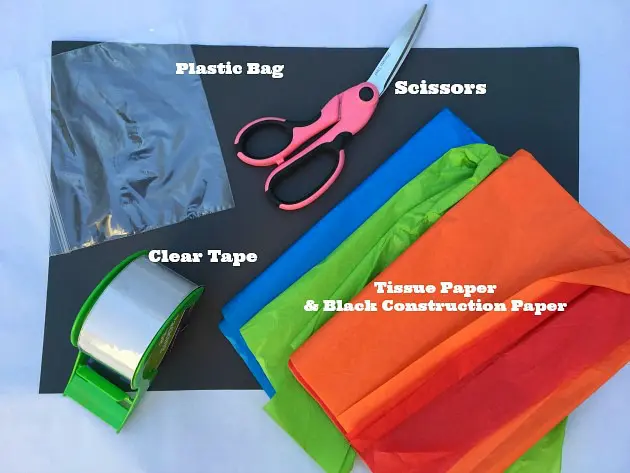
Tissue Paper Window Art Supplies Needed
- Tissue Paper (in several different colors)
- Plastic zipper bag
- Black Construction Paper
- Scissors
- Clear Tape (or white glue that dries clear- most school glues)
How To Make A Stained Glass Window With Tissue Paper:
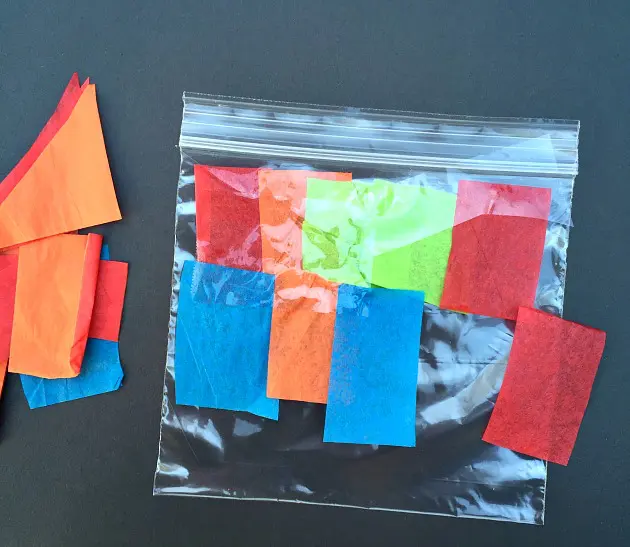
First, gather your supplies and grab a seat at your table. Help your child cut small squares or triangles out of the tissue paper. You can cut out any size you’d like. I kept my pieces to about 1-2 inches because small pieces work best in a small bag. Once you have your paper squares/triangles cut out, start covering one side of your plastic bag with them. I started by lining my tissue paper squares up in rows.
I placed a thin piece of tape over my tissue paper rows. However, you could use a glue stick to place a thin layer of glue on the areas that will overlap. Turn you bag over once you have covered the whole area. You can now slide a few pieces under the plastic bag (on top of your rows) to make the rows look not so uniformed.
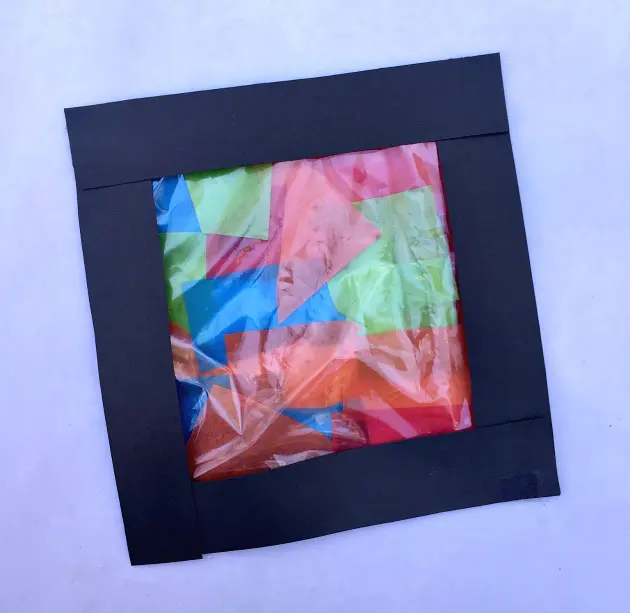
Once you have done that, cut out some strips of your black construction paper to make a border around your plastic bag. This will create a black frame, a “window frame”, if you will.
You child can make as many tissue paper stained glass windows as they like. Larger zipper bags will make larger tissue paper stained glass windows. Alternatively, a piece of clear contact paper on each side of the tissue paper masterpiece can used if you have that on hand but not zip lock bags.
Once you have taped your border to your plastic bag, you’re done! You have an Easy Kids Stained Glass Craft!
How To Display The Stained Glass Tissue Paper Craft
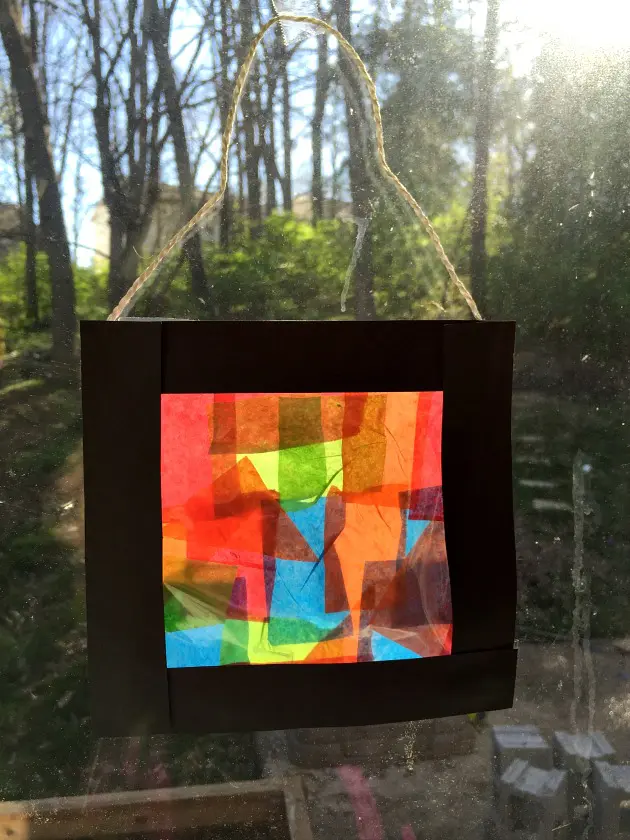
Help your child pick a spot on their bedroom window to hang their finished project. You can simply tape it up on the window. Or tape a piece of yarn to each side of the top of the bag and use this as a hanger. Help young children hang in a sunny window and enjoy! This paper tissue stained glass craft acts as a sun catcher for windows and brings so much color to rooms.
We just love how tissue paper sun catchers came out. This is such a cheerful craft for kids! It is as simple as that to make “stained glass” with tissue paper! It also provides great practice for preschoolers with cutting and glueing. Furthermore, It is a great way for kids to discover color mixing through layers of colors. These make great homemade gifts for grandparents too!
Little kids love craft projects. Do you think your child would like making this paper tissue stained glass? Give this easy kids stained glass craft a try the next time your child would like to make something! Tag us @familyfocusblog so we can see how your child’s tissue paper art stained glass came out!
Related Posts:
Easy Spring Craft: Make Paper Butterflies

