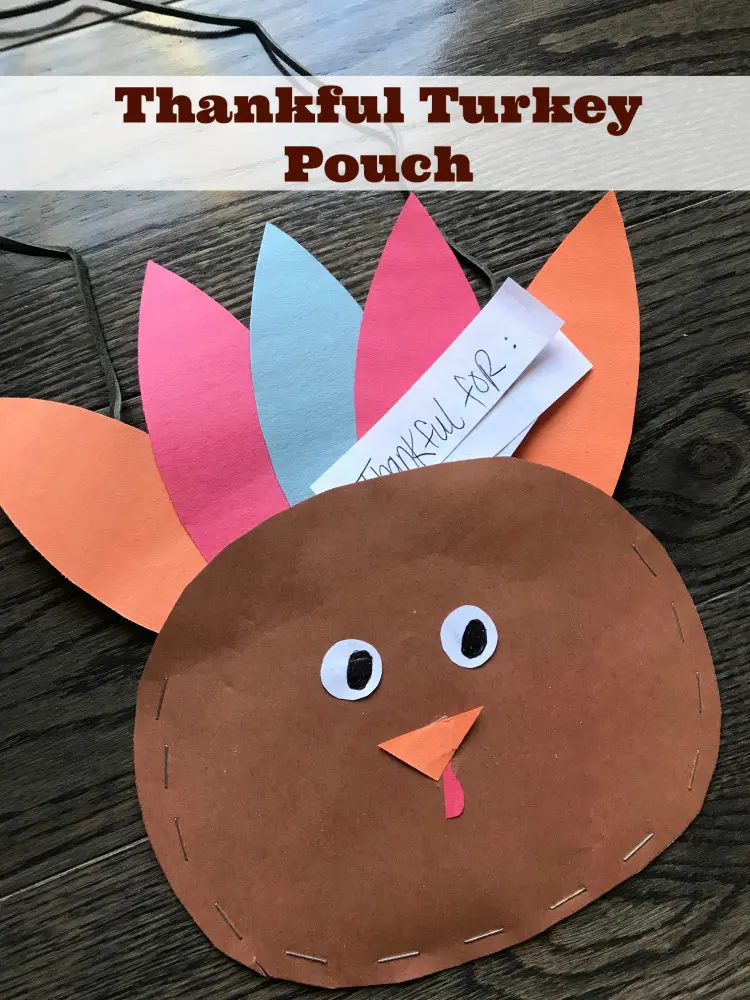
There are a lot of different “thankful” ideas during the month of November. We do something new each year to help us celebrate Thanksgiving. This year I thought of something that my kids loved, that has to do with being thankful and of course, a turkey design is involved. If you like holiday crafts, I think you will enjoy making this Paper Turkey Craft with your child and getting to talk about things y’all are thankful for. This craft will be a little easier if you child can write on his/her own but if your child is still working on their fine motor skills, you can definitely write their “thankful” word down for them!
Thanksgiving crafts are a wonderful way to express gratitude and celebrate the season’s themes of family, harvest, and togetherness. They provide a creative outlet for kids and adults, fostering bonding and teamwork. Making crafts can also serve as a meaningful reminder of the holiday’s values, creating keepsakes and decorations that enhance the festive atmosphere. Plus, it’s a budget-friendly and fun activity to engage everyone in the spirit of thankfulness! Creating a paper turkey craft is a fun and easy project, especially popular during Thanksgiving. Here’s a step-by-step guide to making a simple paper turkey.
Construction Paper Turkey Craft Tutorial

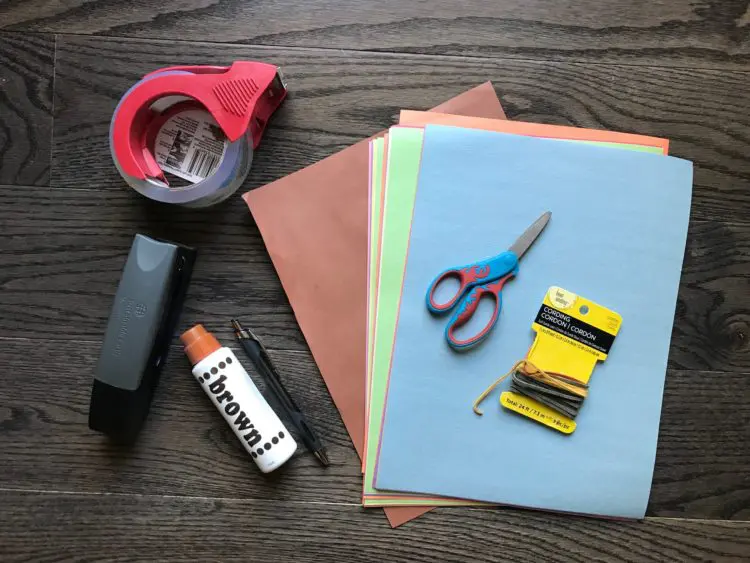
Thanksgiving crafts can be made with budget-friendly, basic supplies like construction paper, glue, scissors, and markers. Everyday household items like staples and string also work perfectly, making it easy to create festive decorations without needing specialty materials. Little hands will love this easy, cute turkey craft.
Craft Supplies Needed for your Thankful Turkey Pouch Craft:
- Construction Paper
- Scissors
- Stapler
- Tape or Glue
- Markers
- String

How To Make Paper Turkey:
Starting with your brown construction paper, draw out an oval-shaped turkey body. Then draw a circle in the middle of the body for the head. You will need a front and back for the pouch part, so place a second sheet of brown paper under the first before you cut the body out.
Next, draw feathers on various different colors of paper. We drew out 5 feathers but you can have as many feathers as you want! Then draw eyes, beak and wattle. Once everything is sketched out, cut the parts of the turkey out.
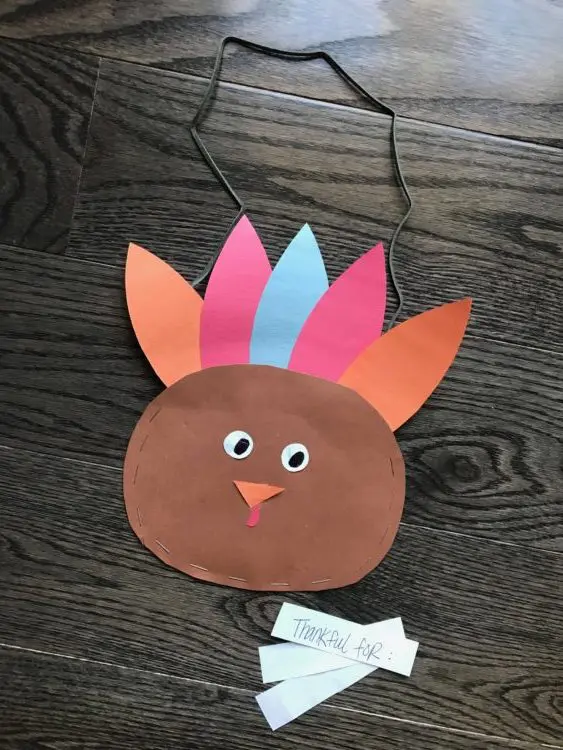
Take your turkey body’s front and back and staple them together to make a little pouch (this pouch will hold the pieces of paper that have “thankful” word on them).
Next, glue or tape the turkey face parts and turkey feathers onto the body. If you happen to have the right size googly eyes you can use those instead of the hand-drawn ones.
The last step of this Paper Turkey Craft is to tape the string onto the back of the turkey’s body so that the turkey can be hung up. I would suggest hanging your child’s turkey somewhere that is in a place where they will see it often. For example, the pantry door, inner garage door, or in your front entrance area, etc.
Feel free to get creative with different colors, shapes, and sizes of the feathers to make your paper turkey unique! This craft is a great way for kids of all ages to get creative and can be adapted with various materials depending on what you have available.

What to do with the Thankful Turkey Pouch:
Have small strips of paper and a pencil near or beside the turkey. At least once a day, remind your child to write down one thing that they are thankful for. Have them place it in the Turkey Pouch. They can place as many words as they want to into their Turkey Pouch. However, I recommend at least one per day. On Thanksgiving, your child can grab their Paper Turkey Craft and share what they are thankful for by reading their strips of paper out loud!
Conclusion
The Construction Paper Turkey Craft with a thankful pouch is a fun and meaningful activity that brings the family together while celebrating the spirit of Thanksgiving. This simple project not only encourages creativity but also offers a unique way to express gratitude by writing down what you’re thankful for. Once completed, the turkey becomes a colorful and heartfelt decoration that serves as a reminder of the holiday’s values. It’s a perfect blend of crafting fun and mindful reflection, making it a cherished part of your Thanksgiving tradition.
I hope you found this Thanksgiving turkey craft to be a fun project for the kids. I think it really helps to encourage them to be thankful for all of their blessings in life. Have you made a Thanksgiving thankful craft with your child before? Share your child’s creative turkey crafts with us on social media @familyfocusblog and @roo615. We’d love to see them!
Related Posts:
Thanksgiving Favors For Kids- Clever Turkey Leg Place Settings

Busy Tykes says
What a fun fun thanksgiving craft! This paper turkey craft was super easy to create! Thanks for sharing turkey activities this holiday season.
Jonas says
Your blog is a constant source of inspiration for me. My kids had so much fun making cute little turkeys and picking out different color turkey’s feathers. It was also the perfect way to talk about what we are thankful for.
Lucy says
Such a cute and easy craft idea for Thanksgiving fun! We love construction paper crafts and they are perfect for kids to make and add a personal touch to the holiday decor.
willma says
This is such an awesome article, also very useful for me, and thanks for sharing with us.
Sowndharya says
Thank you so much for writing this craft blog post. The colorful paper turkey craft is such a cute idea, and it’s a wonderful way to encourage thankfulness in children.