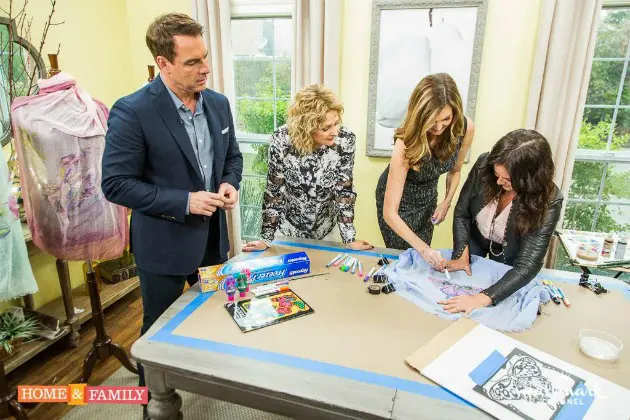
I love DIY projects and I love fashion so making DIY fashion accessories is an appealing combination for me! I saw Tanya Memme share how to make a Hand Painted Scarf on an episode of Home & Family, which airs weekdays at 10 am ET/PT on Hallmark Channel. It is such a fun creative DIY project that you can then put to use by wearing your own one of kind fashion accessory. Alternatively, you can also use your hand painted scarf as a diy gift of wearable art! So I obtained permission to share her tutorial on how to make a hand painted scarf with you here.
Scarf Painting Tutorial:
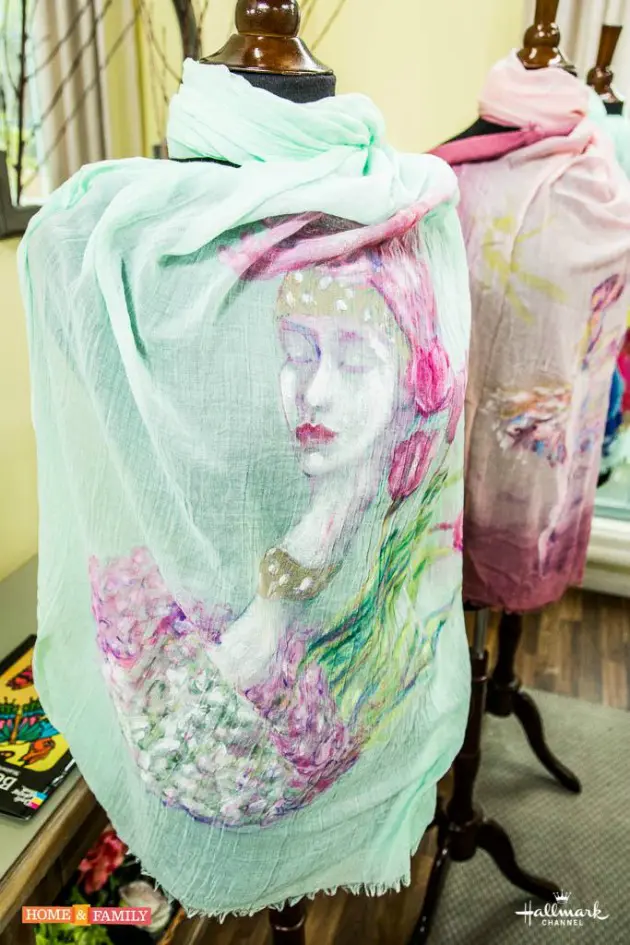
You are going to love how easy it is to make these DIY fashion accessories. All you need is a few supplies and as much or as little artistic ability as you have. You can free hand your hand painted scarf or you can use an image to trace your design. If you plan to trace your artwork, be sure to use a light color scarf and choose artwork with dark, bold lines.
Materials For Making Your Own Hand Painted Scarf:
- A plain fine cotton scarf (You might find these at your local craft store or use my affiliate Amazon link.)
- Freezer paper
- Large piece of cardboard
- Clamps
- Fabric paints or fabric pens (Both options have fixatives to ensure color adherence and durability.)
- Brushes
- Fabric paint
You could also use silk scarves but they are more expensive and less forgiving so I would practice on the cotton scarves first.
You might come across some plain silk scarves. However, do make make a direct substitution. Hand-painting a silk scarf differs from painting a cotton scarf due to the fabric’s texture, absorbency, and paint interaction. Works best with silk dyes or fabric paints designed for delicate fibers. Dyes spread fluidly and bond with silk fibers, resulting in vibrant, blended designs. Both fabrics create beautiful results, but silk painting is often more delicate and not as easy for beginners.
How To Paint A Scarf
STEP 1
Cover the cardboard in freezer paper with the shiny side up and tape to secure in place.
STEP 2
Optional: Tape a design for tracing to the board.
Lay one end of the scarf on to the cardboard and clamp into place. Make sure the scarf is as flat as possible and the freezer paper is secure underneath and clamp on all sides to hold it firmly in place.
STEP 3
Draw the outline or skeleton of the design with fabric pens. There will be some bleeding with the fabric pens but don’t panic it will look pretty to have less defined lines. You can stop there or you can fill it in with paint.
STEP 4
Make a palette with your chosen colors. Water down the fabric paints a tiny bit by dipping the brush into the water first then dipping the brush in a bit of paint.
STEP 5
Fill in design with fabric paint. Either free flow or fill in traced design. Let dry. You can use the fabric pens to color it in if you prefer.
STEP 6
Put in dryer for 15-30 minutes on high heat to seal the fabric pen and paint. It is then ready to be worn and will be safe to wash as well. This DIY scarf makes a one-of-a-kind great gift.
Hand Painted Scarves Conclusion
Creating your own hand-painted scarf is a rewarding experience that allows you to express your creativity, personalize your wardrobe, and craft a unique accessory that reflects your style. Unlike mass-produced scarves, a handmade piece carries sentimental value, making it a perfect gift or keepsake. Additionally, the process is a relaxing and fulfilling artistic endeavor, giving you the freedom to experiment with colors, patterns, and techniques. Whether for self-expression, sustainability, or simply the joy of crafting, making your own hand-painted scarf is a beautiful way to showcase your individuality.
I hope you enjoy this fun project for making DIY fashion accessories. Do you think you will try making a hand painted scarf yourself?
More DIY Fashion Accessory Tutorials:
Kryssie Spence says
Can’t wait to spend my weekend working on these DIY handpainted scarves with my girlfriends! Thank you for the cool accessory idea and tips 🙂
-Kryssie