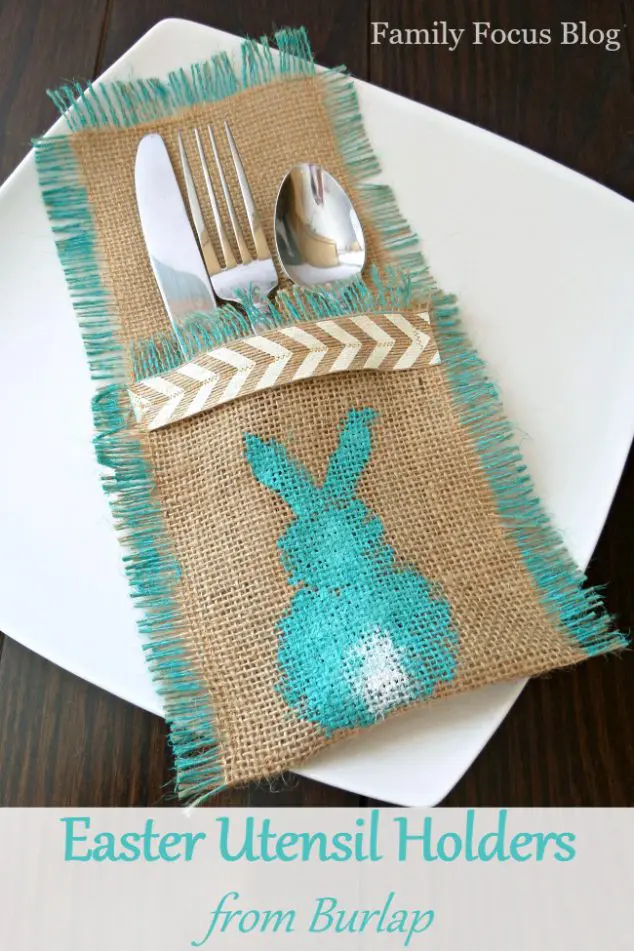
I can hardly believe Easter is so quickly approaching. Our family always has a large Easter gathering to celebrate. I’ve been busy making these cute Easter Utensil Holders from Burlap to add extra color and décor to our dinner table. This DIY burlap utensil holder pouch is easy to make and an inexpensive Easter table setting. They serve as pretty Easter place settings and decorations all at once. I think they are just so adorable! These homemade place settings for Easter can be used year after year.
Create a charming and inviting Easter tablescape this spring with a beautiful mix of Easter table decorations, spring flowers, and thoughtful touches that celebrate the season. Whether you’re hosting a casual brunch or a festive dinner, set the tone with a soft color palette of pastels and fresh spring décor. Incorporate sweet details like decorative napkin rings, mini Easter baskets, and dyed or speckled Easter eggs tucked into each place setting. A stunning Easter centerpiece—whether it’s a floral arrangement, a nest of eggs, or a mix of candles and greenery—will tie it all together. It will make your table feel warm and celebratory. And now let’s get to our DIY craft tutorial for making the perfect Easter silverware pouch.
Easter Utensil Holder Tutorial
Setting a festive Easter table is always part of the fun of celebrating this special day. These homemade easter silverware holders are a great way to make your table look pretty and they are functional too. Pretty place settings really make the meal feel like more or a special event. So go ahead and make this cute Easter cutlery holder!
FYI, I had so much trouble trying to decide what to call this utensil holder for the table! Other accurate description could include silverware pouch, cutlery holder, silverware sleeve, or flatware pouch. What do you call these table setting additions?
Little kids will love to help set the table for Easter dinner when you show them the Easter bunny utensil holder! They add a special touch to the eating area.
Silverware Pouch Craft Supplies:
- Burlap – each utensil holder will need about 5” x 15”
- Paint – your choice of color and white
- Small foam paint brush
- Ribbon or burlap ribbon
- Sewing machine, thread, scissors
If you don’t have a sewing machine, you can use a hot glue gun instead. Use it to glue the pocket pieces together and attach the ribbon.

How To Make Utensil Holder For Silverware (Out of Burlap)
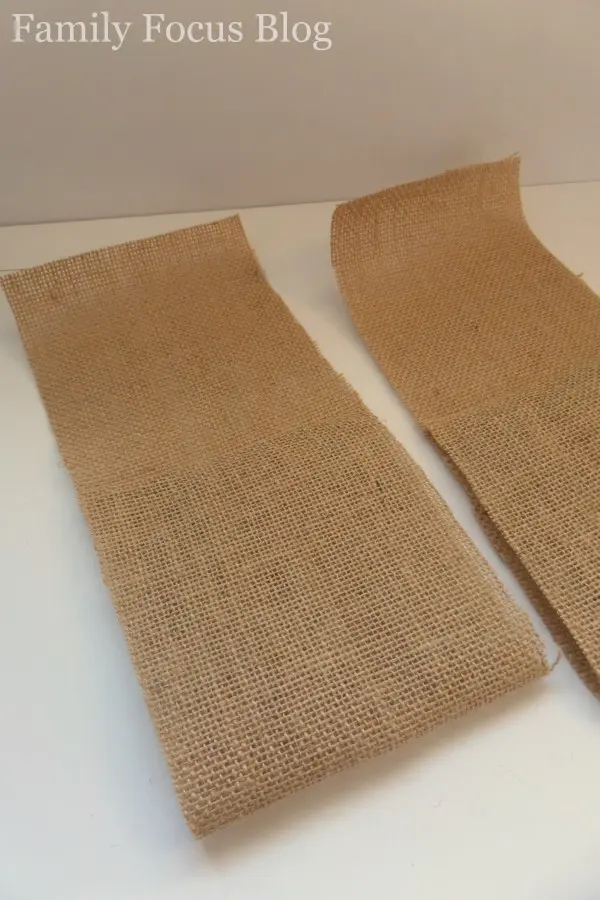
To make each burlap utensil holder, begin by cutting the burlap into pieces about 5” wide and 15” long. Cut enough pieces to create as many utensil holders as you need.
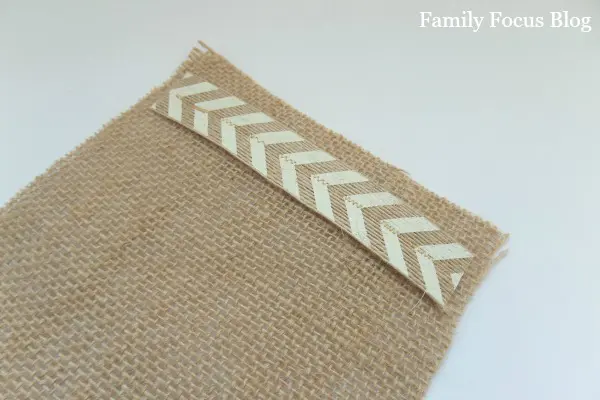
Measure and cut pieces of ribbon approximately 1” narrower than your burlap strips.
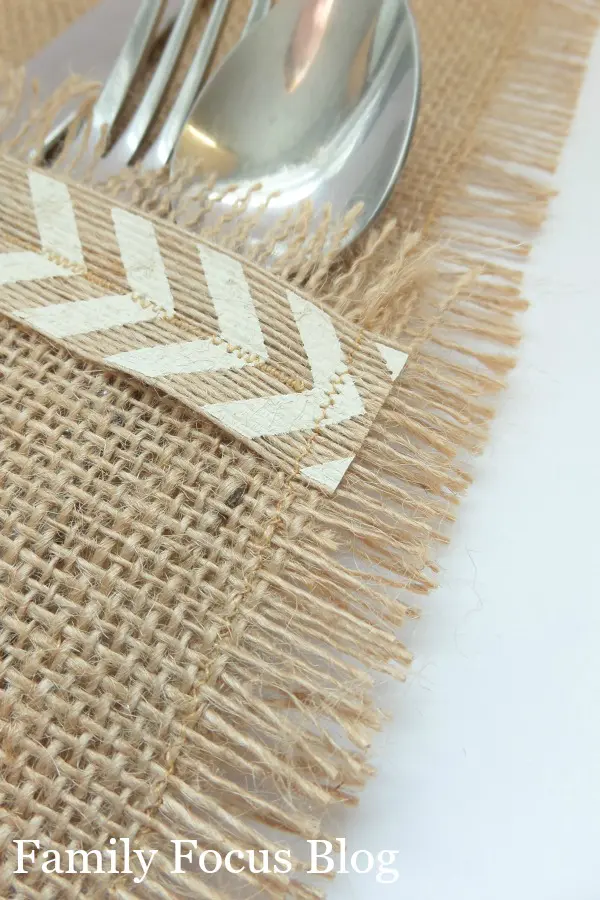
Use your sewing machine to attach the ribbon to one end of the burlap strip. The ribbon should be 1/2” in from the edges of the burlap on 3 sides. Sew through the center of the ribbon. I used a small zigzag stitch to make it look a little prettier.
When your ribbon is attached, fold that end of the burlap up to create what will become the utensil pocket. The fold should be at about 1/3 of the piece. It will vary based on your utensils.
When the burlap is folded into place, you’ll add a stitch around the sides and top of the holder. The stitch should be about 1/2” in from the edges. This will hold your fold in place. It will also stop the burlap from fraying beyond the stitch line. Again I used a small zigzag stitch.
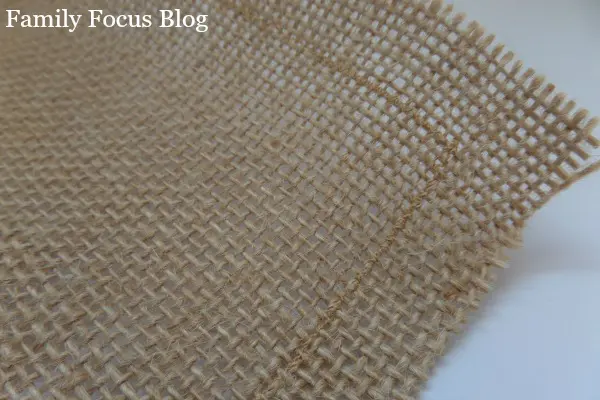
After the utensil holder has been sewn, pull out all loose strands of burlap to fray the edges. Be sure to fray along the ribbon as well.
Add Easter Decorations To The Homemade Flatware Pouch
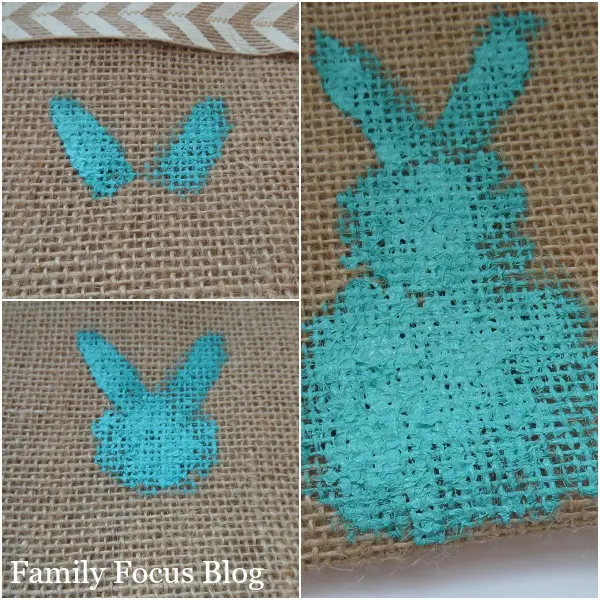
Next you’ll use a small amount of paint to add the Easter bunny to the front of the cute utensil holder. First, add two angled lines for ears. Then, add a small circle for the head. Finally, add a larger circle for the bunny body. After the paint has dried, you’ll add a small white circle of paint to create the bunny tail.
Using your same paintbrush, dab a small amount of paint to the frayed edges of the cutlery holder. This adds a nice extra pop of color! Make sure to do the painting over a scrap paper or on a covered work surface. This will protect your table.
Let the paint dry completely. Now, your napkin holders are all ready to use to set your table for your Easter celebration. They will be a fun part of your festivities! This DIY utensil holder for party is easy and adorable and can be used year after year.
More Easter Place Setting Ideas
Here are some more cute Easter place setting ideas that work for brunch, lunch, or dinner — whether you’re going formal or fun and family-friendly:
1. Floral Plate Accents
- Place a small fresh flower or faux bloom on each plate (daisy, tulip, or baby’s breath).
- Or tuck it into the silverware pouch.
2. Mini Egg Cartons or Nests
- Use mini egg cartons or tiny faux bird nests to hold small chocolate eggs at each place.
- Bonus: Attach a name tag to make them place cards too!
3. Pastel Table Runners & Plates
- Stick with soft Easter colors: blush pinks, mint greens, butter yellows, and lilacs.
- Use mismatched pastel plates or layer a white plate over a colored charger.
Conclusion
With just a few creative ideas and thoughtful touches, your dining room can be transformed into a joyful celebration space perfect for the spring season. From decorative eggs to charming centerpieces, these Easter table decor ideas offer the perfect blend of style and whimsy for special occasions. Whether you’re going all-out or keeping it simple, let this Easter table inspiration help you create a fresh look that captures the beauty of spring. It will also capture the warmth of gathering with loved ones. Don’t be afraid to mix and match your favorite Easter decorations to make it uniquely yours!
Fill your DIY Easter place settings with silverware and place at each place setting. You can also add a napkin to each utensil holder. You can even go a step further to personalize these homemade utensil holders. It would be fun to do the bunnies in different colors or do them all the same to match your dinnerware! You could also stencil your guests’ names on the burlap utensil holders. They will double as place cards. Finally, you could even leave off the bunny for a DIY cutlery holder to use anytime of the year. The burlap itself makes for a versatile cutlery holder for table setting. Do you think you will make these DIY Easter place settings? I’d love to see what colors you choose for your burlap silverware holder. Show me how your Easter table setting comes out. Tag us @familyfocublog!
Related Posts:
Easter Bunny Decor Burlap Wall Hanging
Eco Junk says
This is such a charming and creative idea for a Pretty Easter Table Setting! The DIY Burlap Utensil Holder Pouch adds a rustic, yet festive touch to any Easter gathering. It’s simple to make, but the burlap gives it a warm, homey feel that perfectly complements the spring season. I love how easy it is to personalize with different ribbons or floral accents to match any table theme. This would definitely make the table look more inviting and thoughtful—perfect for creating memorable moments with family and friends.
NRIWINGS says
Such a charming and creative idea! The burlap utensil holder adds a lovely rustic touch to the Easter table—thanks for the inspiration!
Sara says
What a delightful and creative way to elevate your Easter table decor! I love how versatile and personalized the burlap utensil holders can be. The pastel colors are so charming and festive!
Dili says
Such a cute and creative idea for an Easter table! I love the rustic charm of the DIY burlap utensil holder pouch – a perfect blend of style and simplicity. .